I love fish, but sometimes I don’t know what to do with it. Salt and pepper with a squeeze of lemon seems to be my fallback, but it’s not very exciting. I want something more memorable, but not overpower the fish. Let’s keep it simple.
I came across a recipe from Delish that seems to be the solution to my fish situation. Making this recipe is so easy and good that I want to try it with other white fish to compare. Tilapia is a good choice though. It’s still relatively inexpensive, doesn’t have any bones to pluck out, and is tasty. Picky eaters like tilapia because it’s mild, not fishy. You’ll especially love the recipe if you’re a fan of garlic. If not, you might want to skip this round.
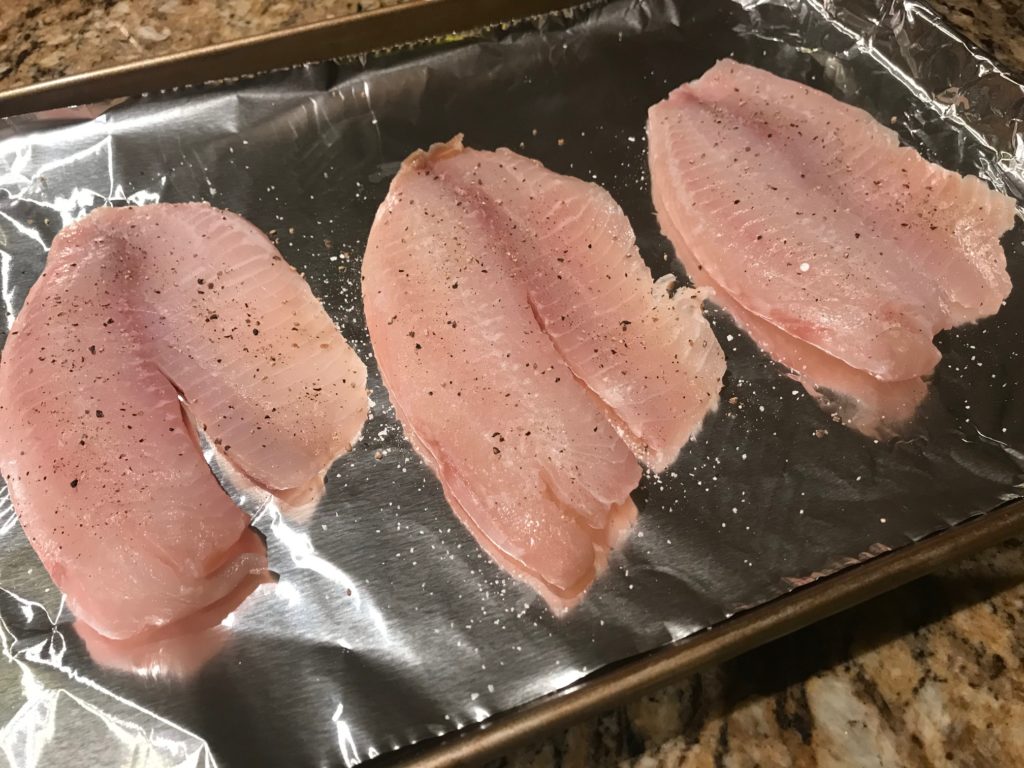
Line a baking sheet with aluminum foil for easy cleanup. Plop your fish on the foil. Season with salt and pepper.
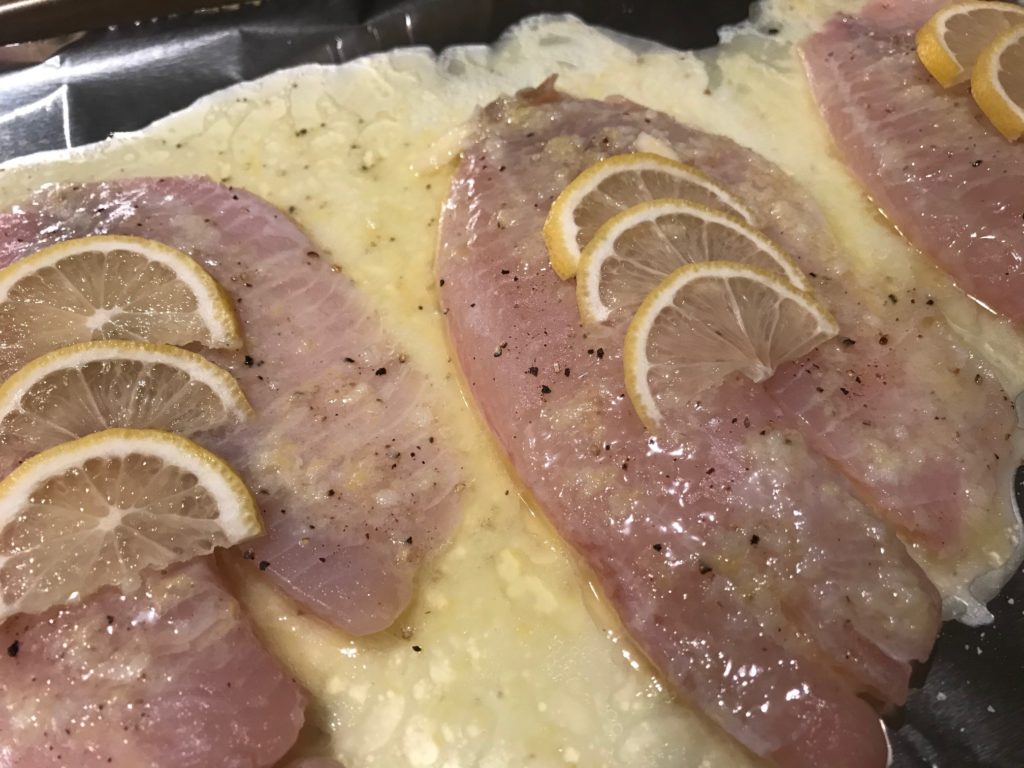
Combine melted butter, minced garlic, lemon juice and a little lemon zest. Pour this over your fish. Add some sliced lemon and bake until the fish gently falls apart when you stab it in the middle with a fork (no, I’m not violent, just accurate).
Done.
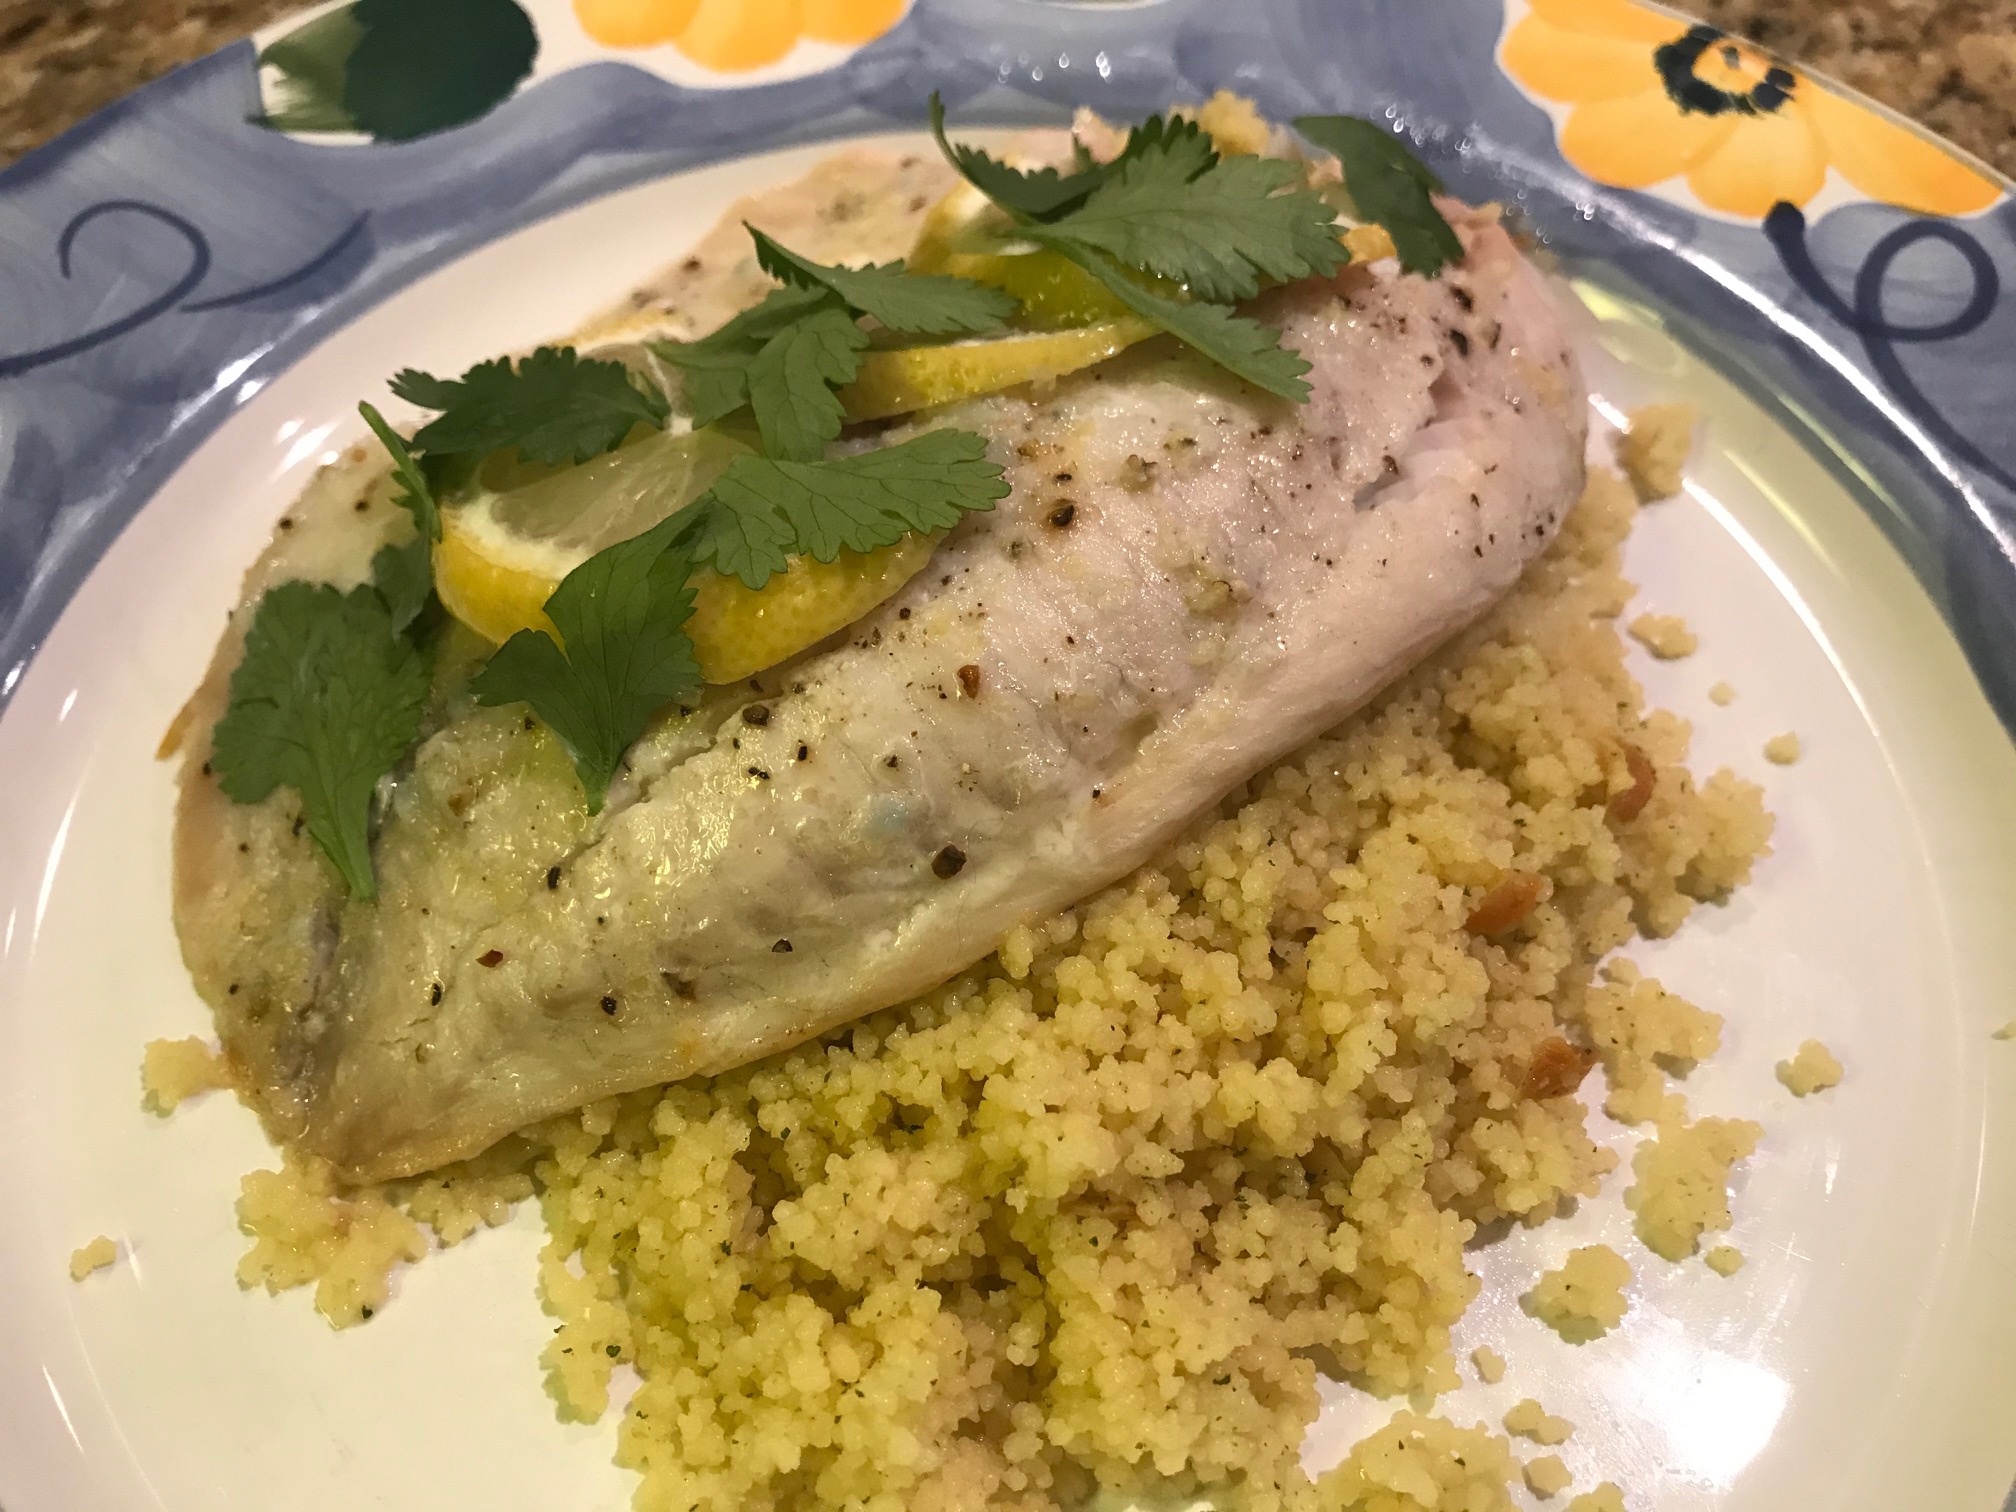
That’s it. Can you believe it? I did drizzle a bit of the sauce over the fish and served it with couscous for the boys. I made myself a side salad. I even made the time to sprinkle some pretty parsley leaves to make it look fancy. Everyone was happy. Despite the name, it wasn’t too garlicky. There was the perfect amount lemon tang and no shortage of buttery goodness. Make again.
Yesterday was Christmas and I have more ham than I know what to do with so don’t be surprised to see some posts about ham this and ham that in the near future. I already have ideas of making a ham tetrazzini and other various “ham surprise” casseroles. In the meantime, we’re just going to pile our plates with leftover ham slices, scoops of green bean casserole, and mountains of mac and cheese.
Instead, let’s go back to September when I decided I needed to try out some new dishes on the boy. Much like some of the other retro foods of my childhood (such as Sloppy Joes and SpaghettiOs), I realized he’s never had a tuna patty, which was a staple growing up at my house. Inexpensive and tasty, tuna patties would show up at dinner at least once a month, particularly because they were so easy to make. And we loved them.
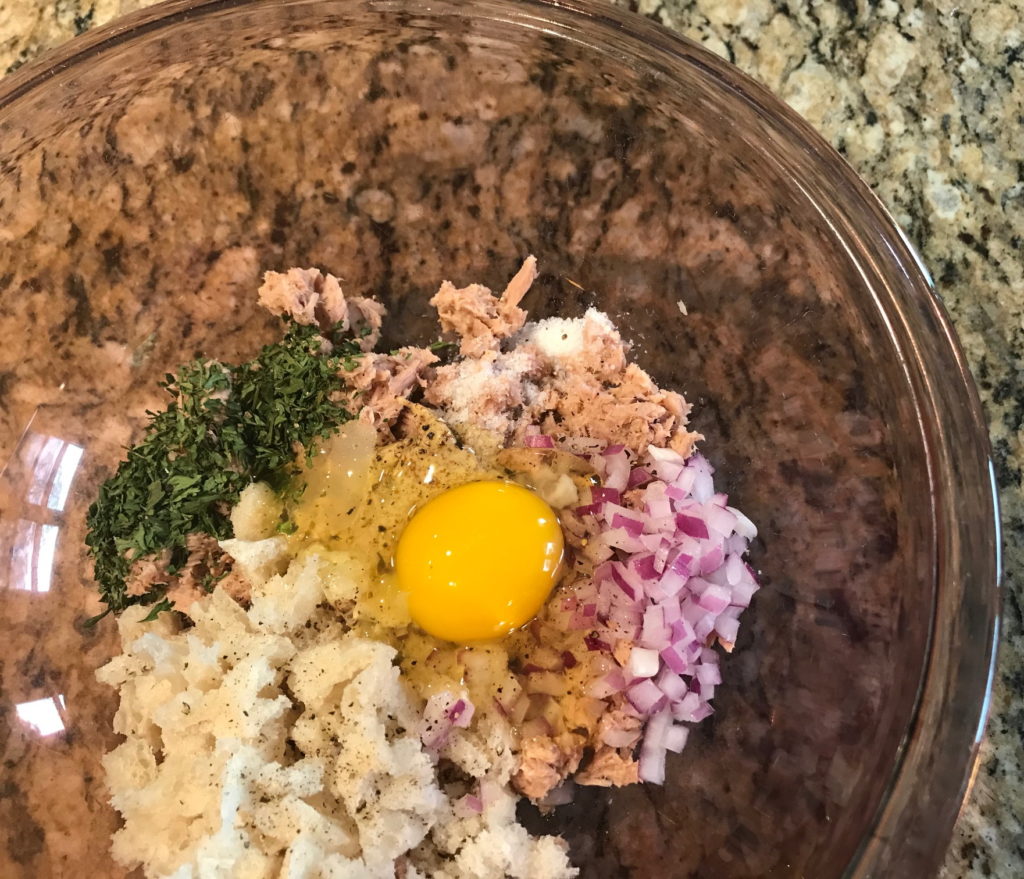
I found a recipe on Simply Recipes that I modified a little to make use of what I had in the pantry. Win-win. Dump a couple cans of drained tuna (reserve some of the liquid…you’ll need it) in a large bowl along with Dijon mustard, white bread pieces, lemon zest, lemon juice, reserved tuna liquid, parsley, and onions. Mix it up and then add some salt and pepper to taste. Don’t do what I did and throw your egg in before tasting it. Fortunately it all turned out good.
This is a very forgiving recipe so if you don’t have Dijon mustard, use yellow mustard. No white bread? Use wheat. No red onions? Use another kind of onion, like white or green. In fact, the recipe called for fresh chives, not onions. Right, like I have fresh chives laying around. I could have thrown in dried chives, like the ones we’d put on our baked potatoes growing up, but that’s beside the point. This is a good time to use up your pantry ingredients and still come out ahead. And if you accidentally throw out the tuna water, plain tap water is just fine.
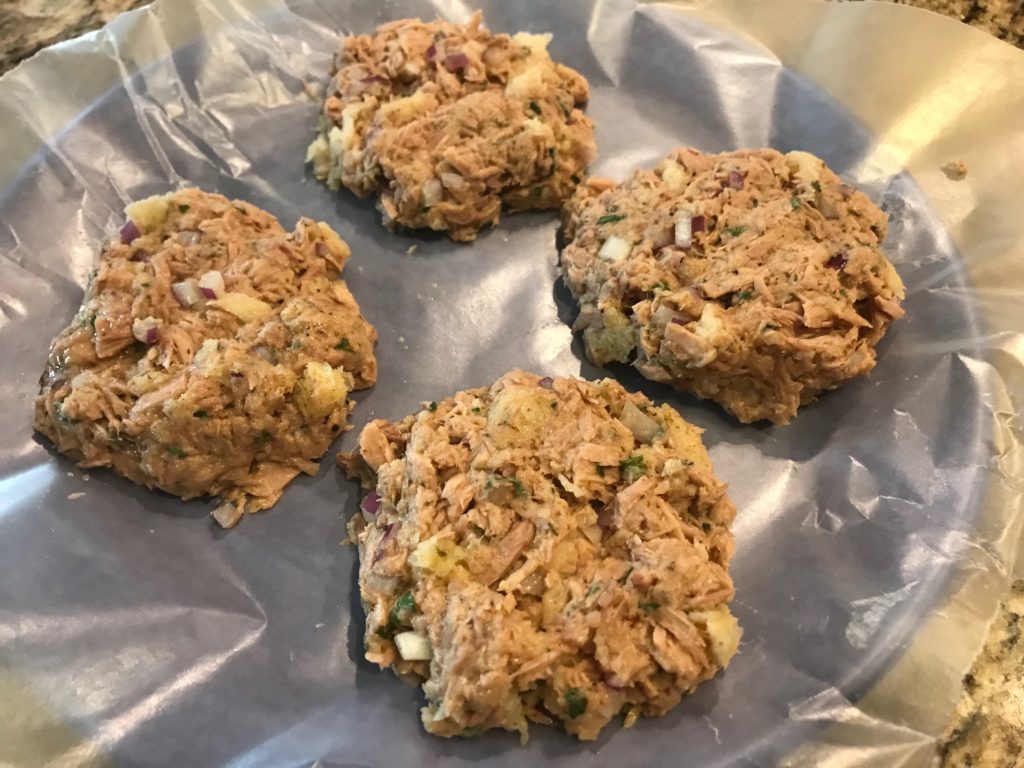
Form into patties like you would hamburgers. You don’t have to, but chill them for an hour so they are easier to flip when you cook them.
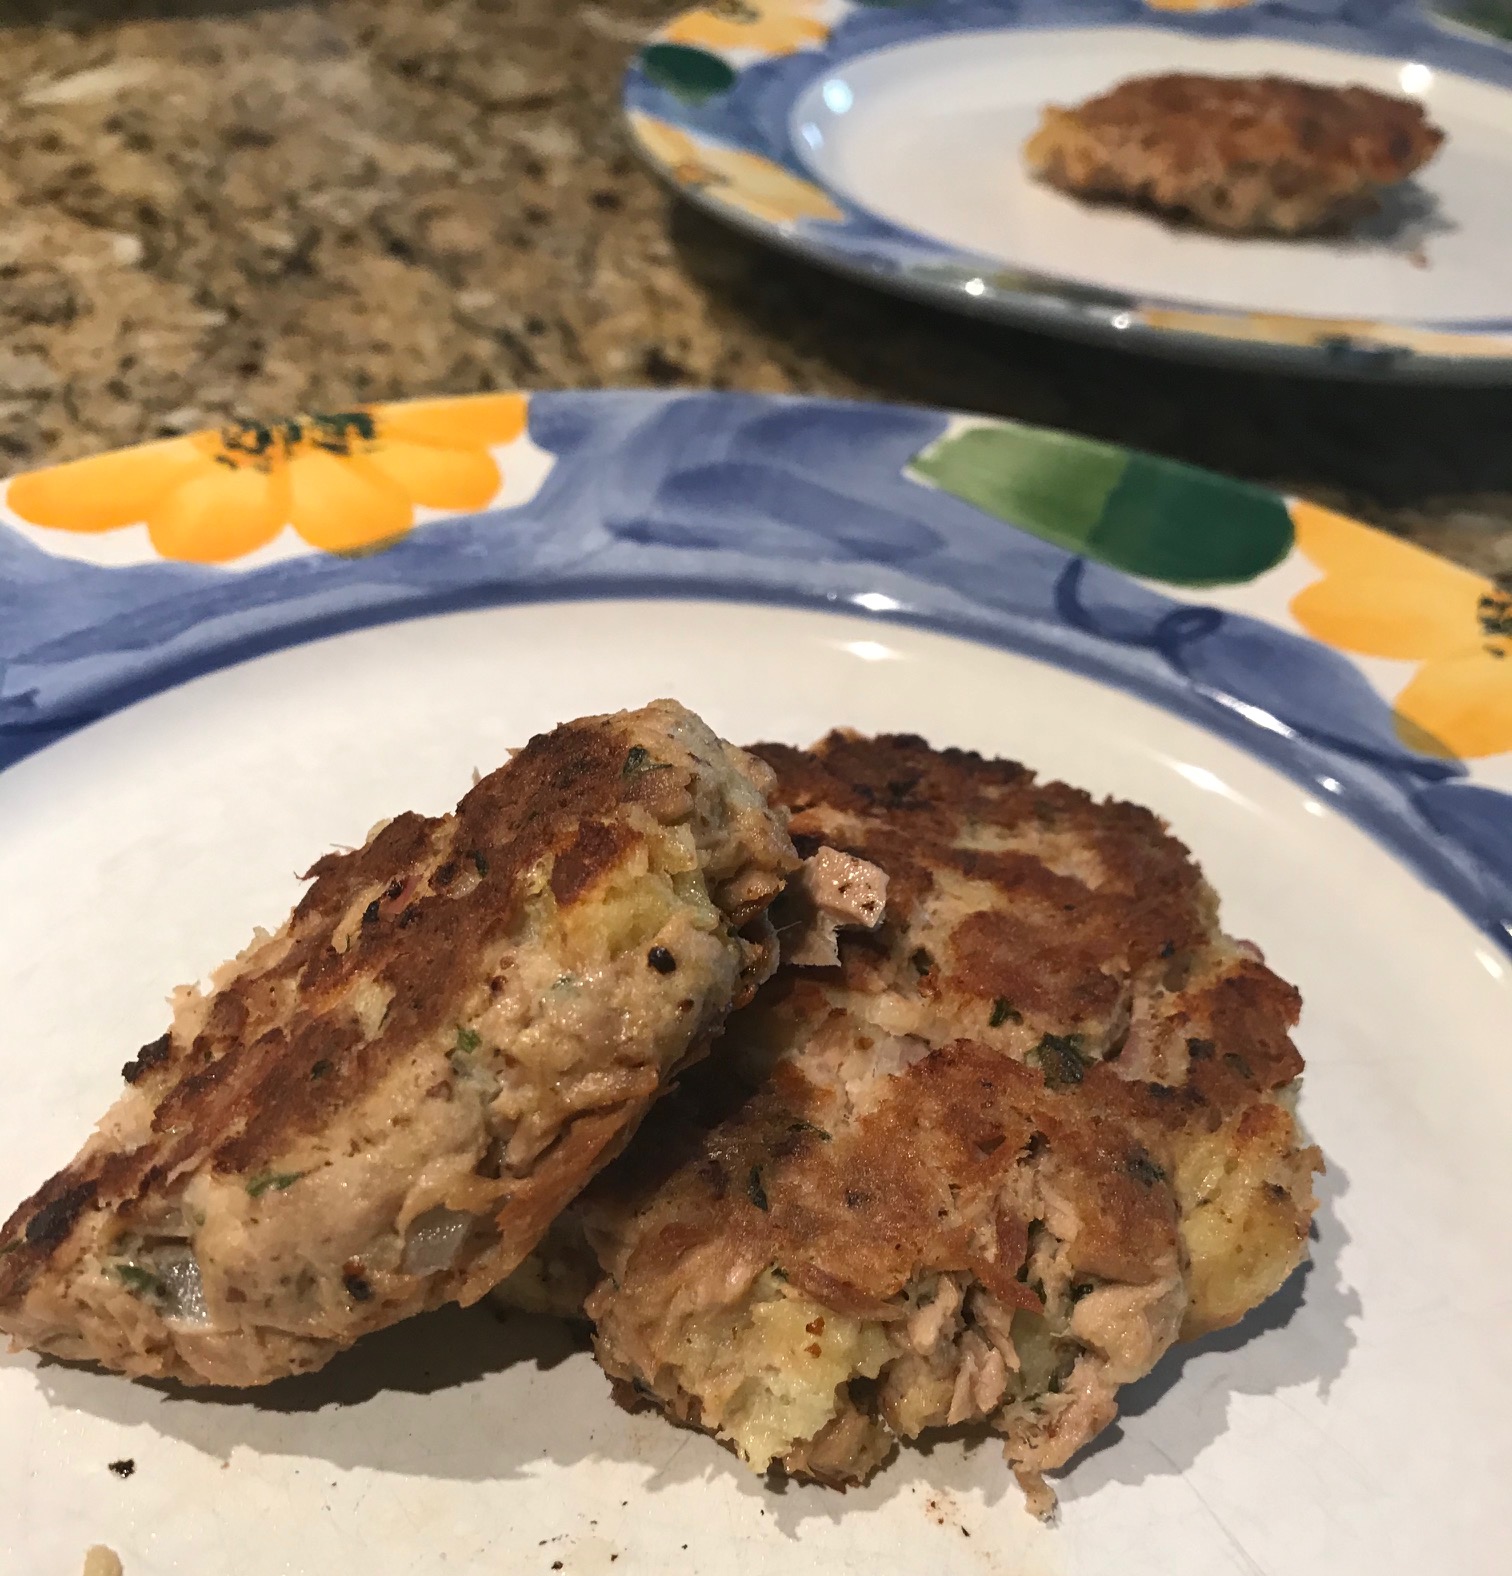
Heat up some olive oil and butter in a skillet. Cook on each side for about 3 to 4 minutes. The nice thing is that the tuna is already cooked so most of the work is done for you. You just want them golden brown.
We ate them plain with a little lemon squeezed on them, but these would made really good sliders on Hawaiian rolls. The verdict? My husband thought they were great. We probably haven’t had a tuna patty in a couple of decades (yes, I’m old). My son wasn’t as impressed. What is up with his generation?! Maybe we’ll try them on rolls next time.
10ouncestuna packed in watersave some of the water
2teaspoonsDijon mustard
1/2cupwhite breadtorn into small pieces
1teaspoonlemon zest
1tablespoonlemon juice
1tablespoonreserved tuna water
1tablespoondried parsley
2tablespoonschopped red onions
kosher salt and freshly ground black pepper
1egg
2tablespoonsolive oil
1/2teaspoonbutter
Method
Drain the liquid from the tuna cans and reserve a tablespoon of the tuna water.
In a medium bowl, mix together the tuna, mustard, torn white bread, lemon zest, lemon juice, water, parsley, and onions. Add salt and freshly ground black pepper to taste. Mix in the egg.
Divide the mixture into 4 parts. With each part, form into a ball and then flatten into a patty. Place onto a wax paper lined tray and chill for an hour.
Heat the olive oil and a little butter in a cast iron or stick-free skillet on medium high. Gently place the patties in the pan. Cook until nicely browned, 3-4 minutes on each side.
I really love shrimp, but since my bad prawn experience and that I’ve tested positive for a shrimp allergy, I decided I better stay away from the whole crustacean family. I know there’s a difference between shrimp and prawns, but I don’t trust that the labels are being used correctly. I’m probably being too extreme because there was a time when I ate shrimp cocktail with wild abandonment. But a potential trip to the ER is not my idea of a good time so I think this isn’t much of a sacrifice.
As a result of my recent distrust of shrimp, I never make it anymore, which disappoints my husband a little. Plus with his innocent “chicken again” comment about dinner, I felt a little sorry for him. On top of that, my super picky son actually likes shrimp so I don’t want to stop serving it. Supposed he suddenly stops liking it?!
I’ve been making a lot of beans lately. I had a lonely single can of beans staring at me from the pantry. I needed to use it somehow. I googled shrimp and beans and found a delicious Kitchn recipe with the world’s longest name. It looked really easy to make. Bonus points.
When you buy your shrimp, keep in mind the cleaning situation. I usually splurge to buy shrimp that has been cleaned, have no shells, and deveined. Some would say to leave the shells on for more flavor, but that’s not my style. I don’t want to spend more time preparing the shrimp than actually cooking the shrimp.
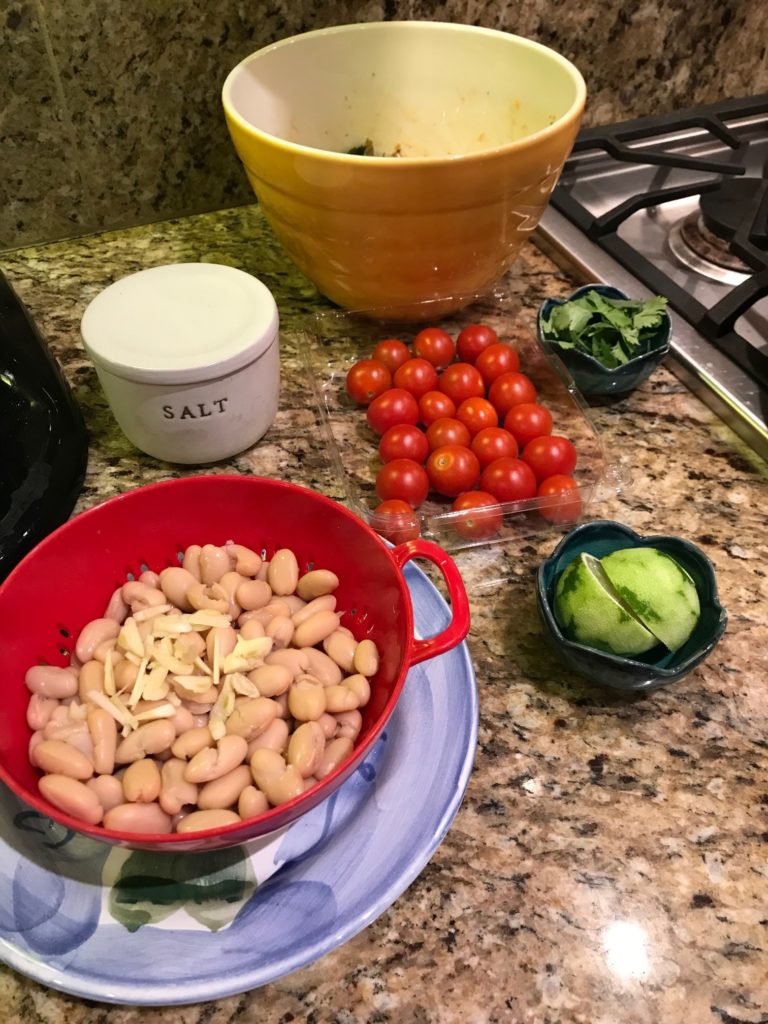
Gather your ingredients. Mince some garlic and then slice even more. It’s definitely going to be garlicky. Zest a lime, cut it in half, and set the halves aside for later. I love using lime even more so than lemon with shrimp. Reminds me of shrimp tacos. Ok, this is going to be a little harder than I thought. Must get those delicious thoughts out of my head as I play the world’s smallest violin.
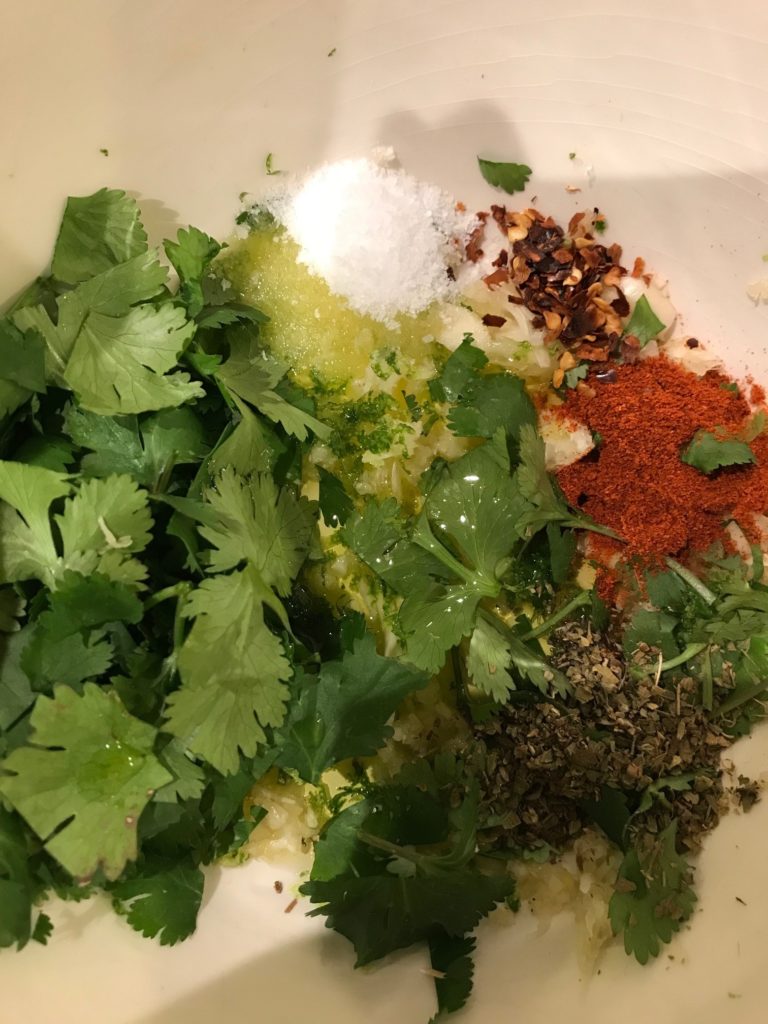
Chop up fresh cilantro. Set half aside and with the remaining half, add your seasonings (I used a little less red pepper flakes, but I encourage you to use the full amount) and some olive oil. You’re basically making a delicious marinade.
Mix it up and add your shrimp to it. Let it marinate for about 15 minutes. Meanwhile stage the rest of your ingredients. You want to be prepared. Shrimp cooks super fast and the worst thing you can do is overcook it. In fact, I usually cook it a touch under (like 30 seconds) because it’ll continue cooking when you remove it from the heat.
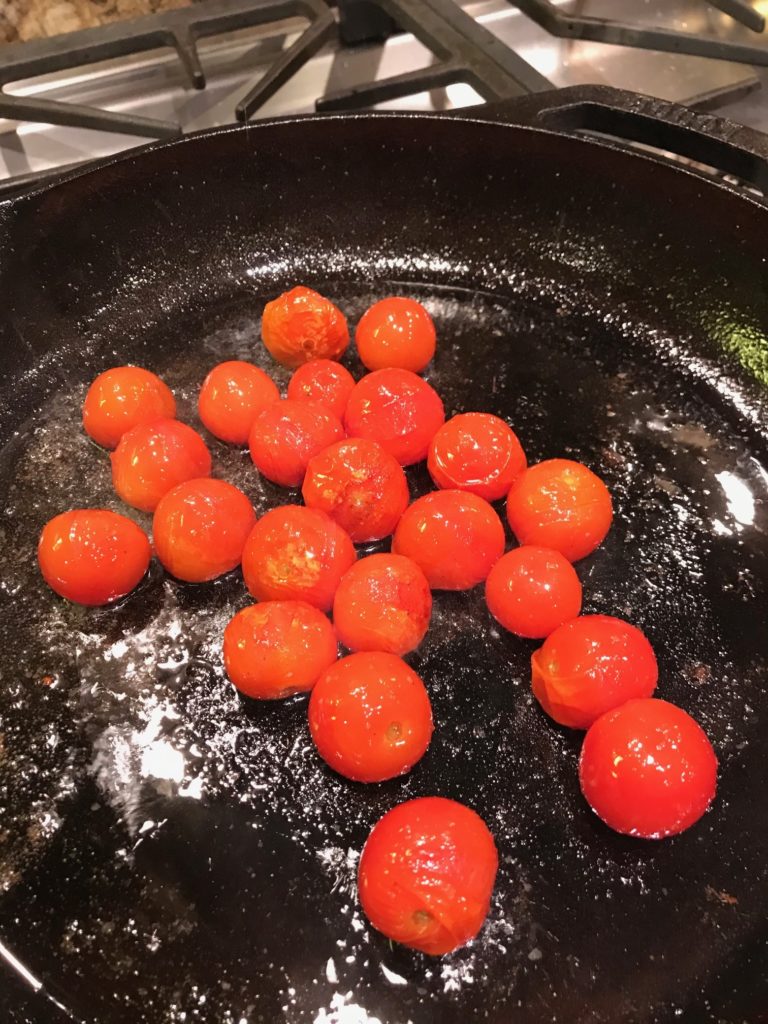
Start on your tomatoes. I like using a cast iron pan, but any skillet will do.
Cook them until the skins pop. Add shrimp and cook for 1 minute. The shrimp will start to turn from translucent gray to a hint of opaque pink. No more than that! I would have taken a picture for you, but I would have overcooked the shrimp. Throw in the beans and sliced garlic. Cook for 3 minutes. Remove from the heat immediately. The shrimp should no longer be gray at all. It’ll be slightly pink on the outside, opaque inside, and firm (not chewy or rubbery).
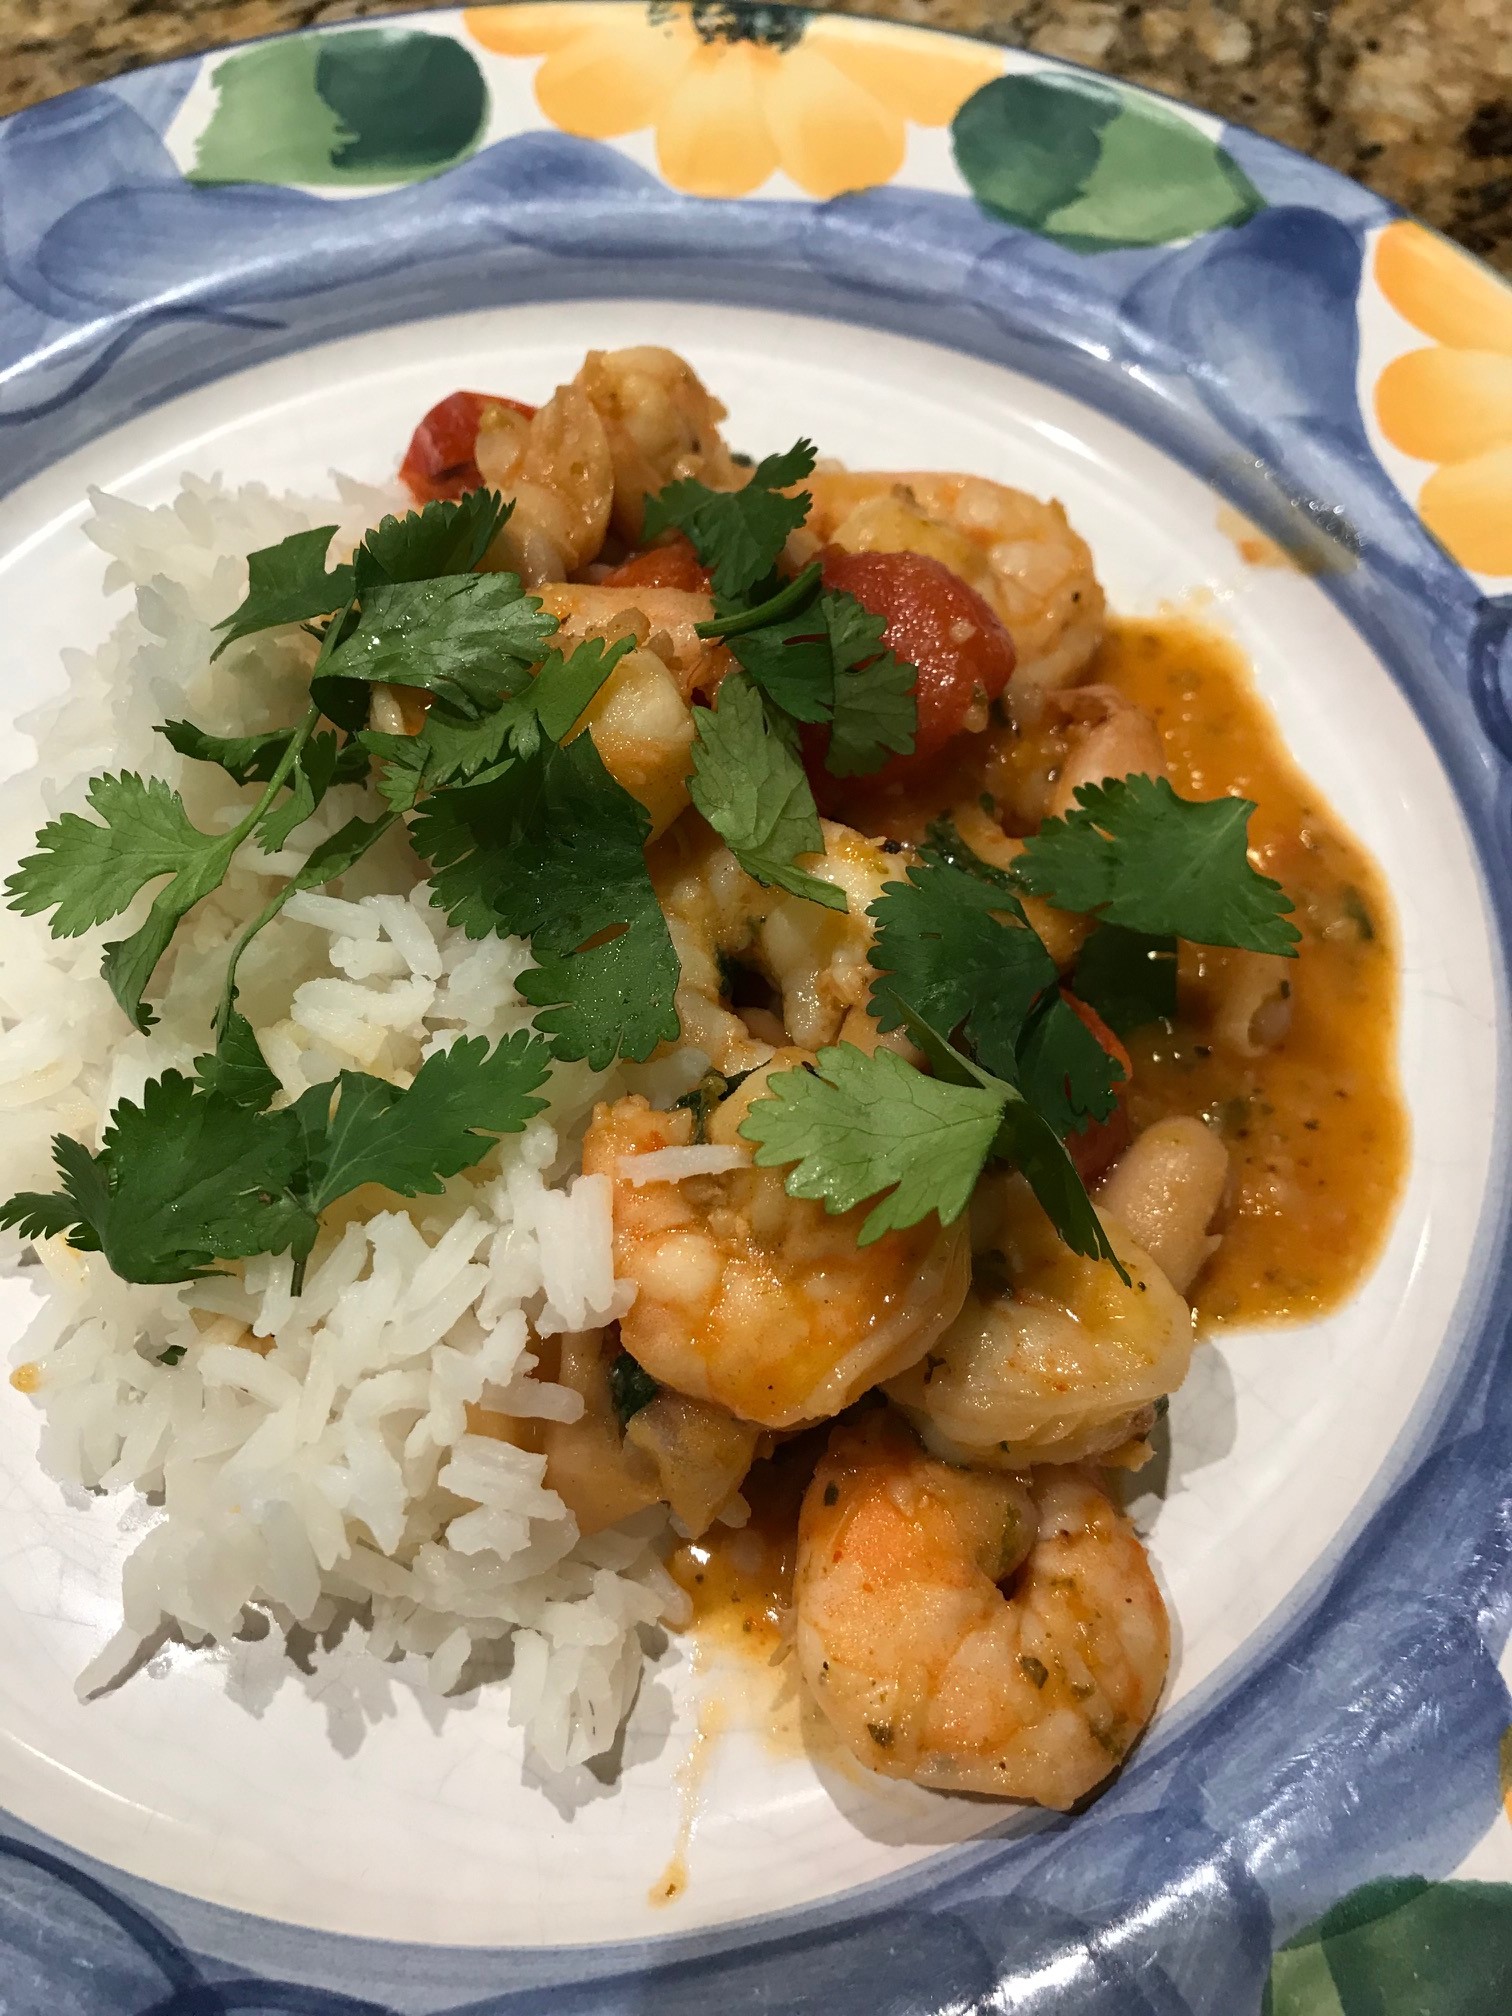
Serve over rice with a sprinkle of cilantro.
Because I can’t taste it, I had to depend on the boys for feedback. My husband made me laugh when he said the dish was a “medley of flavors.” I guess he’s been paying more attention to my cooking shows than I thought. The boy thought the sauce was weird (the tomatoes probably freaked him out), but thought it was a “make again” meal. Two thumbs up!
Garlicky Sauteed Shrimp with Creamy White Beans and Blistered Tomatoes
Grate 4 garlic cloves into a large bowl. Thinly slice the remaining 1 garlic clove and set aside. Finely grate the zest of 1 medium lime into the bowl, and then cut the lime in half and set aside. Coarsely chop 1/2 cup fresh cilantro leaves and tender stems. Place half in the bowl and reserve the remaining half.
Add dried oregano, paprika, red pepper flakes, kosher salt, and 2 tablespoons of the olive oil to the bowl. Stir to combine. Add 1 pound peeled and deveined uncooked shrimp, and toss to coat. Let the shrimp marinate 10 to 15 minutes at room temperature.
Heat the remaining 3 tablespoons olive oil in a 12-inch cast iron or heavy-weight skillet over medium-high heat until shimmering. Add 1 pint grape tomatoes, and then season with kosher salt. Cook, stirring occasionally, until the skins start to pop, about 2 minutes.
Add the shrimp with marinade and stir to combine. Cook for 1 minute. Add the drained/rinsed beans and sliced garlic. Cook, stirring every minute or so, until the shrimp are just cooked through and the tomatoes have burst open, 3 minutes total.
Remove from the heat. Season with kosher salt and squeeze the lime halves over the shrimp. Garnish with the reserved cilantro, and serve immediately over rice.
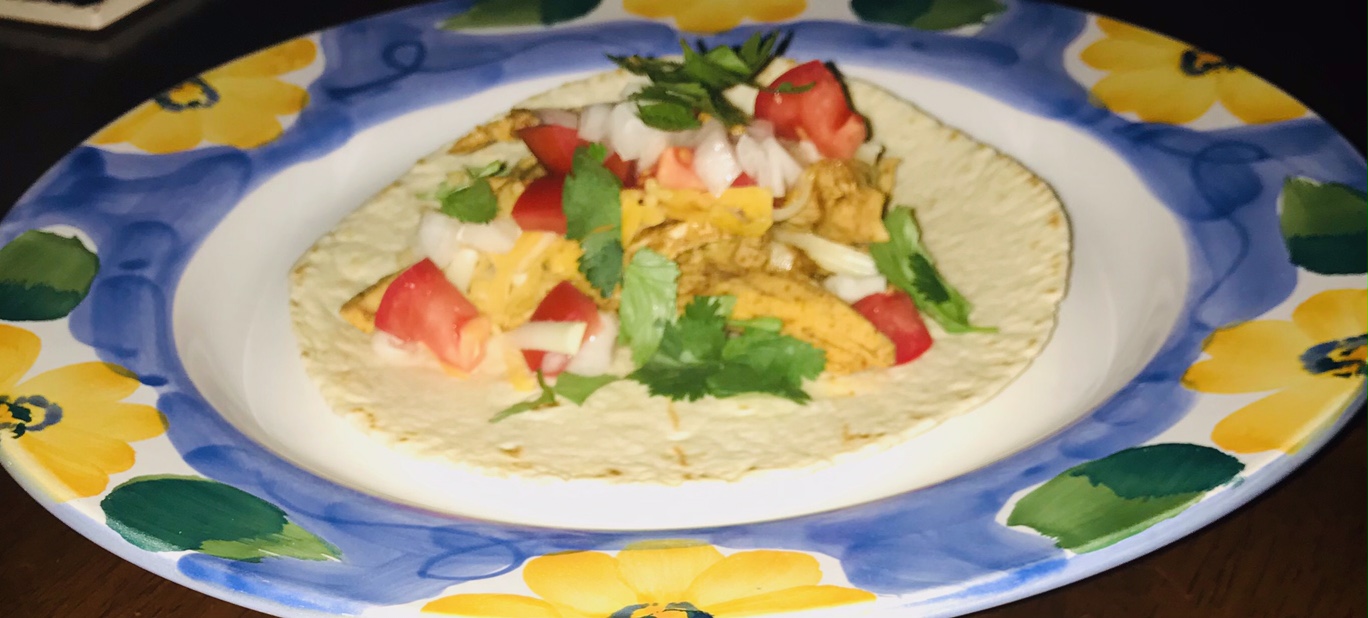
I have a ton of turkey leftovers from Thanksgiving dinner. Ok, maybe not a ton. More like 7 pounds. The boys have been eating turkey everything this week, including these turkey tacos that were delicious and easy to make. You can easily use chicken instead, but I needed to use up all this turkey so turkey it is.
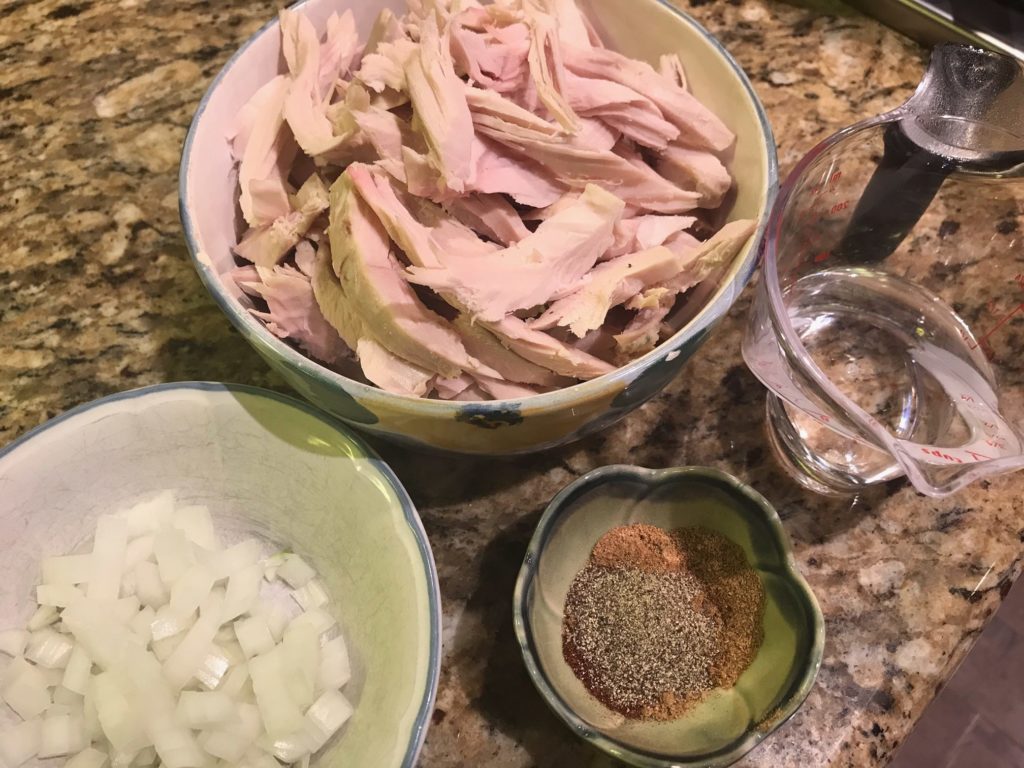
Gather your ingredients. Chop up an onion. Shred the turkey. You know what to do.
Saute the chopped onion in a little olive oil until cooked. Throw in the turkey, spices, and a little water. Mix it all up.
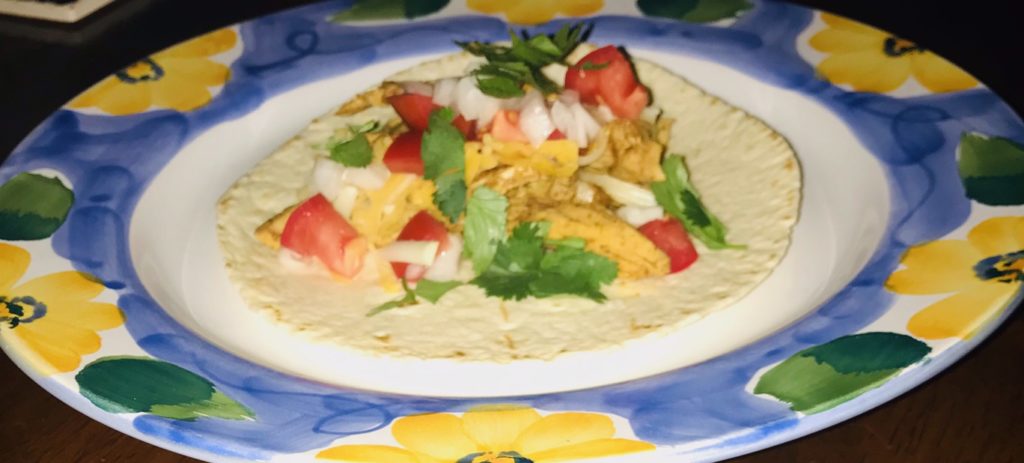
When the water is mostly absorbed and your turkey is heated through, you are done. Assemble into tacos with your favorite toppings. See how easy that was?
I have to admit that I usually make tacos using those seasoning packets (gasp!), but I really should break that habit. Mixing up cumin, coriander, and chili powder is just as easy as opening an envelope and is a great combination that provides lots of flavor. It doesn’t taste the same, but is just as good, if not better. These mild tacos are the opposite of spicy so feel free to throw in some hot sauce before or after you cook the turkey to kick up the fire. And don’t judge the flour tortilla. To each his own.
Heat olive oil in a large skillet. Add onion and saute until cooked, for about 5 minutes.
In the same skillet, add turkey, cumin, coriander, chili powder, black pepper, and water. Stir to mix. Add salt to taste if needed.
Cook for 3-5 minutes until the turkey is warmed through and most of the water is evaporated. Remove heat and assemble into tortillas. Add your favorite toppings.