Unless you are somewhere warm, grilling cheeseburgers outside is probably not high on your list. But what are you to do when you want a delicious cheeseburger? You certainly can fry a hamburger patty indoors, but let’s try something easier and without the grease splatter.
The first time I made these cheeseburger sliders was for a Super Bowl party. I think I tripled the recipe and we had plenty without a lot of effort. This recipe makes a great party food. But I now make these all the time for my family with just a pound of ground beef. Sometimes I include chopped onions, sometimes I don’t. I don’t use lean beef because it tends to dry out in my opinion, but you certainly can use 93% instead of the 80% beef I use. You can also use ground turkey instead.
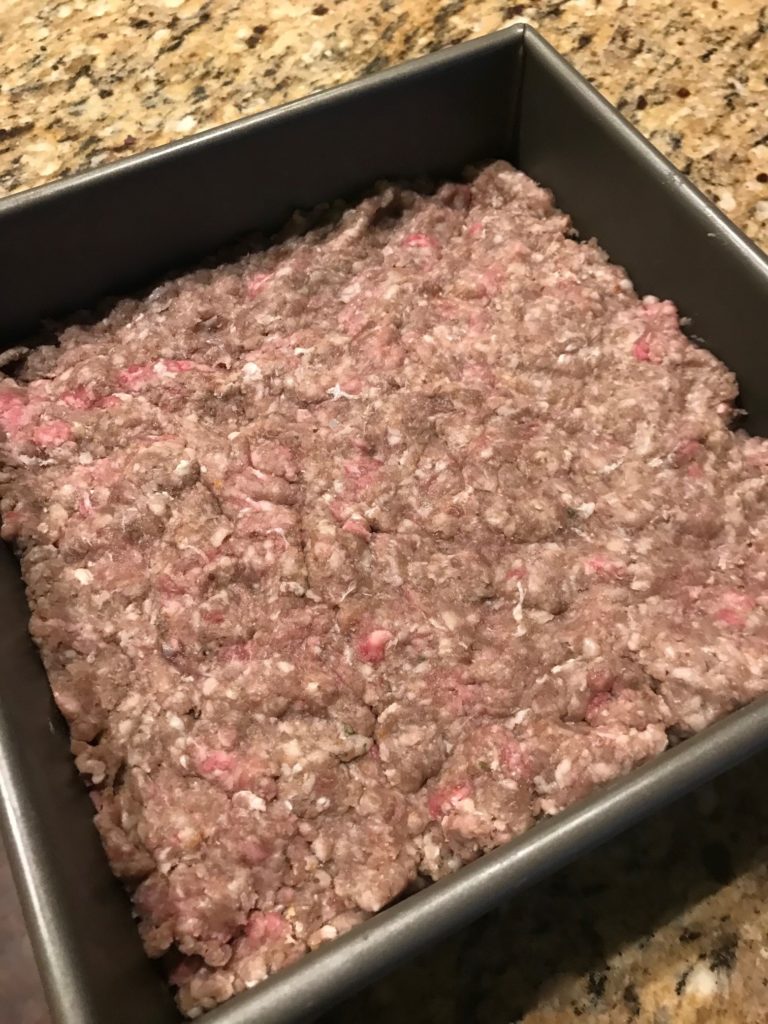
Grab a bowl. Mix up beef, bread crumbs, finely chopped onion, and salt. Don’t over mix or your burger will turn out tough. You just want to mix just enough so everything’s combined. Are the chopped onion bits all over the place so each bite has a piece of onion? Stop. You’re good.
Press the meat into an 8 x 8-inch pan.
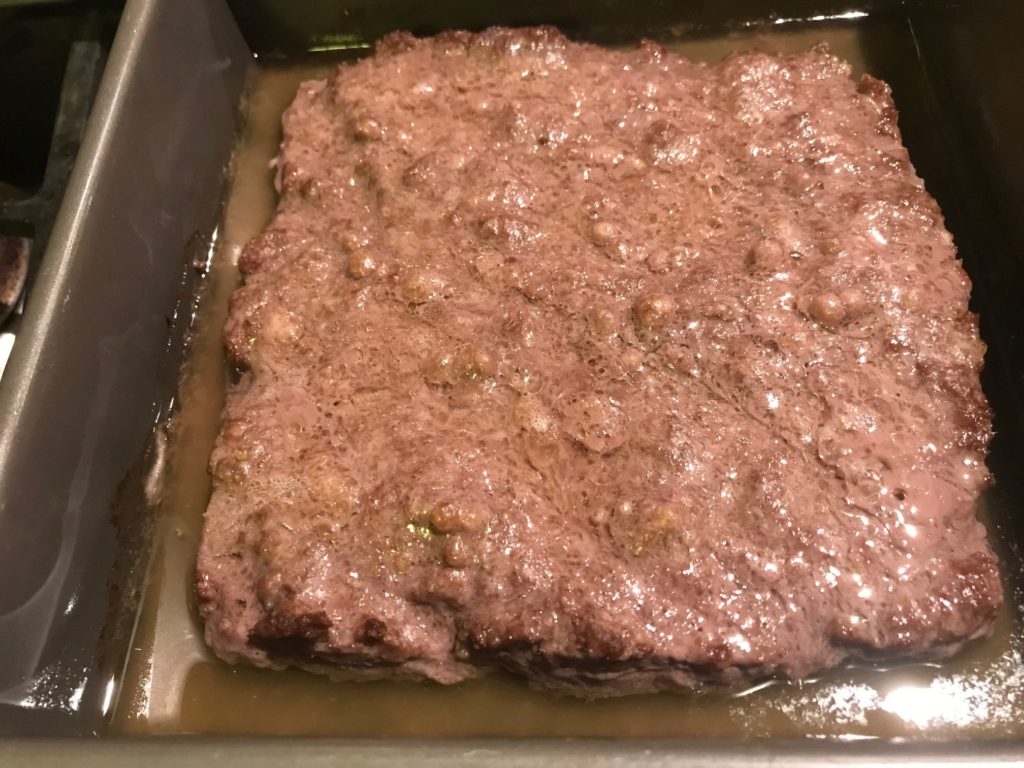
You can use any sized pan, but the thickness will vary and so will your cooking times. Next, use a fork to poke a bunch of holes in the meat to help evenly cook the meat. Bake for 20 minutes. When you pull them out of the oven, you’ll notice that the meat shrunk and is in a pool of liquid. Completely normal.
Carefully pour the liquid out into a soda can or jar. Don’t pour it down the drain unless you want clogged pipes and your plumber on speed dial.
Top the burgers with slices of your favorite cheese. American cheese melts nicely, but we’ve used cheddar, pepper jack, or even blue cheese.
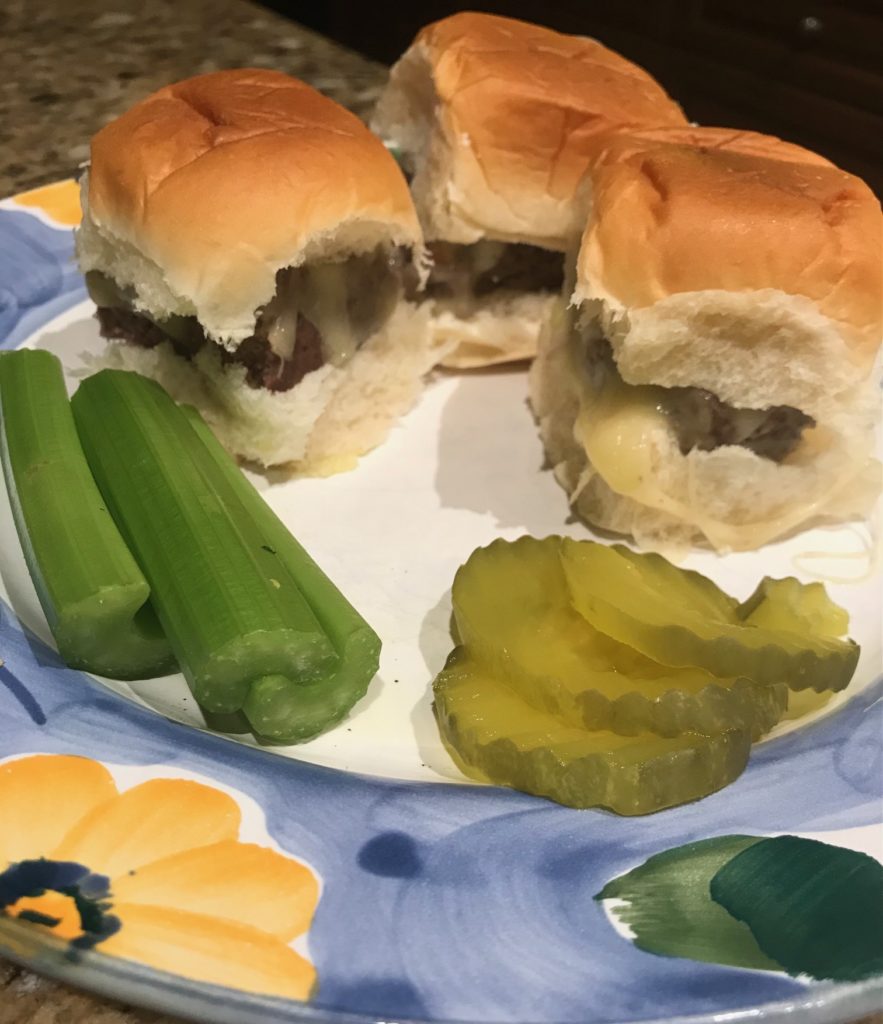
Stick the pan back in the oven until the cheese melts. Cut into squares the same size as your rolls, place them on Hawaiian rolls (or any sized roll or bun), add your favorite toppings, and tada! A cheeseburger!
I like to fry up some bacon while the the burgers are cooking in the oven for bacon cheeseburgers, but bacon bits will do in a pinch. Here we serve them with celery and pickles. That and the ketchup counts as a vegetable.
Do these have grill marks? No. They are oven-baked, people! And they are completely wonderful and delicious. Another easy meal.
Heat oven to 400 degrees. In a bowl, combine beef, bread crumbs, onion, and salt. Gently press mixture into a 8 x 8-inch pan so that it makes one large patty of even thickness. Using a fork, poke holes throughout the meat so the meat will cook evenly. Bake for 20 minutes. As it bakes, the meat will shrink away from the sides and liquid will accumulate around the edges of pan. When fully cooked, remove the pan from oven (keep oven turned on) and carefully drain off the liquid.
Top the meat with an even layer of sliced cheese. Return pan to oven for about 2 minutes or until the cheese melts. Remove from the oven and allow to rest for a few minutes. Cut into 2-inch squares (or the size of the buns used) about 9 mini-hamburgers.
I love all things tacos. Taco Tuesday might be my favorite day of the week. One particular week I made these amazing beef carnitas that didn’t take as much time as my slow cooker pork carnitas, and were even better. I don’t remember having any leftovers and that’s saying a lot when we started out with a two pound hunk of meat and there’s only three of us.
This recipe alone is enough justification to run our and buy an Instant Pot. You really won’t regret it. There’s so much you can do with it and it’s not scary at all like those old-fashioned pressure cookers.
This recipe came from an Instant Pot magazine that I purchased when I first bought my Instant Pot. I really should try more of the recipes because none of them have ever failed. I made a few changes, but stuck to the recipe.
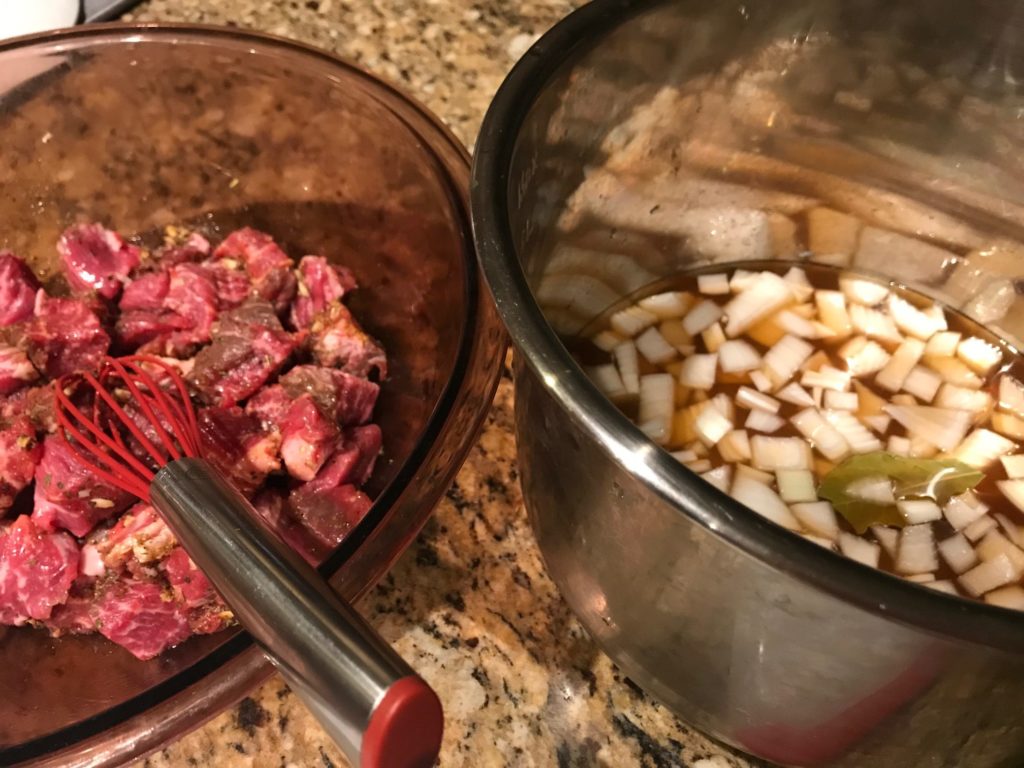
Gather your ingredients. Chop up an onion until you have a cup. Cut the meat into large 2-inch chunks. I used chuck instead of the stew meat that the recipe lists. Stew meat is a mixed bag, literally. Stew meat is whatever left over meat cuts the butcher has that are good for braising. Because the meat might not be all the same cut, you won’t get consistent results. Some cuts might be tougher than others all in the same package. It’s much better to just have one cut of meat, like chuck, and stick with that.
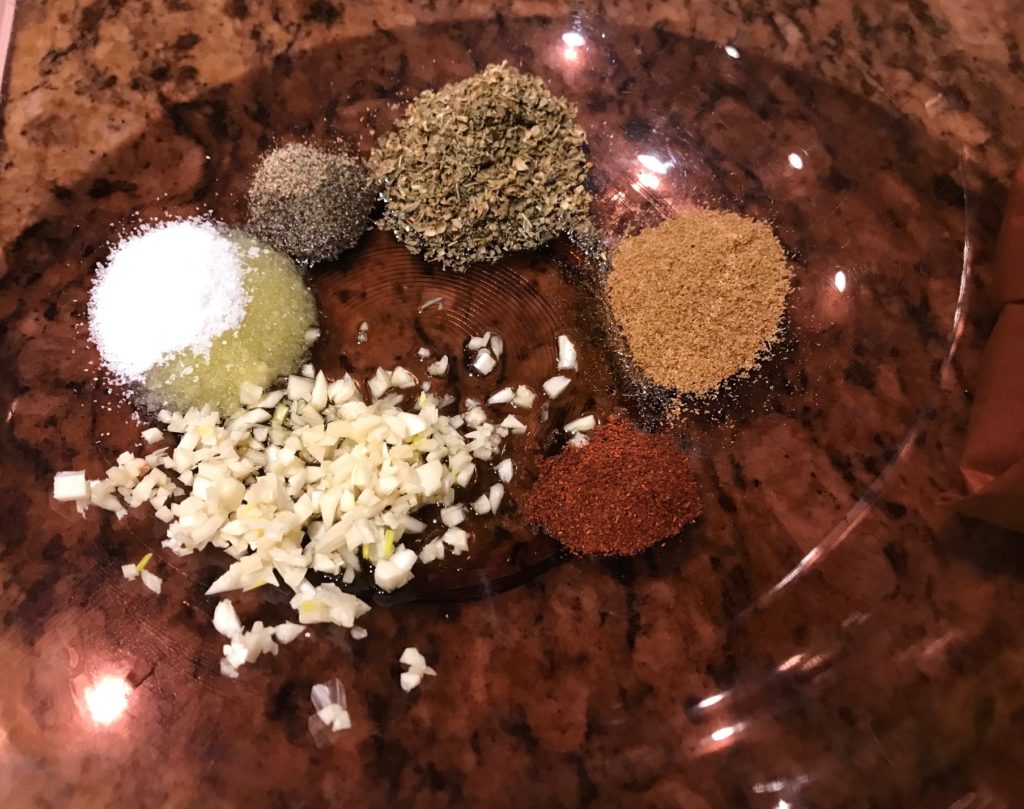
There are a lot of seasonings, but you probably already have most of them. If you don’t have ancho chili powder, use your standard chili powder. I actually had ancho chili powder so I’m sort of kicking myself. I couldn’t find it and thought I didn’t have any. Time to clean out that spice rack! Or, maybe I just need to make this recipe again. 🙂
Combine olive oil with your seasonings.
Add the beef and mix it until the beef is well coated. Also add your chopped onion, bay leaf, and broth in the pot.
Add the meat to the pot and cook on high pressure for 45 minutes. Plan on an extra 15-20 minutes for the pot to come up to pressure. Sounds long, but it’s worth it. Go watch some TV or something. When it’s done, natural release the pressure, which will take another 5-10 minutes.
Remove the beef with a slotted spoon. Transfer the beef to a baking pan, shred it a little, and let it crisp up in the broiler for about 5 minutes. You can certainly skip this step, which I did. It’s less authentic, but I like the juicy chunks of meat just on its own.
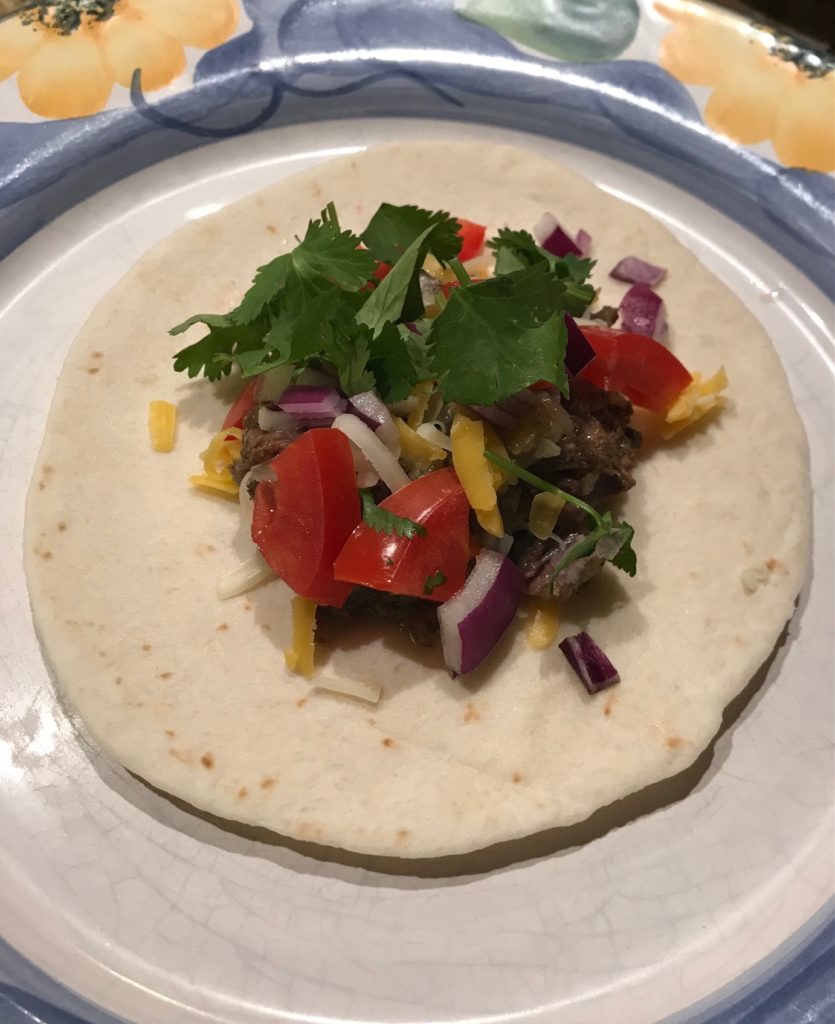
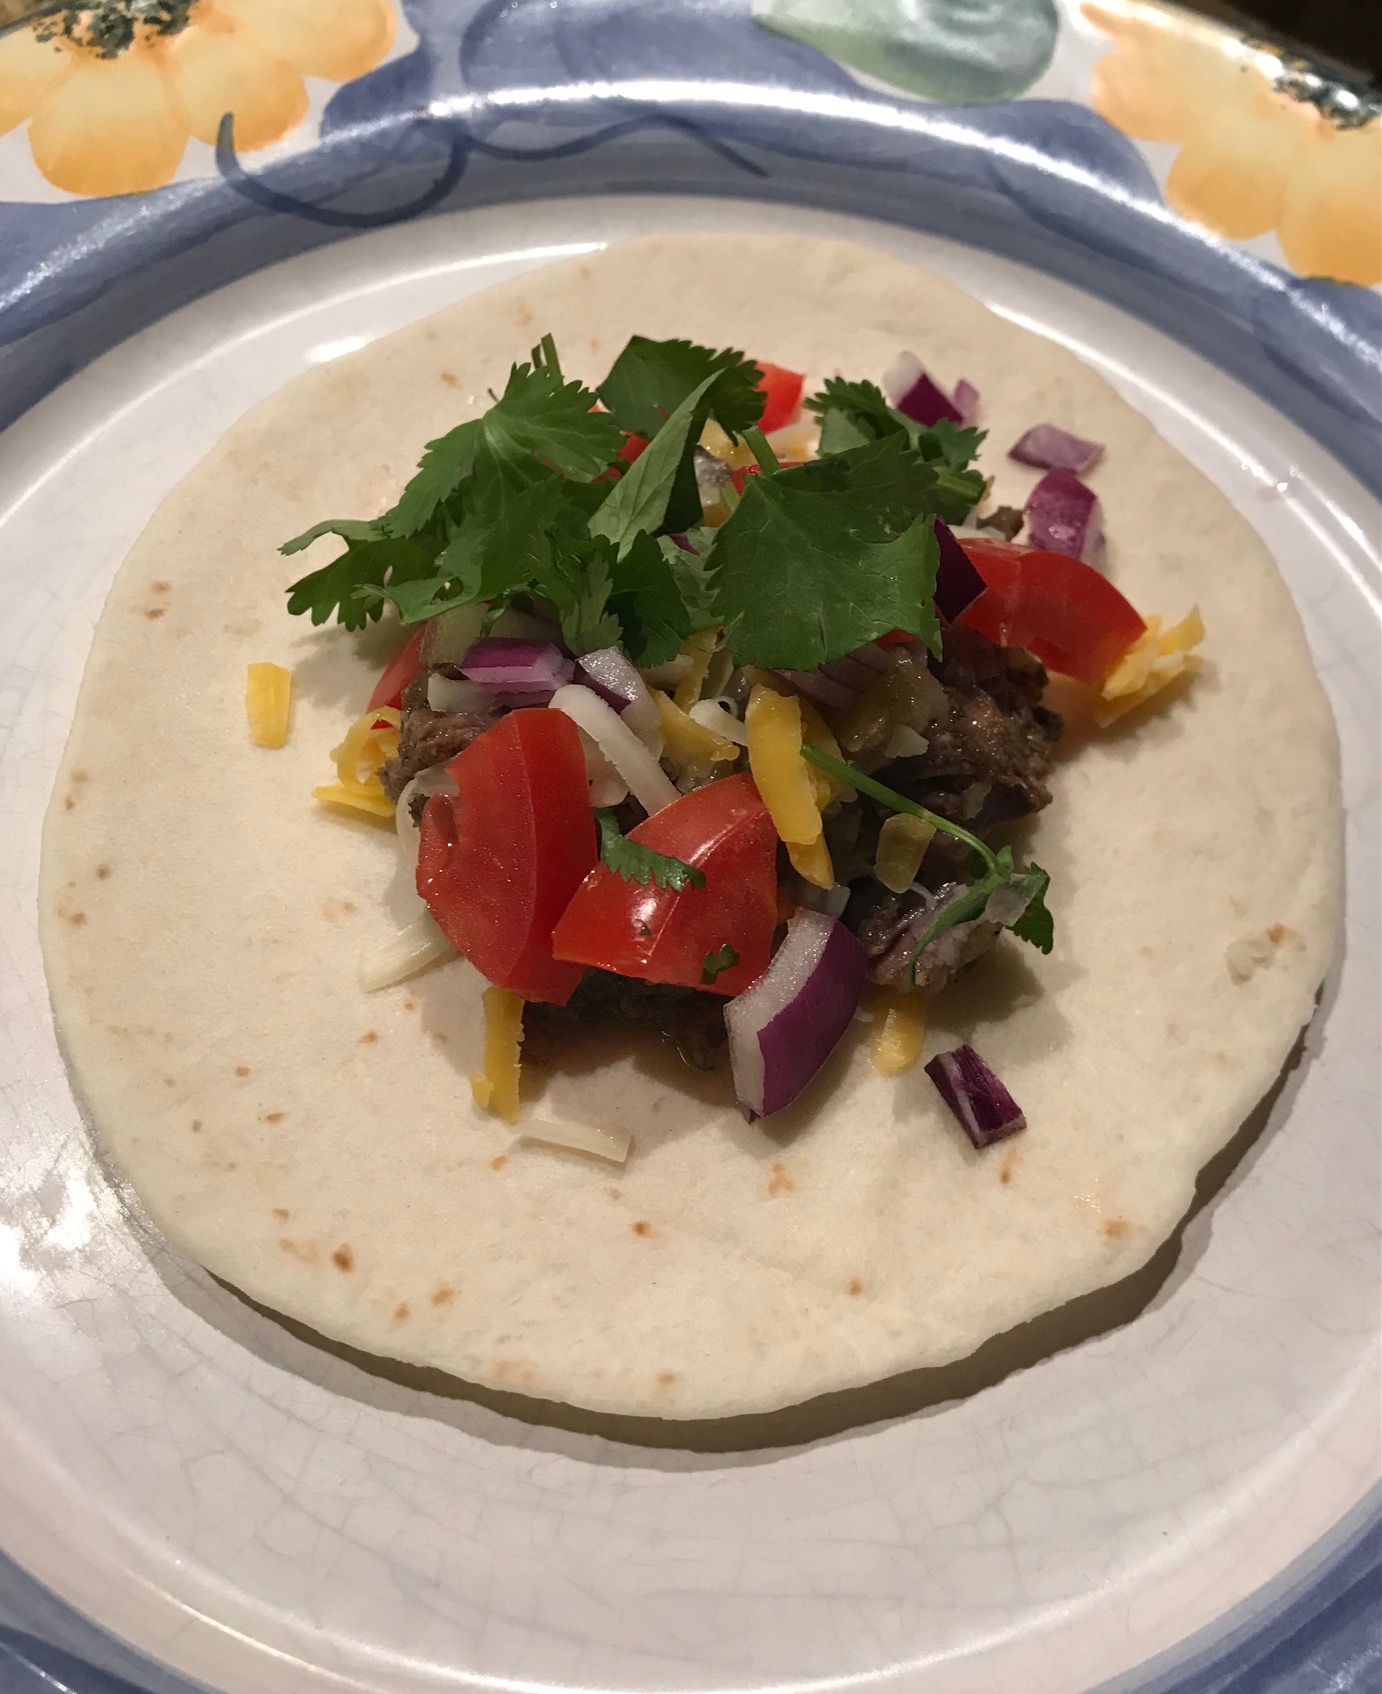
Warm up some tortillas, spoon the carnitas onto the tortillas, add your favorite toppings, and enjoy. I think I was a little heavy handed with the toppings, but I swear the meat is down there somewhere. The meat is super flavorful because of the spices and tender beyond belief. I really did not except these results. Another win for the Instant Pot!
In a large bowl, combine the olive oil, garlic, salt, pepper, oregano, cumin, and chili powder. Cut up the beef into 2-inch cubes and mix until well coated. Place chopped onion, bay leaf, and broth in the pot. Add beef.
Cook at high pressure for 45 minutes. When cooking is complete, natural release to depressurize.
Remove the beef with a slotted spoon or large fine-mesh strainer to remove the liquid. Reserve some liquid if you are broiling the meat. Shred or leave in chunks. Serve on warm tortillas with your favorite toppings.
Optional: Transfer the meat to a baking pan. Use two forks to shred the beef and spread into an even layer on the pan. Broil about 4 inches away for about 5 minutes or until it reaches the crispiness you like. If needed, add some of the cooking liquid to moisten.
In my attempts to make something other than chicken, I came across this Brazilian fish stew also known as moqueca, which is pronounced mo-KEH-kah. It’s amazingly easy to make and really affordable depending on the fish you use. I chose cod, which is a bargain these days, but you can use halibut, sea bass, or even shellfish. I did a little research to find out more about moqueca and was disappointed that not much turned up. It was originally cooked in clay pots, but today’s Dutch oven works well. There are many variations of it, but it’s typically a tomato-based broth with onions, peppers, garlic, and lime. The best write up I found about it is from Olivia’s Cuisine.
This recipe, from Little Ferraro Kitchen and adapted from Simply Recipes, is super simple and contains nothing unusual that requires you to go to an ethnic grocery store to purchase. Moqueca can be more complicated than the recipe I tried if you want a more authentic version. Regardless, this stew is both healthy and comforting, especially on a cold rainy day, and you can make this version in under an hour so it’s definitely a week night meal. I did make a couple changes, but nothing major.
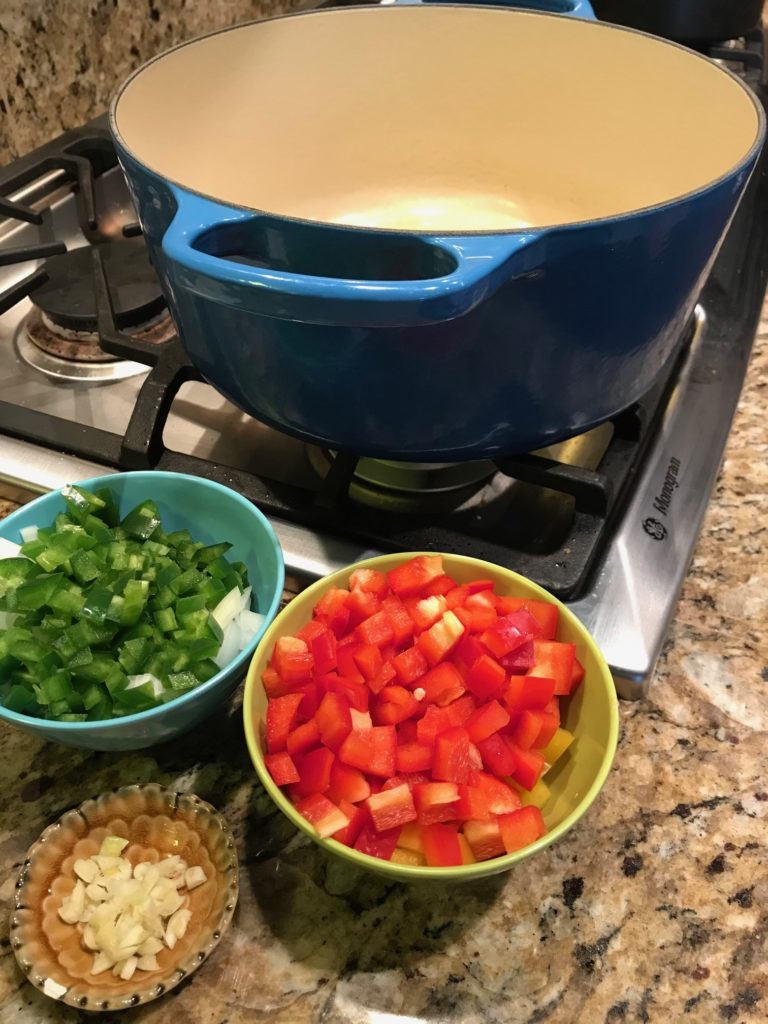
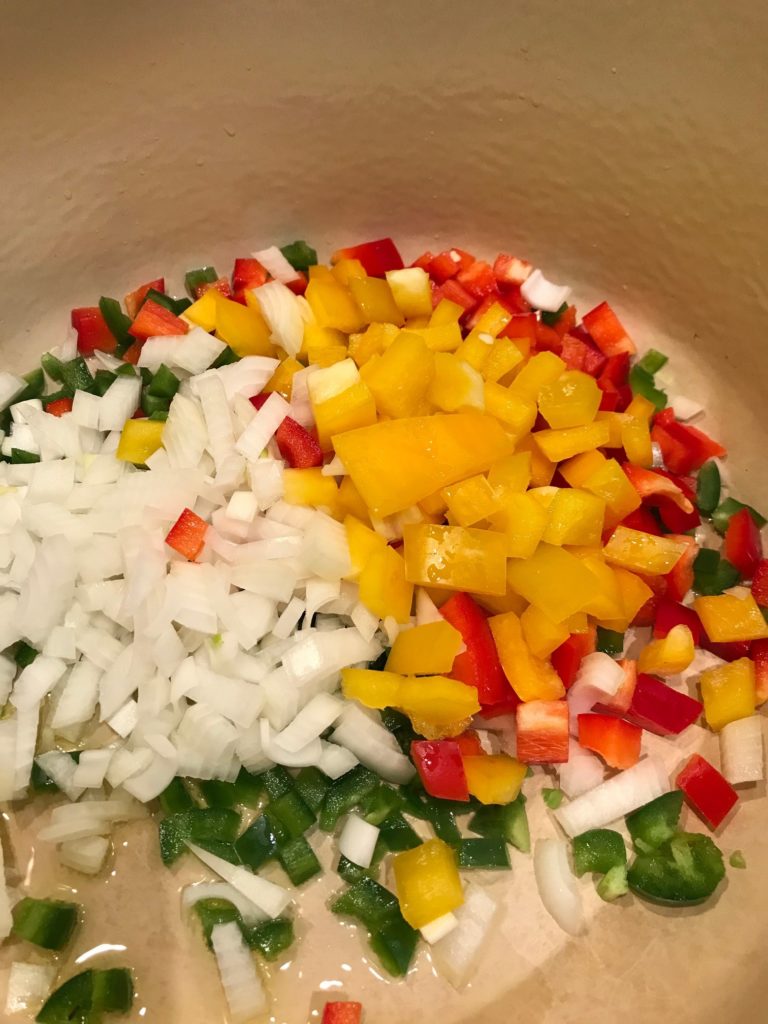
Gather your ingredients. Chop up yellow and green onion, peppers, and garlic. Grab paprika, cayenne, coconut milk, fish and vegetable stock, and jasmine rice. Cut up your fish into 2-inch pieces, and season it with salt and pepper. Zest a lime and you’re ready to go.
Start by sauteing your onions and peppers until they are slightly soft. There’s jalapeno in this recipe, but it really just adds flavor, not heat. Use the entire jalapeno if you’re looking for something spicier, but I removed the ribs and seeds.
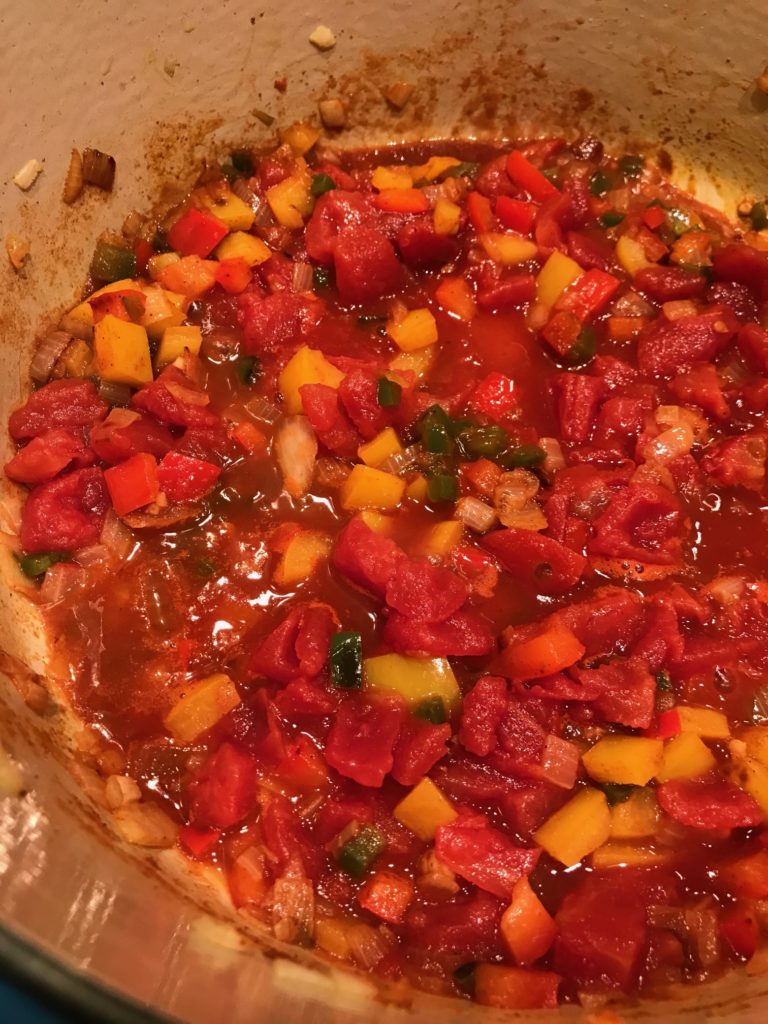
Add garlic, spices, and mix. Let it cook for a minute and until it smells delicious, if it doesn’t already. Add tomato and cook some more.
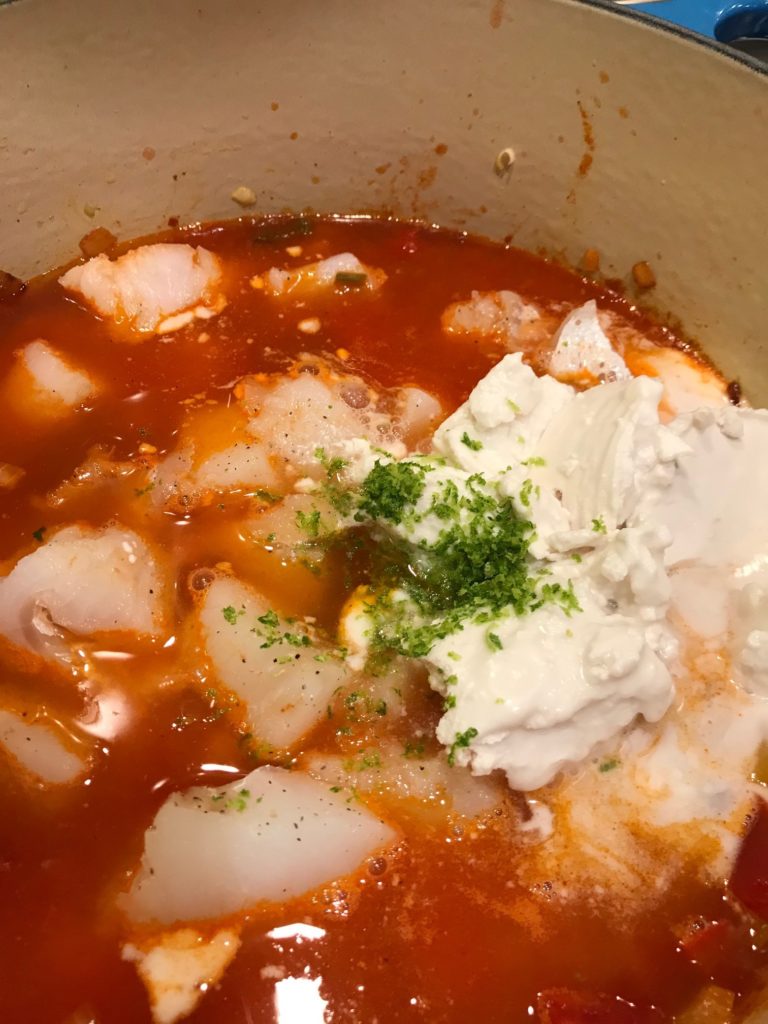
Add fish, fish stock, and coconut milk. If you can’t find fish stock, vegetable stock works too. Add lime zest and add some more salt and pepper.
Bring to a simmer and cook for 20 minutes. While that’s going on, make some extra fancy rice (anything other than white rice is fancy). Saute some onion and garlic in olive oil (that’s the fancy part). Add rice and mix it well. Pour in vegetable stock (more fanciness). Bring it to a boil and cook for 20 minutes.
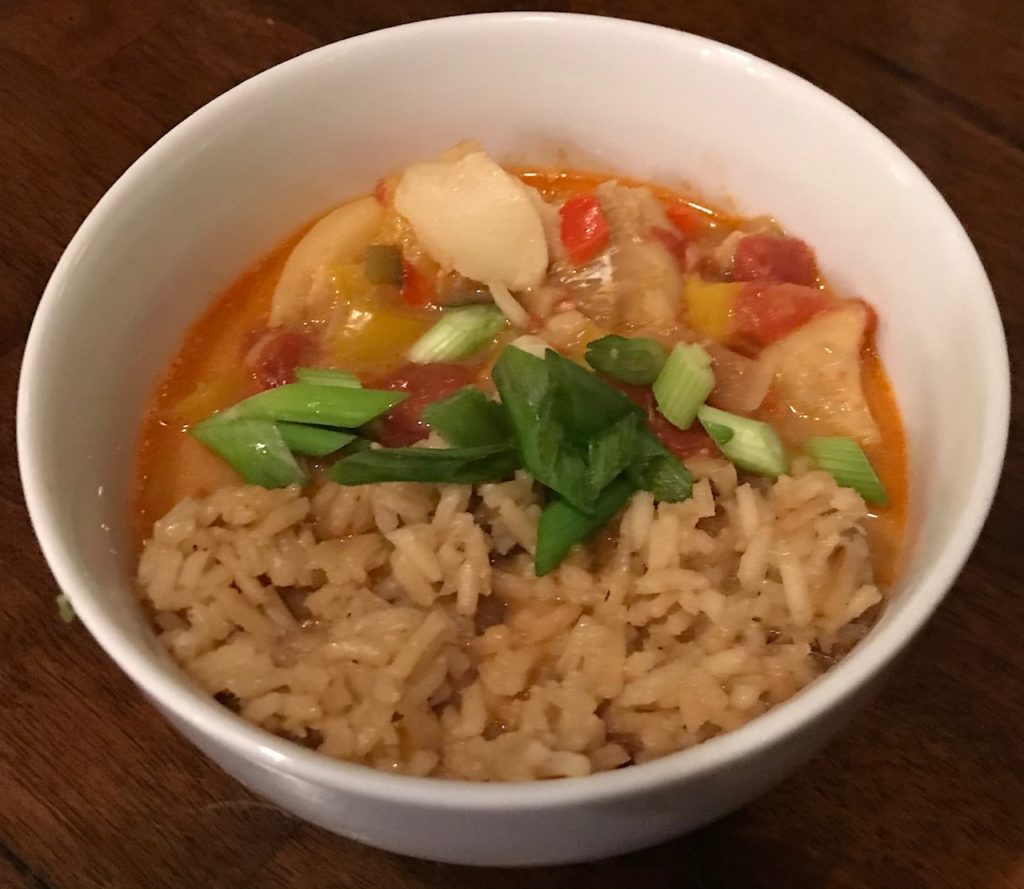
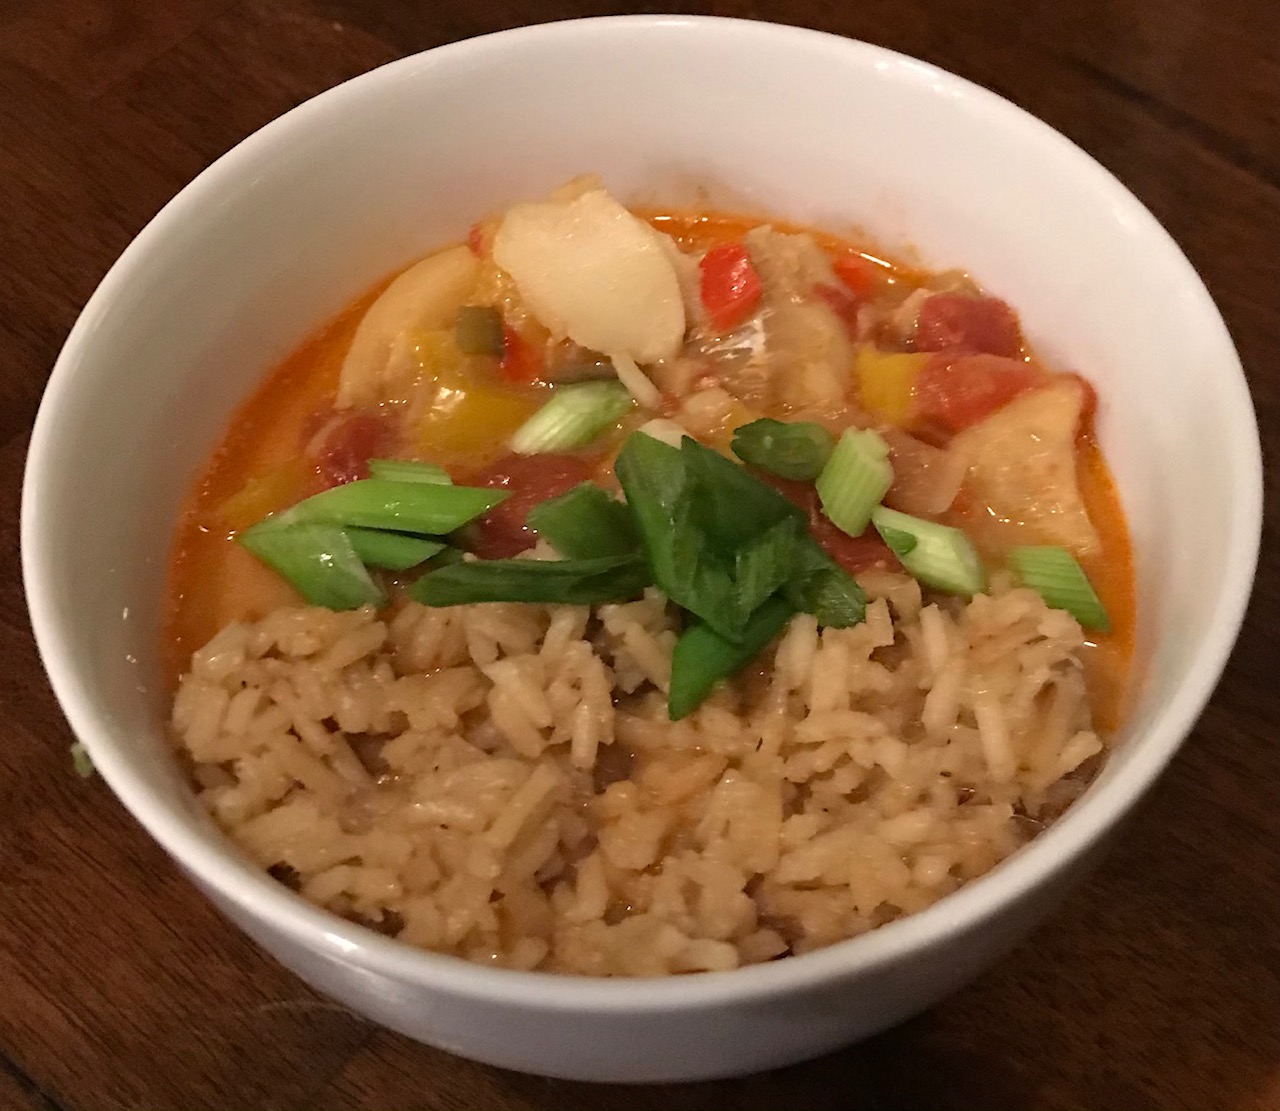
When it’s all done, serve the stew over rice or side by side. Top with green onion. Some cilantro would have been nice too, but I was so ready to dig in I forgot. The chunks of fish were so tender and flavorful. The tomato was rich with a tiny hint of spice from the jalapenos and cayenne. The broth tasted like it had been cooking for hours. My husband loved it. My son had to surgically remove all the chopped up veggies so he was less of a fan. Regardless, it’s a perfect winter meal that makes great leftovers if you can manage not to eat it all.
In a large pot, heat olive oil on medium heat for a minute, Saute chopped onion, bell peppers, and jalapeno until lightly soft, about 6 minutes. Add chopped garlic, paprika, and cayenne. Stir to combine, for another minute.
Add chopped tomatoes with their juice. Stir and cook for 2 minutes.
After cutting the fish in 2-inch chunks, dry the fish very well with a paper towel. Season with salt and pepper on both sides. Add the fish, fish stock, coconut milk, and lime zest. Season with salt and pepper. Cover and cook for about 20 minutes on medium-low heat or until the fish is fully cooked.
While stew is cooking, make the rice. In a small pot, saute chopped onion and garlic in olive oil until lightly caramelized. Add jasmine rice, and stir to coat so onion and olive oil are evenly distributed through the rice.
Add vegetable stock, and season with salt and pepper. Bring rice to a boil, lower heat to a simmer, cover, and continue cooking for about 20 minutes or until the liquid has evaporated.
Serve by spooning the stew over a bowl of rice, or serve the stew and rice side by side. Garnish with cilantro and chopped green onions.
It’s Super Bowl Sunday, but we’re not big football fans. The game is about getting together, listening to the national anthem, watching funny commercials, munching on snacks, enjoying the half-time show…oh and there’s the actual football game. Almost forgot about it. Unless the 49ers are in it, I’m not interested in who’s playing.
This year is different. Not that I get out much, but the last party I went to was our friend’s huge Super Bowl 2020 party. He had two TVs going, a kitchen peninsula overflowing with pot luck items, ice coolers brimming with beverages, and multiple chafing dishes full of Asian deliciousness from his family’s restaurant. There’s much talking, laughing, and small children running about (except my teenager who is bored out of his mind). There’s a little television watching, but mainly it’s about the food and the commercials.
This year is different, I repeat. I just tell myself it’s a different type of Super Bowl where we all should be socially distanced. Please stay home. It’ll be quiet, calm, and sometimes that’s okay. We might have the TV on. I’m going to make some cheeseburger and bacon sliders (recipe coming soon!). I thought about making my chocolate football brownies or chocolate dipped football strawberries, but I just want an afternoon of peace and a little reflection. It’s the year to slow down.
If you read this and have time to run to the store, do it because this dish is amazing and perfect for the Super Bowl. It takes forever to make so you can start mid-afternoon and have something ready by dinner time. Before I made it, I wondered if it was really worth the effort. YES! I’m talking about chili con carne. And it’s not from a can. It’s amazing. I can’t say that enough.
I decided to look up the difference between chili con carne and chili. There isn’t really. I guess if your chili has no meat, you really shouldn’t call it chili con carne, but some people would wonder if that’s even chili. Then there’s the whole controversy of beans versus no beans, which I will not get into. You guys duke that one out on your own.
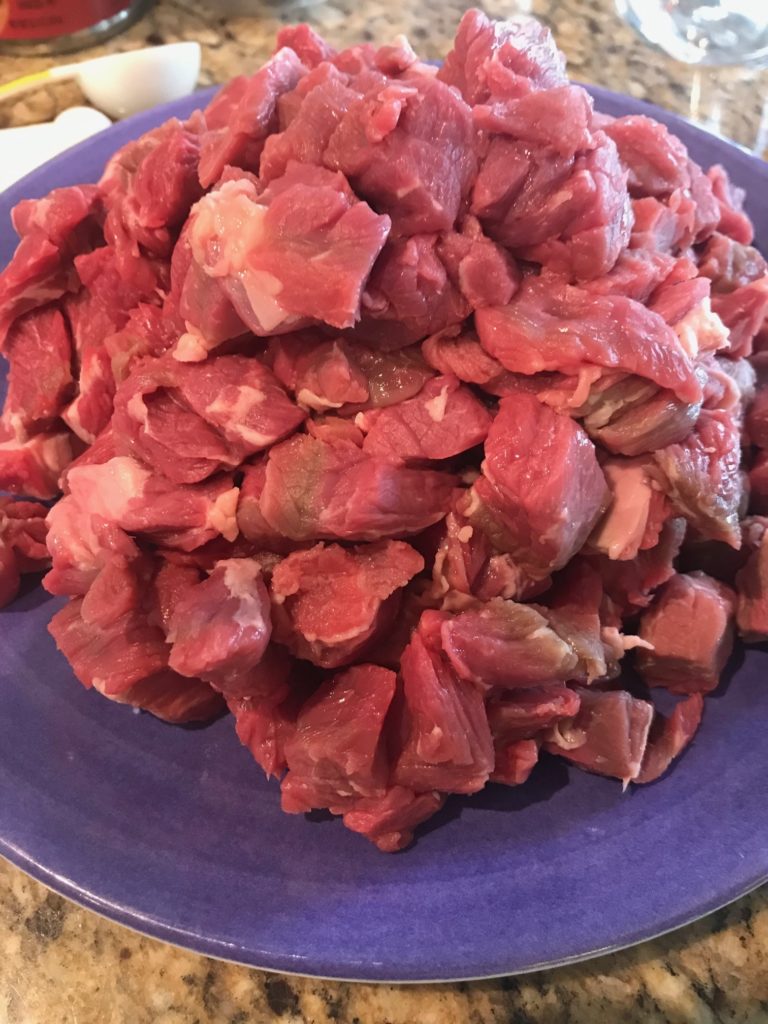
Okay, enough talking and let’s get down to business. I found this recipe on Simply Recipes, and was really pleased how awesome it came out. I only made a couple substitutions. My biggest complaint is that it takes way longer than 10 minutes to prep. I don’t know who these people are except a chef on Chopped. It took me 10 minutes alone to cut up the meat. So, bottom line, give you yourself at least 30 minutes to bring all your ingredients together.
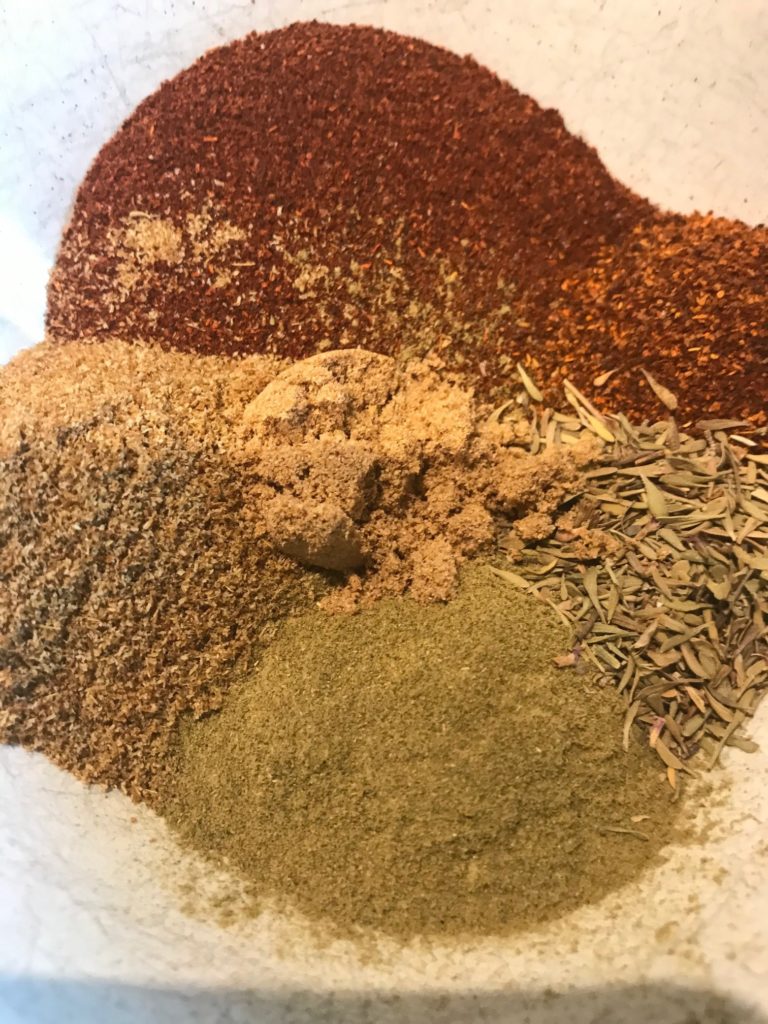
Measure out all your seasonings and place them in a small bowl with some water to make a paste.
This recipe calls out for two types of chili powder, red and chipotle. I didn’t want to spend $4 on chipotle chile powder (hello, that cuts into my Starbucks habit) when I already had ancho chile powder (and I have no idea why I did have that). How different can they be? Apparently not enough for this cook. Chipotle chile powder is made from smoked, dried jalapenos. Ancho chile powder is made from dried poblanos, which results in a milder, sweeter chile powder that isn’t quite as smoky or hot as chipotle. In my opinion, either is fine, and if you want, just stick to your standard red chili powder if you want. You might miss some of the smokiness, but you’ll be fine.
Next, get your bacon going in a fry pan while you finish up dealing with your onions, garlic, peppers, tomatoes. Squeeze some lime juice and measure out the sugar. You can also drain and rinse some beans, and measure out the cornstarch, which you’ll put aside for now.
When the bacon is done, chop it up into bite size pieces. The recipe calls for you to cook it so you can crumble it, but I like my bacon a little meatier than that. I want substance.
Toss in the meat in batches to sear. Do not be tempted overcrowd the beef all into one pan or you’ll end up with a big pile of steaming meat. Not a good thing. By the way, the recipe says to drain the bacon fat and use a tablespoon for the meat. No way. I’m not going to that mess and it’ll taste better my way. This is not a time to be all healthy.
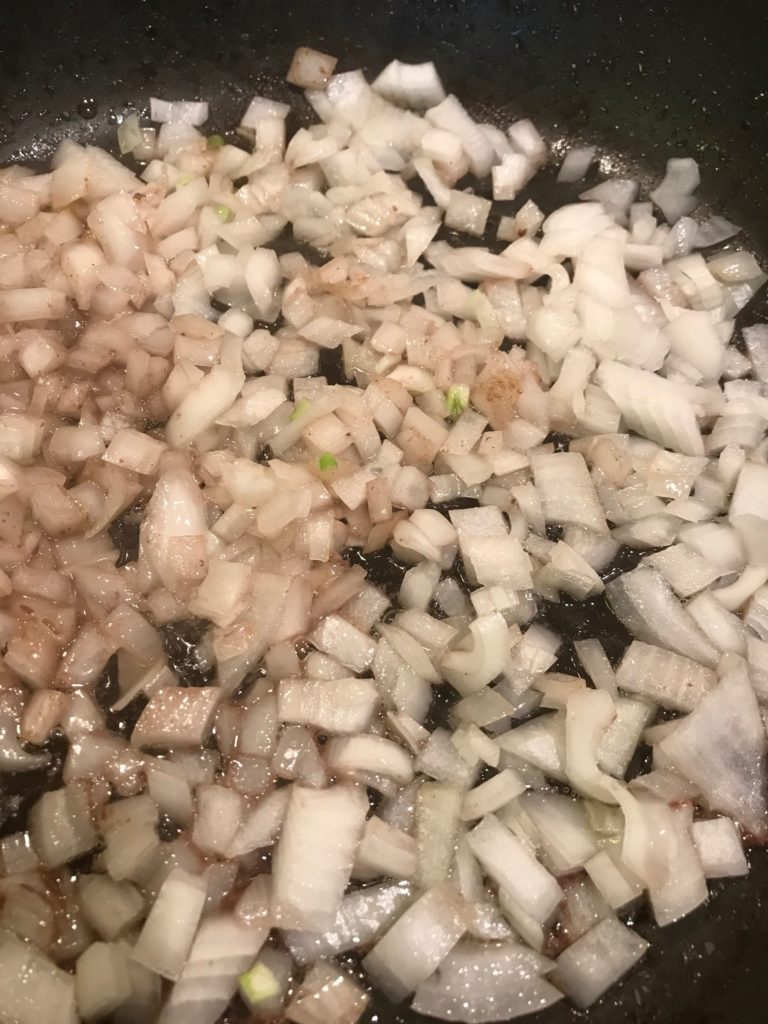
After you’ve seared the beef, set it aside and start on your onions.
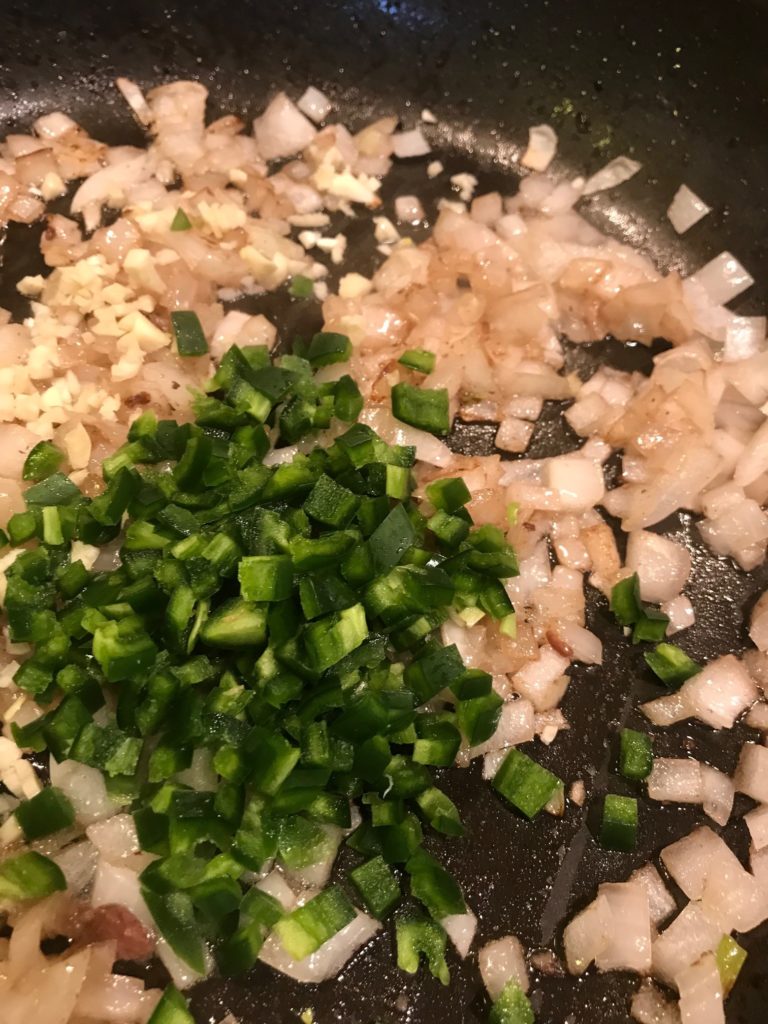
Next add garlic and jalapenos. In this household, I usually hold back the spice for the boys, but not this time. Jalapenos really aren’t that spicy if you don’t include the membranes.
Next add your spice paste and cook it a little longer.
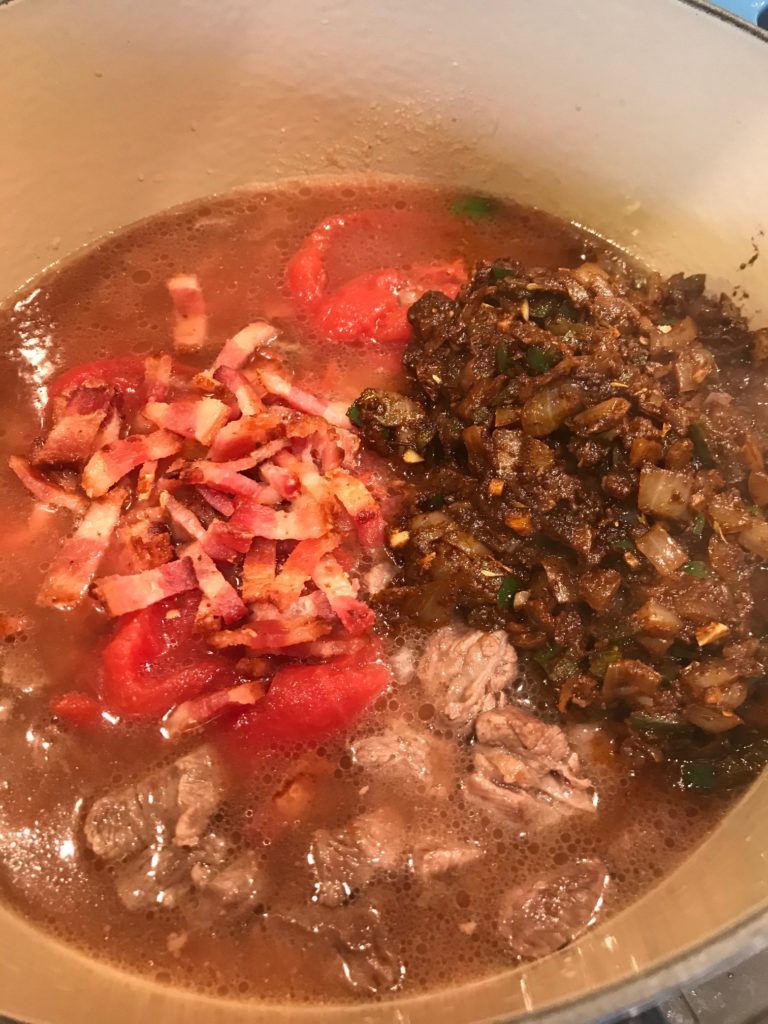
Put all this fragrant goodness into a large pot or Dutch oven along with the bacon, tomatoes, some water, lime juice, and sugar.
There’s a lot of flavors going on here, which is good because you’re going to let it cook for a couple of hours while you “watch” the game, snack, and drink beer. Well, if you’re on the East coast, you might want to make this a few hours before the game and dig in just as the game starts. You can still snack and drink beer. No one’s stopping you and if we’ve learned anything from the pandemic, it’s apparently to be day drinkers.
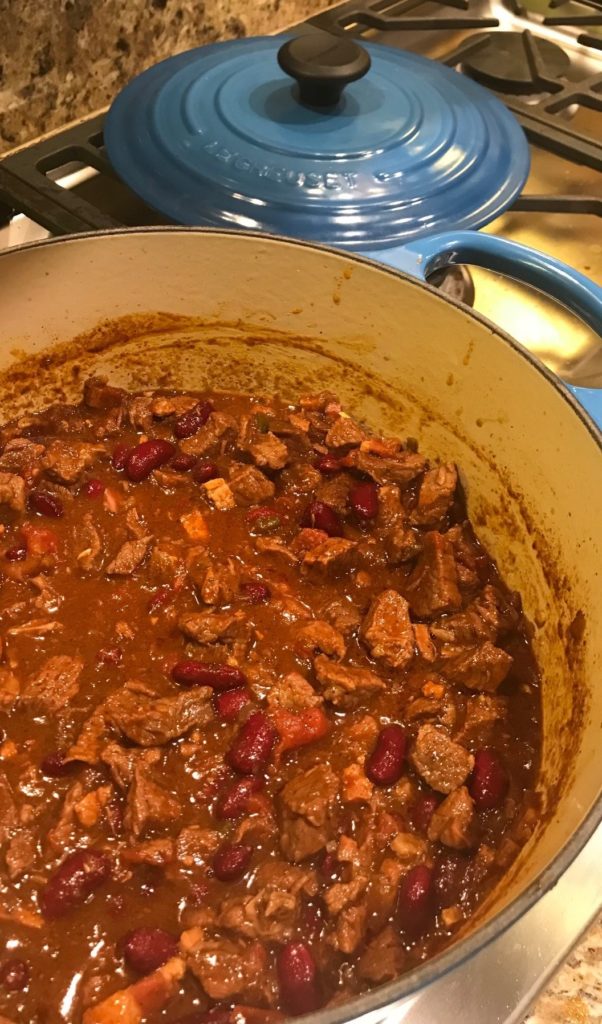
After 90 minutes, uncover the pot and let it simmer for another 30 minutes. When that’s done, you’ll think that you have a watery soup/stew situation going on. But wait! There’s more! Mix up your cornstarch with some water until it’s dissolved (no lumps) and add it to the pot. Throw in your beans (shocking, I know). Add a bit of salt, if it needs it. You might need to add a little more lime juice or sugar, but I didn’t think so.
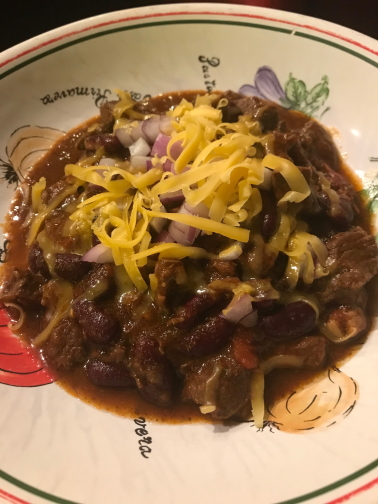
Just in case, dip a corn or tortilla chip into it to taste. If you’re not sure, continue and repeat. It’s pretty much amazing at this point and eventually you should share it with others so take it off the heat, ladle into bowls, throw some cheddar cheese and onions if you like, and serve.
This is not your canned chili. I was concerned that I would spend hours making this to discover it’s not worth it. Wrong. It’s totally worth it. Just plan ahead. This is not a weekday meal, but it freezes well so you can have it anytime you want. Now I have to be concerned that the boys won’t want canned chili ever again.
2jalapeno chili peppersstems removed, seeded, membranes roomed, minced
14ounceswhole tomatoesbroken up
2 1/2cupswater
1tablespoonlime juice
1teaspoonsugar
14ouncesred kidney beansdrained and rinsed
1teaspooncornstarchdissolved in a couple tablespoons of water
salt
grated cheddar cheese and chopped onionoptional
Method
In a small bowl mix the red chili powder, ancho chile powder, ground cumin, oregano, thyme, and ground coriander seeds. Mix in water so that the spices forms a light paste. Set aside.
Cook the bacon in a large skillet on medium high heat until it's slightly underdone. Set aside on a paper towel. Leave the bacon fat in the skillet. When the bacon cools, chop it into bite-sized pieces and set aside.
Increase heat to medium high. Working in batches so that you don't crowd the beef , sear the beef cubes on all sides, lightly salting as you cook the beef. Remove beef from pan, set aside.
In the same skillet, add the chopped onions and saute until soft, about 5 minutes. Add and cook the garlic and jalapeno for a minute until fragrant. Add the chili paste and cook for 2-3 more minutes.
Into a 6-quart thick-bottomed Dutch oven or pot, put onion chili mixture, beef, bacon, broken down tomatoes (break up the whole tomatoes with your fingers as you put them in the pot), water, lime juice, and sugar. Heat the chili on medium high heat until it comes to a simmer. Reduce the heat to low. Cover and cook for 1 1/2 hours. Then uncover and simmer for another half hour.
Mix the cornstarch powder into a little water to dissolve the cornstarch completely and add to the chili to thicken it. Gently mix in the kidney beans. Add salt to taste.
Ladle into bowls and top with grated cheddar cheese and chopped onion.