Blog

Lemon Chicken and Rice Soup

Jump to Recipe

The rain is really coming down today, which in many ways is good for drought-ridden Northern California. The trees are whipping, water is pounding on the windows, and the sky is dark. The house is shaking a bit, which I’m not a big fan of. I really hope we don’t lose power because we’ll all go out of our minds. I know this is nothing compared to the snow storms of the East, but when it rains here, people freak out like it’s the apocalypse or something. What’s that wet stuff falling from the sky?! Everyone, run for your lives!

My point? It’s definitely soup weather.

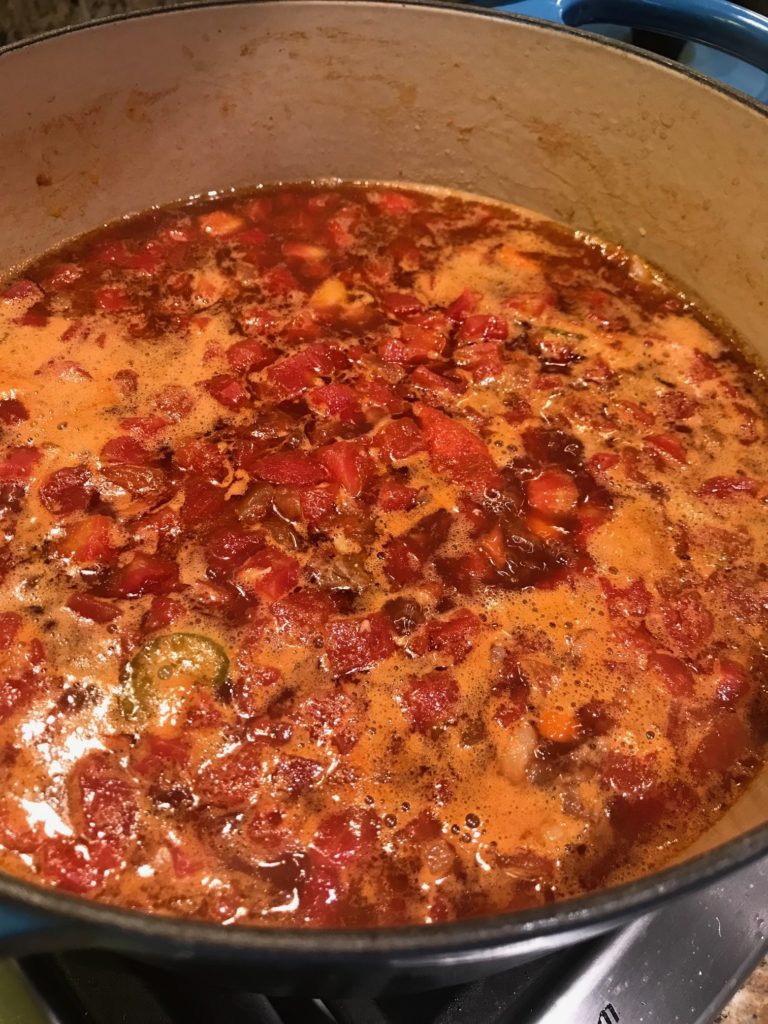
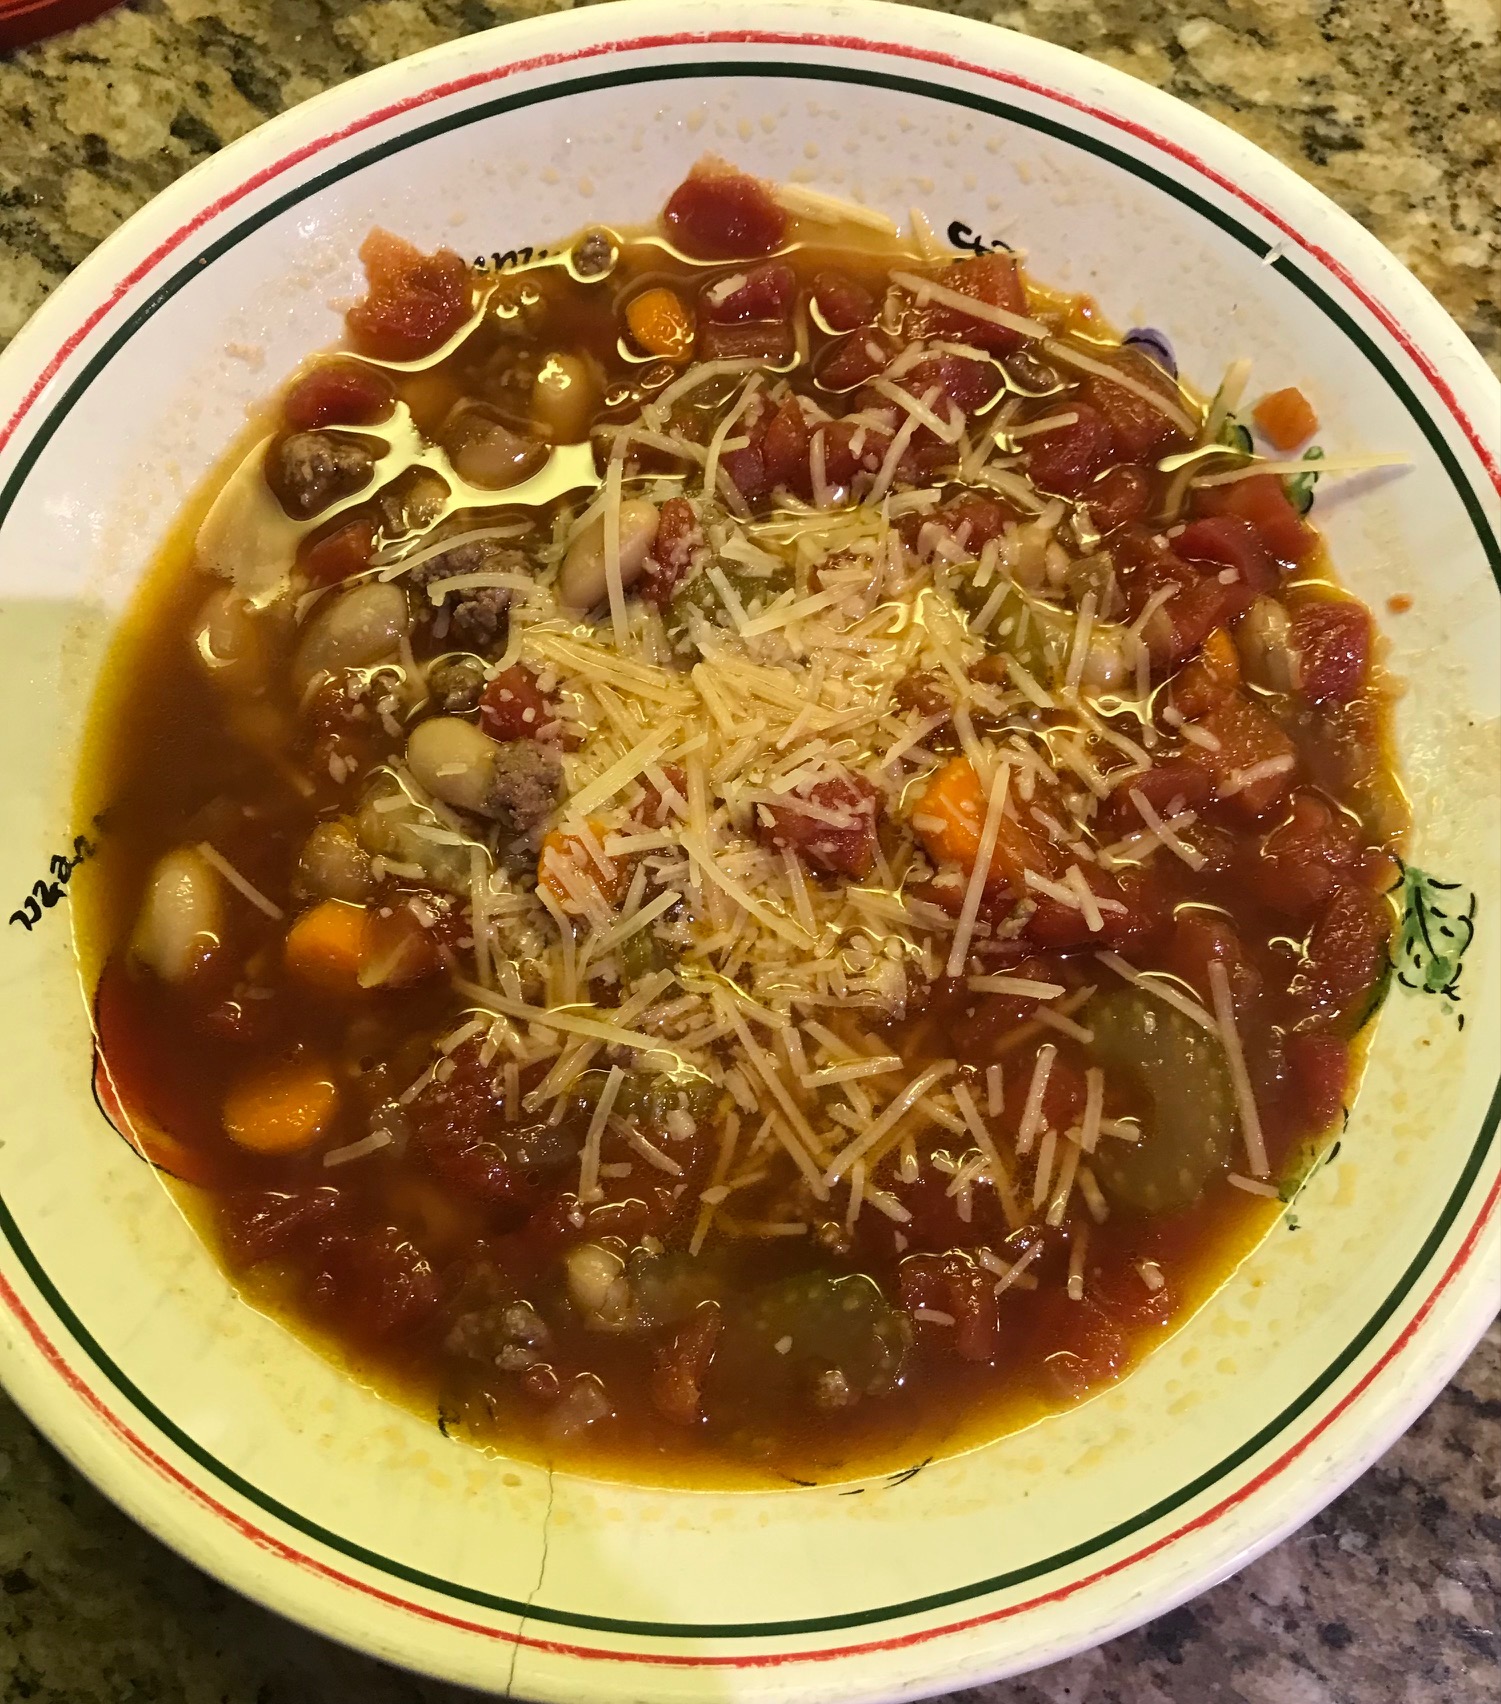
Today’s recipe is from Delish, Lemon Chicken and Rice Soup. It’s so amazing that you definitely need to make this now. It’s even easier than last week’s Beef and Cannellini Bean Minestrone. I made a few changes according to my preferences, but otherwise, it’s pretty much perfect.

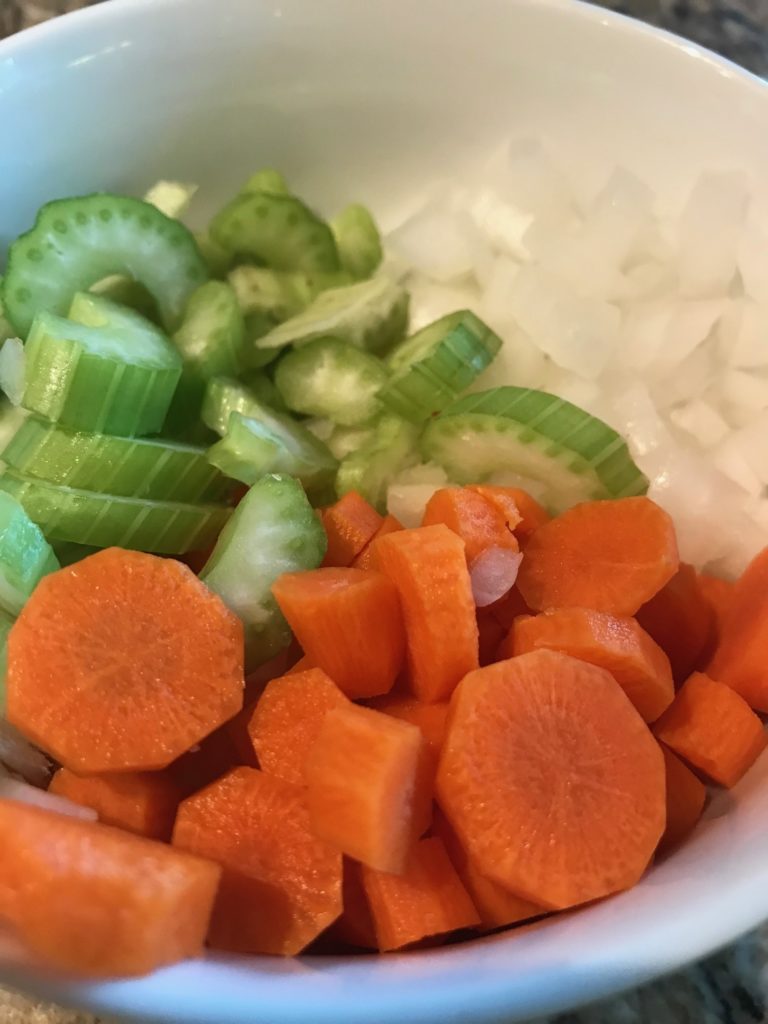
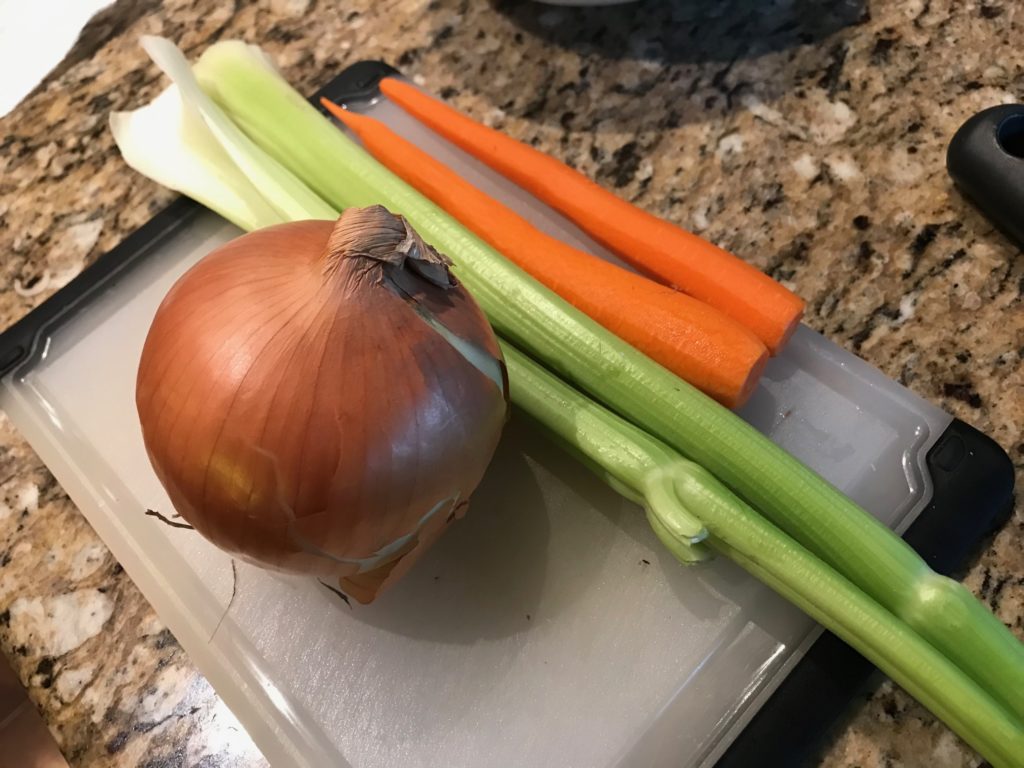
Prep your ingredients. Cube chicken thighs into bite sized pieces. Juice and zest a lemon. Mince up a garlic clove. Chop up an onion. Slice a few carrots and celery stalks. Grab the chicken stock from the pantry. And please, when a recipe says stock, use stock, not broth. Broth and stock are not the same. You need the stock to provide that intense flavor as if you’ve been simmering this soup for hours. Don’t forget to cook a cup of rice and slice up a few green onions.

Lemon Chicken and Rice Soup

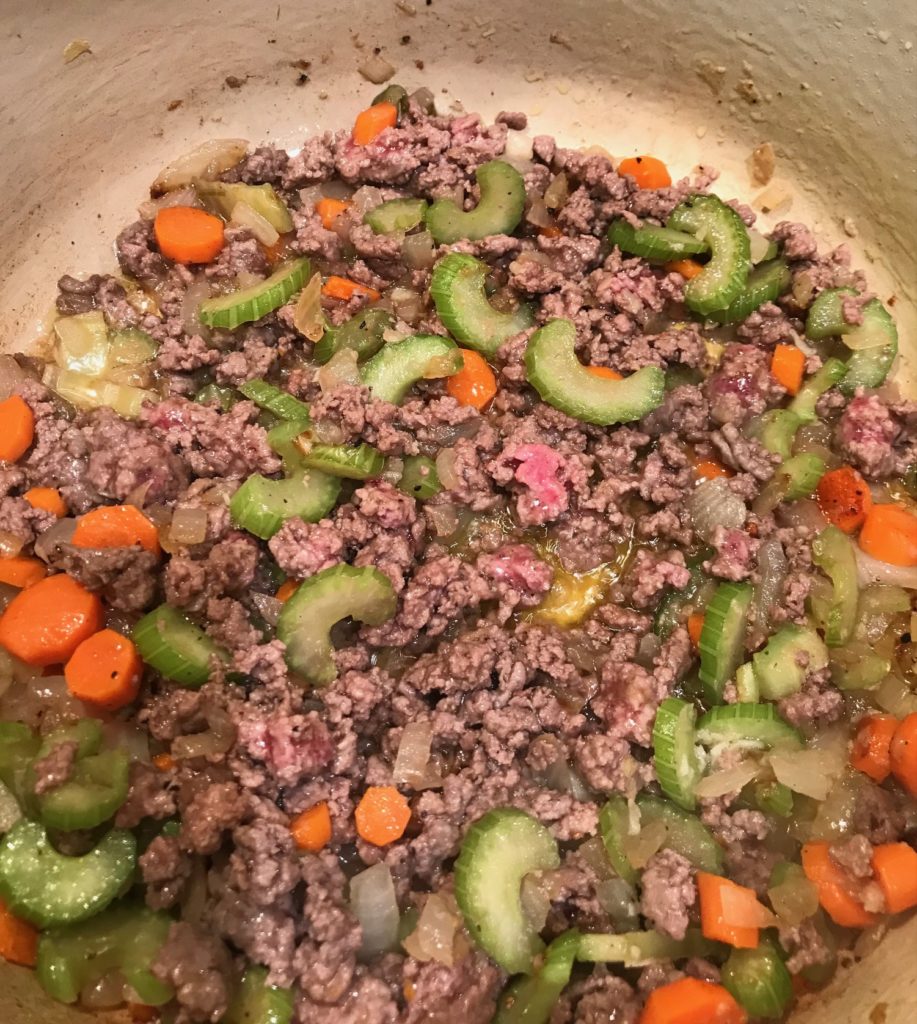
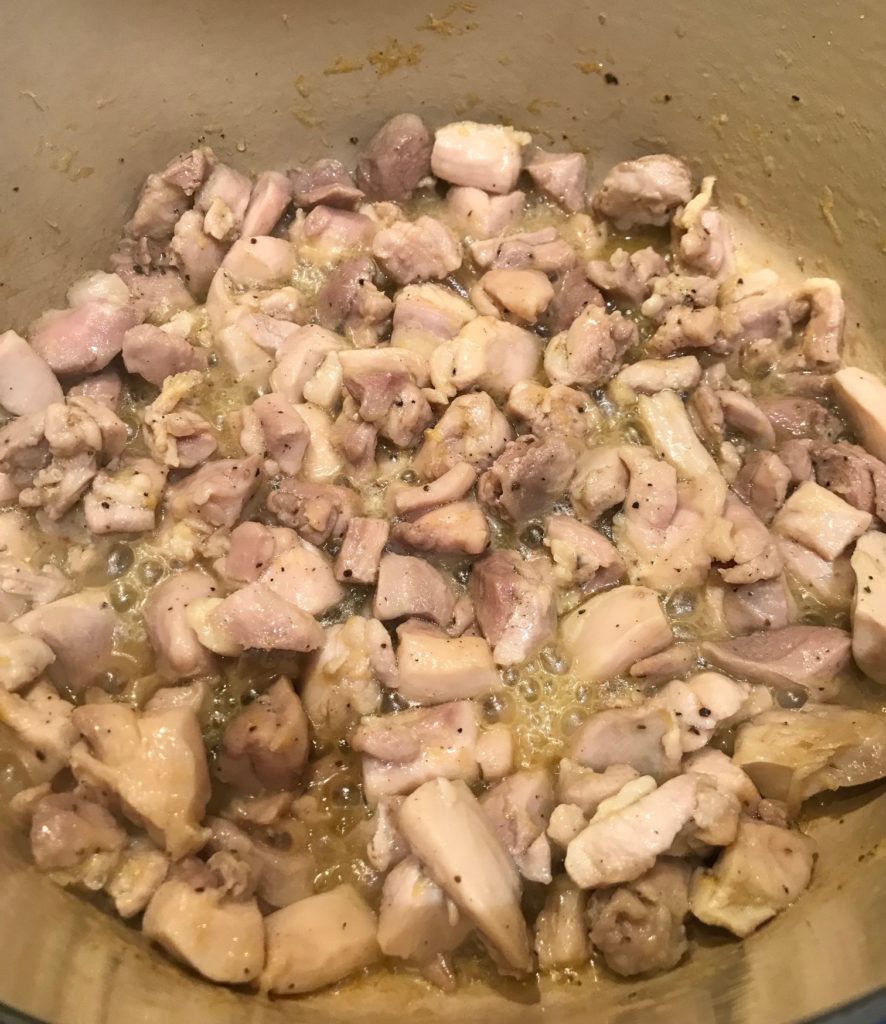
Heat some olive oil in a large pot or Dutch oven and throw you chicken in. Be sure to season it with salt and pepper, and throw in the lemon zest. The recipe calls for half the zest now and then use the rest for a garnish, but I think it’s better to use it all now for that distinct lemony flavor. I don’t want some half-ass lemon flavored soup. Pardon my French.

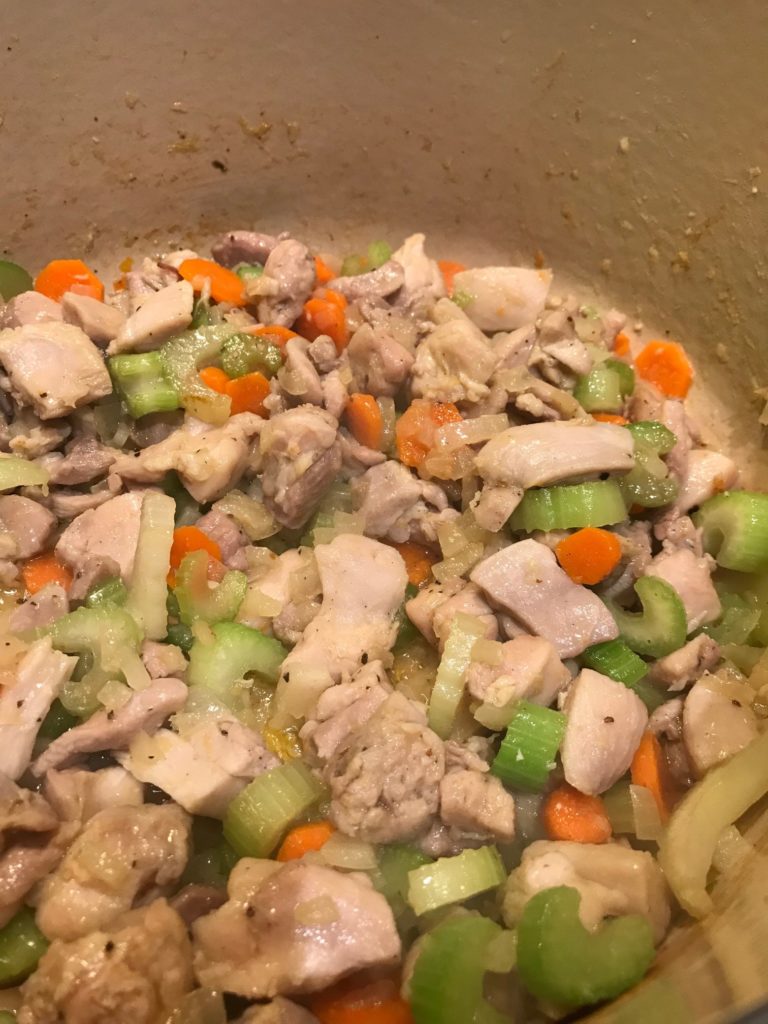
Cook the chicken until it’s no longer pink, about 5 minutes.

Lemon Chicken and Rice Soup

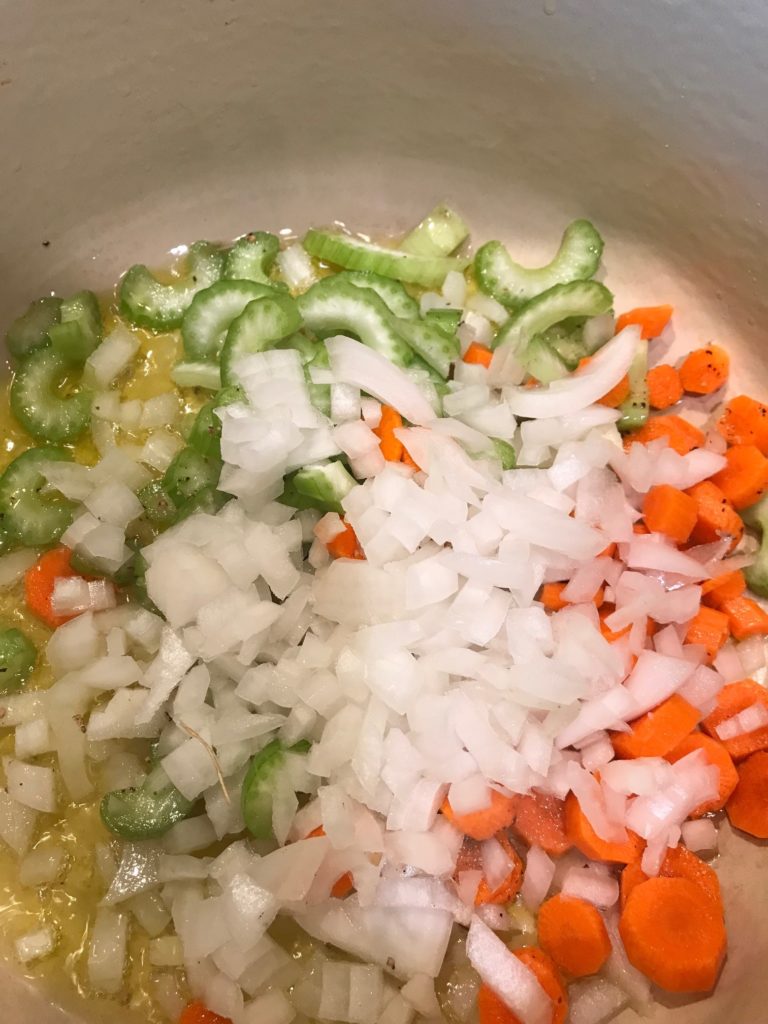
Taste it to make sure it has enough salt and pepper, and add more if necessary. Next, add your garlic and veggies. I went for sliced veggies instead of diced because I like my veggies to be in larger pieces. It’s really up to you.

Lemon Chicken and Rice Soup

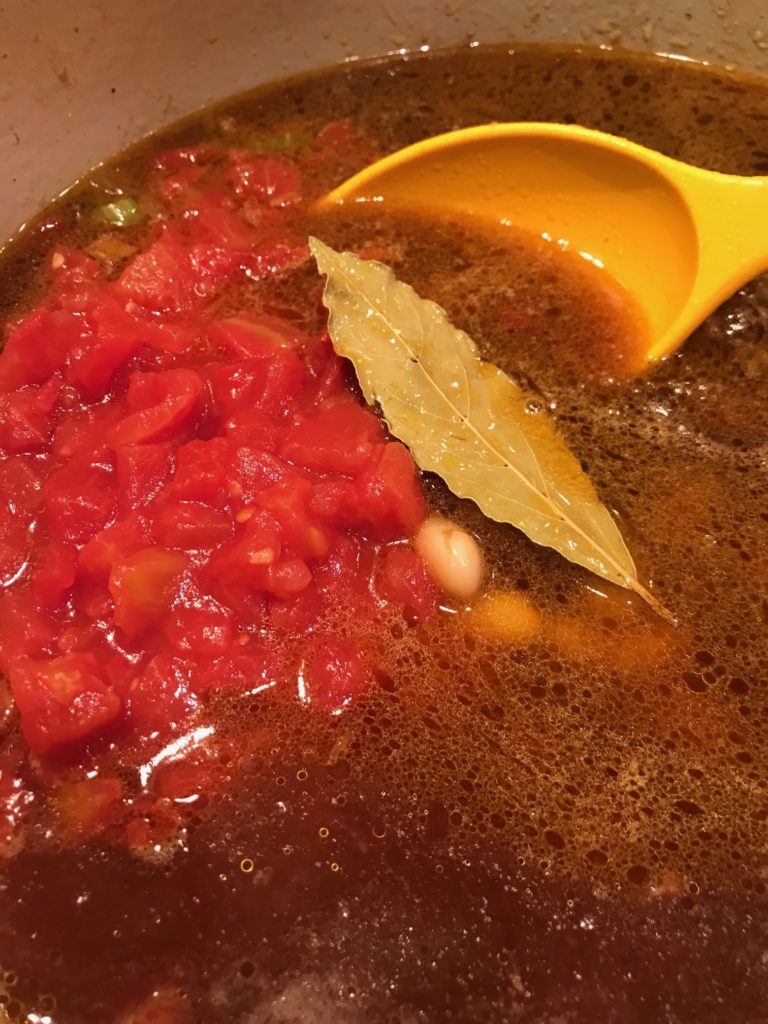
Cook all that until the veggies are slightly soft, about 7 minutes. Next, throw in your stock, lemon juice, cooked rice, and some of the green onions. Save the rest for garnish. The recipe calls for 1 cup of cooked rice, but I added 2 cups. It makes for a more substantial soup.

Lemon Chicken and Rice Soup

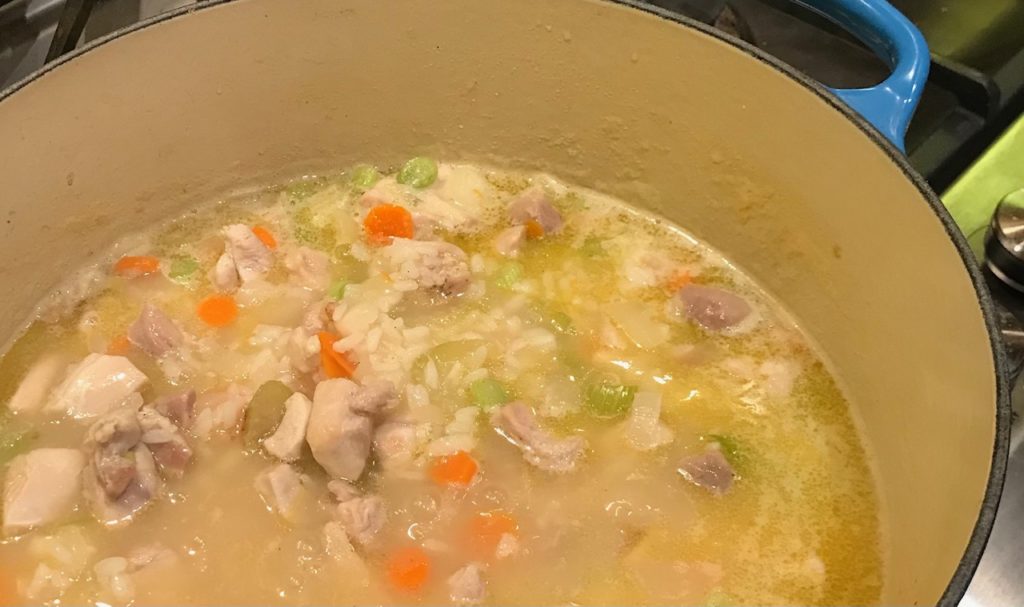
Bring it to a boil and then let this simmer away for about 5 minutes. You won’t have time to do much else so don’t wander off. When it’s ready, ladle it into some bowls and garnish with the rest of the green onions.

Lemon Chicken and Rice Soup

And that’s it. I told you it was easy. There’s hardly any clean up because it was all made in a single pot. It’s lemony goodness with a touch of garlic. The soup is full of delicious chunks of chicken and veggies, and just the right amount of rice so you won’t go hungry an hour later. Comfort food at its best. Next time, I’m going to experiment with dill, which would complement the lemon nicely. Enjoy!

Lemon Chicken and Rice Soup

Lemon Chicken and Rice Soup

Servings 4

Ingredients
  

  • 1 tablespoon olive oil
  • 1 pound chicken thighs cut into bite-sized pieces
  • Kosher salt and freshly ground black pepper
  • 1 lemon zested and juiced
  • 1 clove garlic minced
  • 1 yellow onion diced
  • 2 carrots sliced
  • 2 celery stalks sliced
  • 4 cups chicken stock
  • 2 cups cooked white rice
  • 4 green onions sliced

Instructions
 

  • In a large pot or Dutch oven over medium-high heat, heat oil. Add chicken to pot. Season with salt, pepper, and add the lemon zest. Cook chicken on all sides, 5 minutes. Add garlic, onion, carrots, celery. Season with salt. Cook until softened, about 7 minutes.
  • Add chicken stock, lemon juice, cooked rice, and half of the green onions, reserving the rest for garnish. Bring to a boil and then simmer uncovered for 5 minutes. Garnish with the rest of the green onions and serve.
Blog

Beef and Cannellini Bean Minestrone

Jump to Recipe

It’s finally soup season! Making homemade soup instead of cracking open a can is a cooking investment worth your time. One of my favorite soups is minestrone. I love the simplicity of it. It’s basically a tomato-based broth with a few veggies, some pasta, and maybe some ground meat. So, when I came across this recipe by Giada De Laurentiis from The Food Network, I had to try it. She makes awesome Italian dishes so I knew this one would not fail me. I was intrigued that instead of pasta she uses canned white cannellini beans. No pasta?! Most of the time you want to use dried beans for the most flavor so I was a little skeptical whether this soup would be tasty enough, but this soup recipe did not disappoint. Because the beans are canned, making this soup was super fast for a comforting homemade weeknight soup. No need to soak your beans over night.

Prep your ingredients. Dice up an onion, carrot, and celery. I like my celery and carrots in heartier pieces, so I sliced mine. If you want more veggies, feel free to add more. This is a very flexible soup. Next, mince some garlic. Measure out some tomato paste. Gather your canned ingredients. Have some grated Parmesan nearby.

Beef and Cannellini Bean Minestrone

Take a large saucepan or Dutch oven and saute your veggies. Be sure to add salt and pepper.

Beef and Cannellini Bean Minestrone

After the veggies are soft, throw in your ground beef and cook until there’s no more pink. The ground beef below needs more cooking time.

Beef and Cannellini Bean Minestrone

Add your tomato paste and then the rest of your ingredients.

Beef and Cannellini Bean Minestrone

It’s starting to look like soup! And it really smells good too. Here it is bubbling away.

Beef and Cannellini Bean Minestrone

Let it simmer for about 30 minutes while you go do something fun. Not that cooking isn’t fun, but maybe there’s an episode of House Hunters you’ve been meaning to watch. So I hear.

When it’s ready, ladle it into soup bowls and sprinkle some Parmesan cheese on top.

Beef and Cannellini Bean Minestrone

And that’s it. Super simple, and economical too. It makes great leftovers plus it freezes well. It’s so much better than what you’d find in a can and is worth the slight amount of effort that goes into it. It tasted like I spent hours on it. It’s a win-win!

Beef and Cannellini Bean Minestrone

Beef and Cannellini Bean Minestrone

Servings 6

Ingredients
  

  • 3 tablespoons olive oil
  • 1 onion finely diced
  • 1 large carrot peeled and diced into 1/4-inch pieces
  • 1 celery rib trimmed and diced into 1/4-inch pieces
  • Kosher salt and freshly ground black pepper
  • 8 ounces lean ground beef
  • 3 garlic cloves minced
  • 1 tablespoon tomato paste
  • 4 cups beef broth
  • 28 ounces canned diced tomatoes
  • 15 ounces canned cannellini beans rinsed and drained
  • 1 dried bay leaf
  • 1/2 cup grated Parmesan cheese

Instructions
 

  • In a large saucepan or Dutch oven, add the oil and heat over medium heat. Stir in the onion, carrot and celery and season with salt and pepper, to taste. Cook, stirring frequently, until the vegetables are soft, about 5 minutes.
  • Increase the heat to high and add the ground beef and garlic. Season with salt and pepper, to taste. Cook until the beef is browned and cooked through, about 5 minutes.
  • Stir in the tomato paste and mix to combine. Add the broth, tomatoes, beans, and bay leaf. Bring the mixture to a boil. Reduce the heat to a simmer and cook until the liquid has reduced by half, about 30 minutes.
  • Remove the bay leaf and discard. Season with salt and pepper, to taste. Ladle the soup into bowls and garnish with Parmesan cheese.
Blog

Ginger Garlic Sesame Shrimp

Jump to Recipe

I’m sort of picky about the meat and seafood I buy. You won’t find me buying the $1.99 pound of “ground beef” (is that a thing?!). But I do look at the relative prices to see what is more affordable than others. Right now, it seems that shrimp is cheaper than most fish and because we are trying to incorporate more seafood in our diet, I’ve been trending towards shrimp. Unfortunately, I’m allergic to shrimp so I can’t eat it, but that doesn’t mean I can make it.

I found a tasty recipe on Simply Recipes that would not be offensive to my picky eater. The only thing he’d have to surgically remove from his plate are the tiny bits of green onion. Someday he’ll eat them.

You will probably have most of the ingredients on hand: soy sauce, rice vinegar, brown sugar, olive oil, sesame oil, garlic, and ginger. First prepare the marinade. I’m happy to say you don’t have to do this hours ahead of time. It’s quick.

Mix together all those ingredients I mentioned above and marinate it while you make some rice.

Ginger Garlic Sesame Shrimp

I marinaded the shrimp for about 15 minutes. That seemed to work. Grabbed my wok to feel fancy, but any skillet or saute pan will work. Heat the oil and then use a slotted spoon to remove the shrimp from the bowl and into your hot pan. This will make a mess, but such is life. Cook it for about a minute.

Ginger Garlic Sesame Shrimp

Add half of those onions the younger boy will pick out and keep cooking this until the shrimp are pink and no longer raw. This really goes fast, about 2 minutes. You might want to flip them over half way through.

Ginger Garlic Sesame Shrimp

Set the shrimp aside on a plate and then throw in the marinade from the bowl to make your sauce. Cook it up until it’s thick and syrupy. Pour over your shrimp and coat it all up. Scoop some onto a bed of hot rice and sprinkle some green onions on it to make it pretty. And that’s it. Super fast and not so hard to make. A really good week night dish.

Ginger Garlic Sesame Shrimp

Because I couldn’t taste it myself, I interrogated the boys like their life depended on it. They said it was good. Seriously. Tell me more. They liked how it was sweet, but not too spicy (from the ginger, I suppose). The sesame flavor was not too overpowering. The younger boy admired the lack of vegetables (and that I served this meal with a side of berries). Sounds like a win-win make again!

Ginger Garlic Sesame Shrimp

Ginger Garlic Sesame Shrimp

Servings 3

Ingredients
  

  • 1/4 cup soy sauce
  • 2 tablespoons seasoned rice vinegar
  • 2 teaspoon brown sugar
  • 2 tablespoons extra virgin olive oil
  • 1 teaspoon sesame oil
  • 3 cloves garlic minced
  • 1 tablespoon grated ginger
  • 1 pound 16-20 count shrimp peeled and deveined
  • 1 tablespoon canola oil
  • 3 green onions sliced on the diagonal
  • cooked rice

Instructions
 

  • In a medium bowl, whisk together soy sauce, seasoned rice vinegar, and brown sugar until the sugar has dissolved. Then, whisk in the olive oil, sesame oil, minced garlic, and grated ginger. Place the shrimp in the bowl with the marinade. Toss to coat with the marinade and chill for about 15 minutes.
  • Cook rice to your preferred method.
  • Heat cooking oil in a large wok or skillet on high heat. When the oil is shimmering hot, almost smoking, use a slotted spoon to move the shrimp from the marinade into the hot pan. It will splatter so be careful. Stir fry for a minute.
  • Add half of the sliced green onions. Continue to stir fry. Turn the shrimp over after a minute. Cook for another minute until the shrimp are pink and just cooked through.
  • Remove shrimp from pan and transfer to a serving bowl. Place the remaining marinade in the hot wok or pan. Simmer until it has reduced to a syrup.
  • Pour the sauce over the shrimp. Toss to coat. Sprinkle the shrimp with remaining green onions. Serve over hot rice.
Blog

Chipotle Steak Rice Bowls

Jump to Recipe

I’ll get to the point. We love tacos and fajitas. So much so that I came to the conclusion that we needed another Taco Tuesday, but let’s say on a Friday. I decided mix it up a bit and make these tasty fajita steak rice bowls, which feature juicy slices of homemade fajita-seasoned skirt steak along side sliced onions and peppers over rice. I promise the effort is worth the reward. What am I saying?! You’ll find this recipe is a quick and satisfying meal. This recipe comes from The Recipe Critic and will not disappoint.

First, bring out all your ingredients, which are your seasonings, olive oil, limes, soy sauce, skirt steak (try to pull it out an hour ahead of time because meat cooks more evenly when it’s at room temperature), peppers (any color you want), some butter, and rice (brown or white, your choice).

Go cook some rice.

Next, make the fajita seasoning. A lot of stuff (seven!) goes into this, but that’s where all the flavor. Please do that skip the chipotle chili pepper powder, which you can find among all the other spices at the grocery store. I hate buying spices that I never use again, but you can use this instead of your regular chili powder. It’s worth the purchase.

Chipotle Steak Rice Bowls

Mix it up, spoon out some for your veggies, and put the rest aside for the marinade.

Time for the marinade. You don’t have to marinate the meat for hours. Love it. If you’re like me, you usually forget to marinate ahead of time. Not a problem here. In a gallon size zip-top bag, add olive oil, lime juice, soy sauce, and the fajita seasoning. Throw your steak in the mag, close the bag, and squish the bag around to coat the steak. Let it hang out on your counter while you slice and cook up the peppers and onion. BTW, you can use any color of bell pepper. Any type of onion too. I used yellow and red peppers with red onions.

Now you’re going to cook your onions. I used an iron cast skillet because it makes a nice crust on the steak and it makes me feel fancy (which is super important when cooking as it boosts your confidence level), but any skillet works. After you’ve softened the onion a bit, add your peppers and reserved fajita seasoning. Give it a stir. I don’t like overcooked, soft peppers so I only cooked them for about 4 minutes. These are perfect.

Chipotle Steak Rice Bowls

Transfer them to a plate and set them aside.

Next is the steak. I did sort of make a mess, but that’s okay. Melt some butter in the skillet and gently place it in the pan so you don’t splatter the butter like I did.

Chipotle Steak Rice Bowls

Sear the steak for about 4 minutes on each side. When you think it’s ready, take our your trusty instant thermometer. Wait, you don’t have one? You need to buy one (and no, I’m not making any money from this recommendation). It’s perfect when making sure your meat isn’t raw. Ick. I like mine around medium rare, which is about 145F. If you want it medium, cook until 160F. Let’s not discuss any other acceptable level of rareness.

Chipotle Steak Rice Bowls

When the steak is cooked, transfer it to a cutting board and slice it as thin as you like. Fill a bowl up with hot, cooked rice. Throw on your steak and veggies. Add any toppings you like. Cilantro is a must in our family. We also added spicy pickled carrots and avocado. Yum.

Chipotle Steak Rice Bowls

This is a make again. Two thumbs up. This meal pleases everyone because it’s both adult and kid friendly. The perfectly seasoned steak is flavorful without being too spicy. You can customize the bowl to however you want. My picky eater skipped everything but the rice and steak while throwing some cheese on top. Perfect! There’s no wrong way to make your bowl. Because I tend to low carb it, I skipped the rice and put it on a bed of kale (yes, I’m weird that way), but cabbage would have worked too.

Go make this. Please and thank you.

Chipotle Steak Rice Bowls

Chipotle Steak Rice Bowls

Servings 4

Ingredients
  

  • 1 1/2 teaspoons chipotle chili pepper powder
  • 1 teaspoon cumin
  • 1 teaspoon garlic powder
  • 1/2 teaspoon onion powder
  • 1/2 teaspoon smoked paprika
  • 1/4 teaspoon salt
  • 1/8 teaspoon black pepper
  • 3 tablespoon olive oil divided
  • 2 limes juiced
  • 1 teaspoon soy sauce
  • 1 1/2 pounds skirt steak
  • 2 medium bell peppers any color
  • 1 medium onion any type
  • 2 tablespoons butter
  • 2 cups rice
  • your favorite toppings

Instructions
 

  • About an hour before cooking, place the steak on the counter so it comes up to room temperature.
  • In a small bowl, combine the chipotle chili powder, cumin, garlic powder, onion powder, paprika, salt, and pepper. Reserve 1 1/2 teaspoons for the vegetables.
  • In a large zip-top bag, combine 2 tablespoons of olive oil, lime juice, soy sauce, and the remainder of the fajita seasonings. Add the steak, seal the bag, and press the bag to coat the marinade onto steak. Set it aside on the counter while you prepare the vegetables.
  • Remove the onion skin and slice into thin strips. Core the bell peppers to remove the seeds and thinly slice.
  • Heat 1 tablespoon olive oil in a 12" cast iron or non-stick skillet over medium high heat. Add the onions and allow to cook for 4-5 minutes, or until softened. Add the bell peppers and sprinkle with the reserved 1 1/2 teaspoons of fajita seasoning. Cook for about 3-5 minutes. Transfer and set aside on a plate.
  • Melt butter on the same skillet and sear the steak. Allow to sear for 3 to 4 minutes (or more depending on how done you like your steak) on each side. Internal steak temperature should be 145F for medium rare or 160F for medium. Transfer steak to a cutting board and allow to rest for at least 5 minutes before slicing into thin strips.
  • Fill bowls with rice. Top with steak, onions, peppers, and your favorite toppings.