Blog

Cantonese Steamed Fish

Jump to Recipe

We have a favorite Chinese restaurant in town called Fat’s that makes this amazing Cantonese steamed fish. I wanted to try making it at home. It’s a little out of my comfort zone because I don’t have much experience steaming anything, but how hard could it be? People steam stuff all the time. It’s not like I’m making a souffle or macarons. Actually, let’s not speak of the time I tried making macarons. They turned out chewy. Enough said.

Some people use bamboo steam baskets, but I decided to go with an old-fashioned metal steam basket like the kind my mom used to use to make that awful mushy steamed broccoli she’d serve for dinner. Let’s not speak of that either.

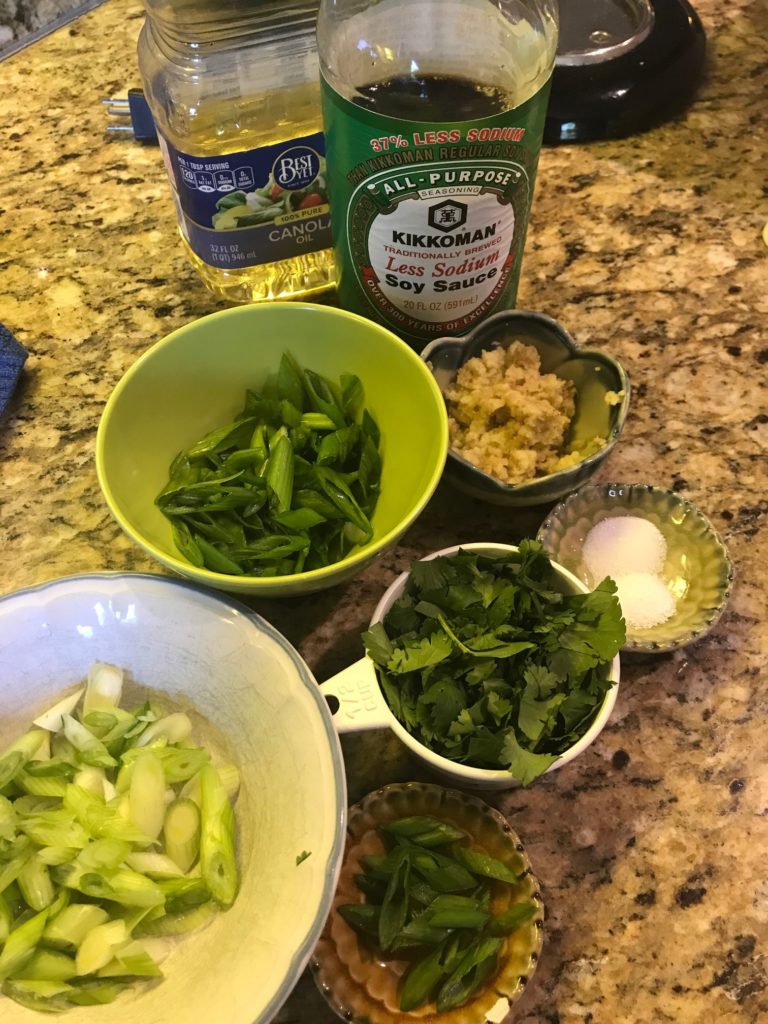
Let’s prep the ingredients. Grate some fresh ginger. Slice up some green onion. Rough chop the cilantro. Set aside a bit of green onion and cilantro for garnish. Measure out the soy sauce, salt, sugar, and vegetable oil. Grab some hot water.

Cantonese Steamed Fish

Mix together soy sauce, salt, sugar, and hot water. Set aside. Now comes the fun part. Grab a wok and add a couple inches of water. It doesn’t need to be precise, but the water level needs to be below your steamer. When you stick your steamer in the wok, if there’s water in the steamer, you’ve got too much water.

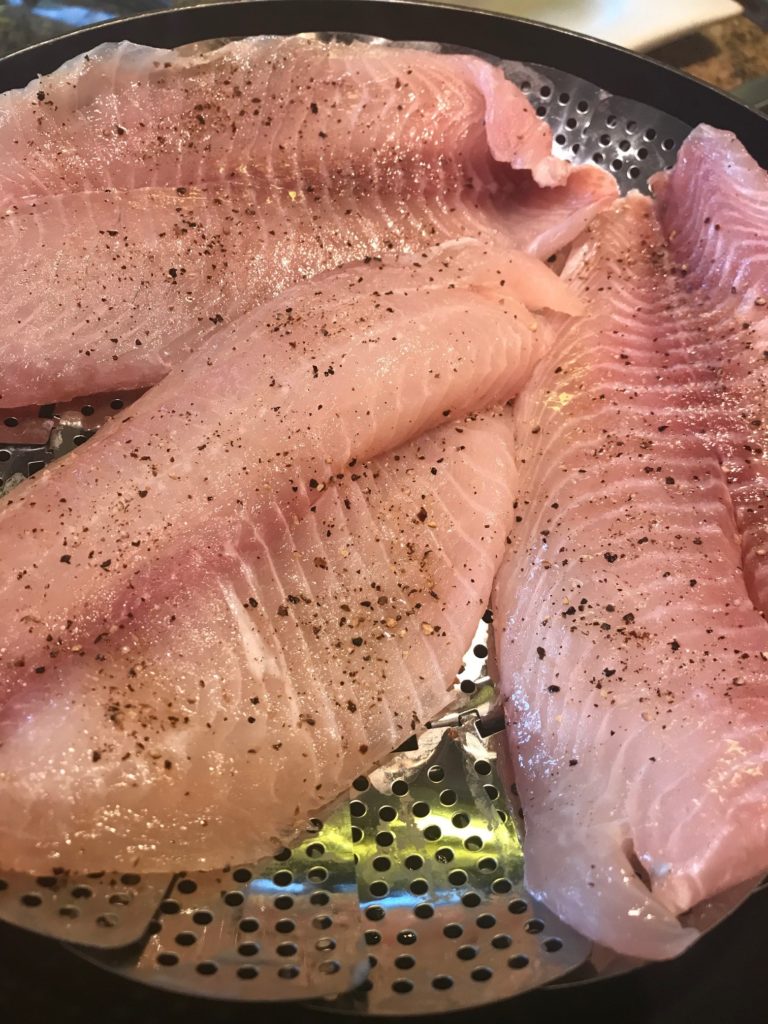
Salt and pepper your fish. I chose tilapia because it was on sale and I’m all about the sales. Once your water is boiling, place the fish in the steam basket.

Cantonese Steamed Fish

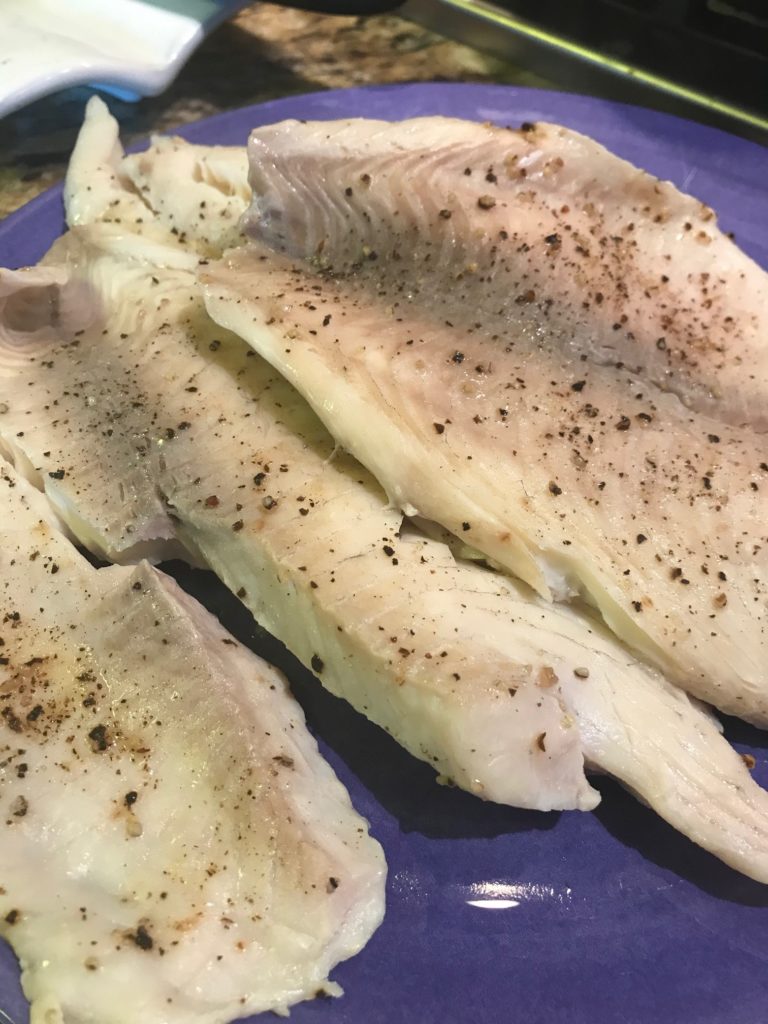
Cover and steam it until the fish is cooked. Mine looked like this and took about 9 minutes.

Cantonese Steamed Fish

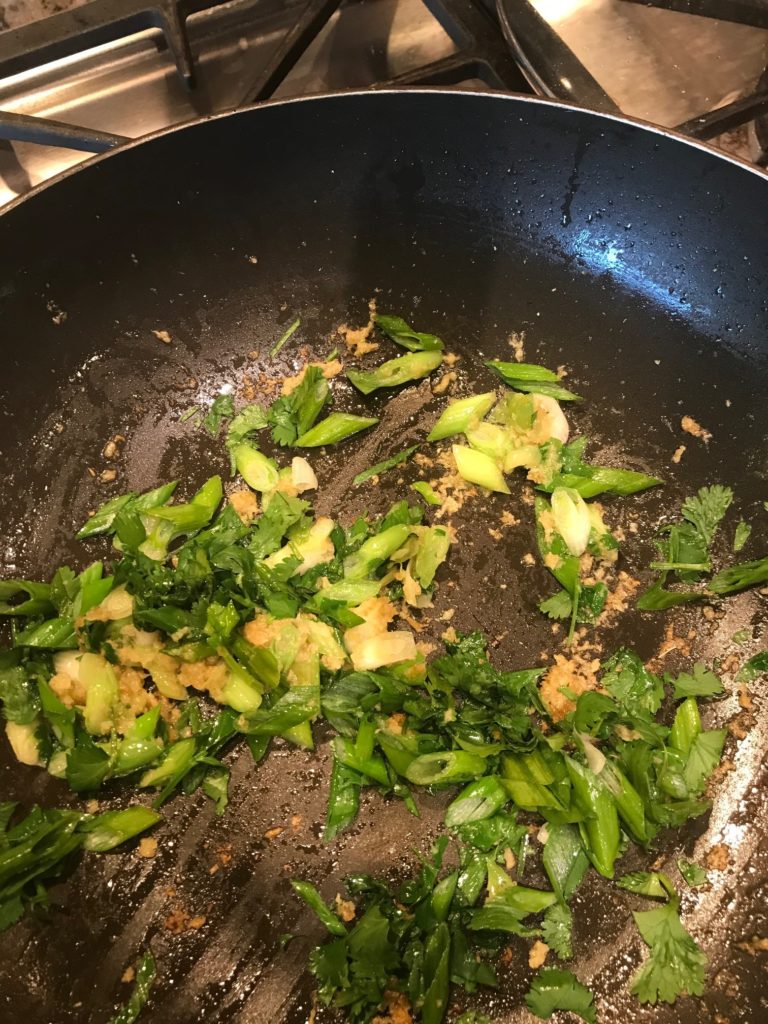
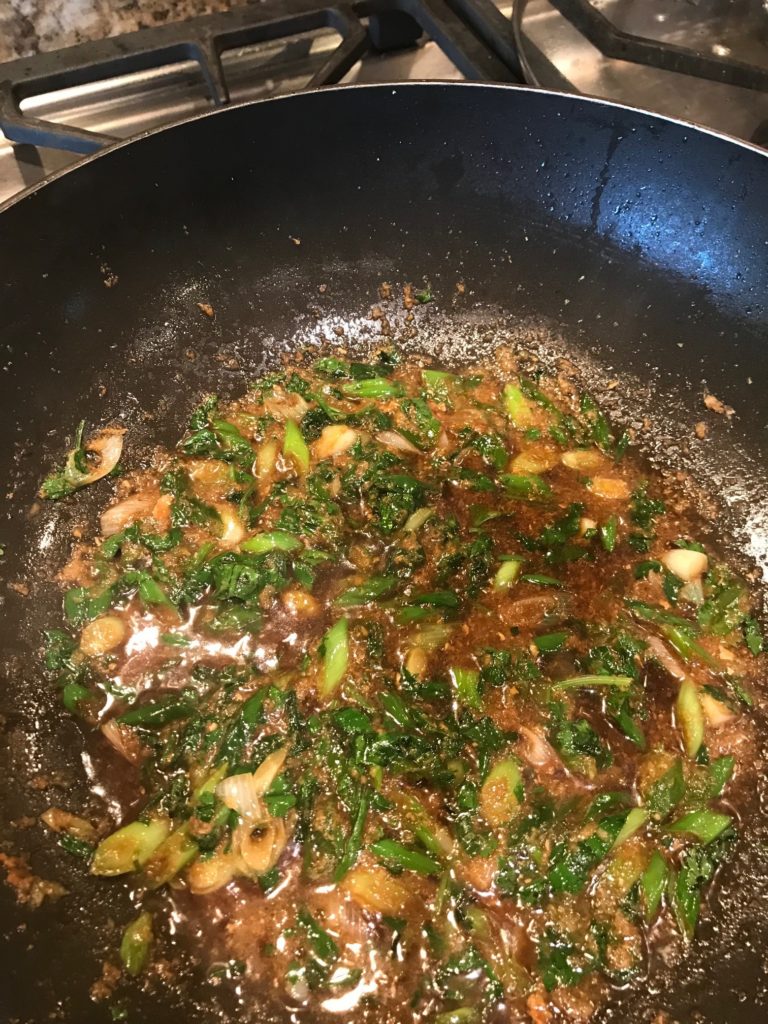
Time to make the sauce. I poured out the water from the wok, wiped it dry, and heated it up with vegetable oil. Cooked the ginger, added the white parts of the green onion, cooked it some more, added the rest of the green onions and cilantro. Everything smells pretty good at this point.

Cantonese Steamed Fish

But wait! There’s more! Add the soy sauce mixture you made earlier. and bring it to a simmer. When everything looks a bit wilted, you’re done.

Cantonese Steamed Fish

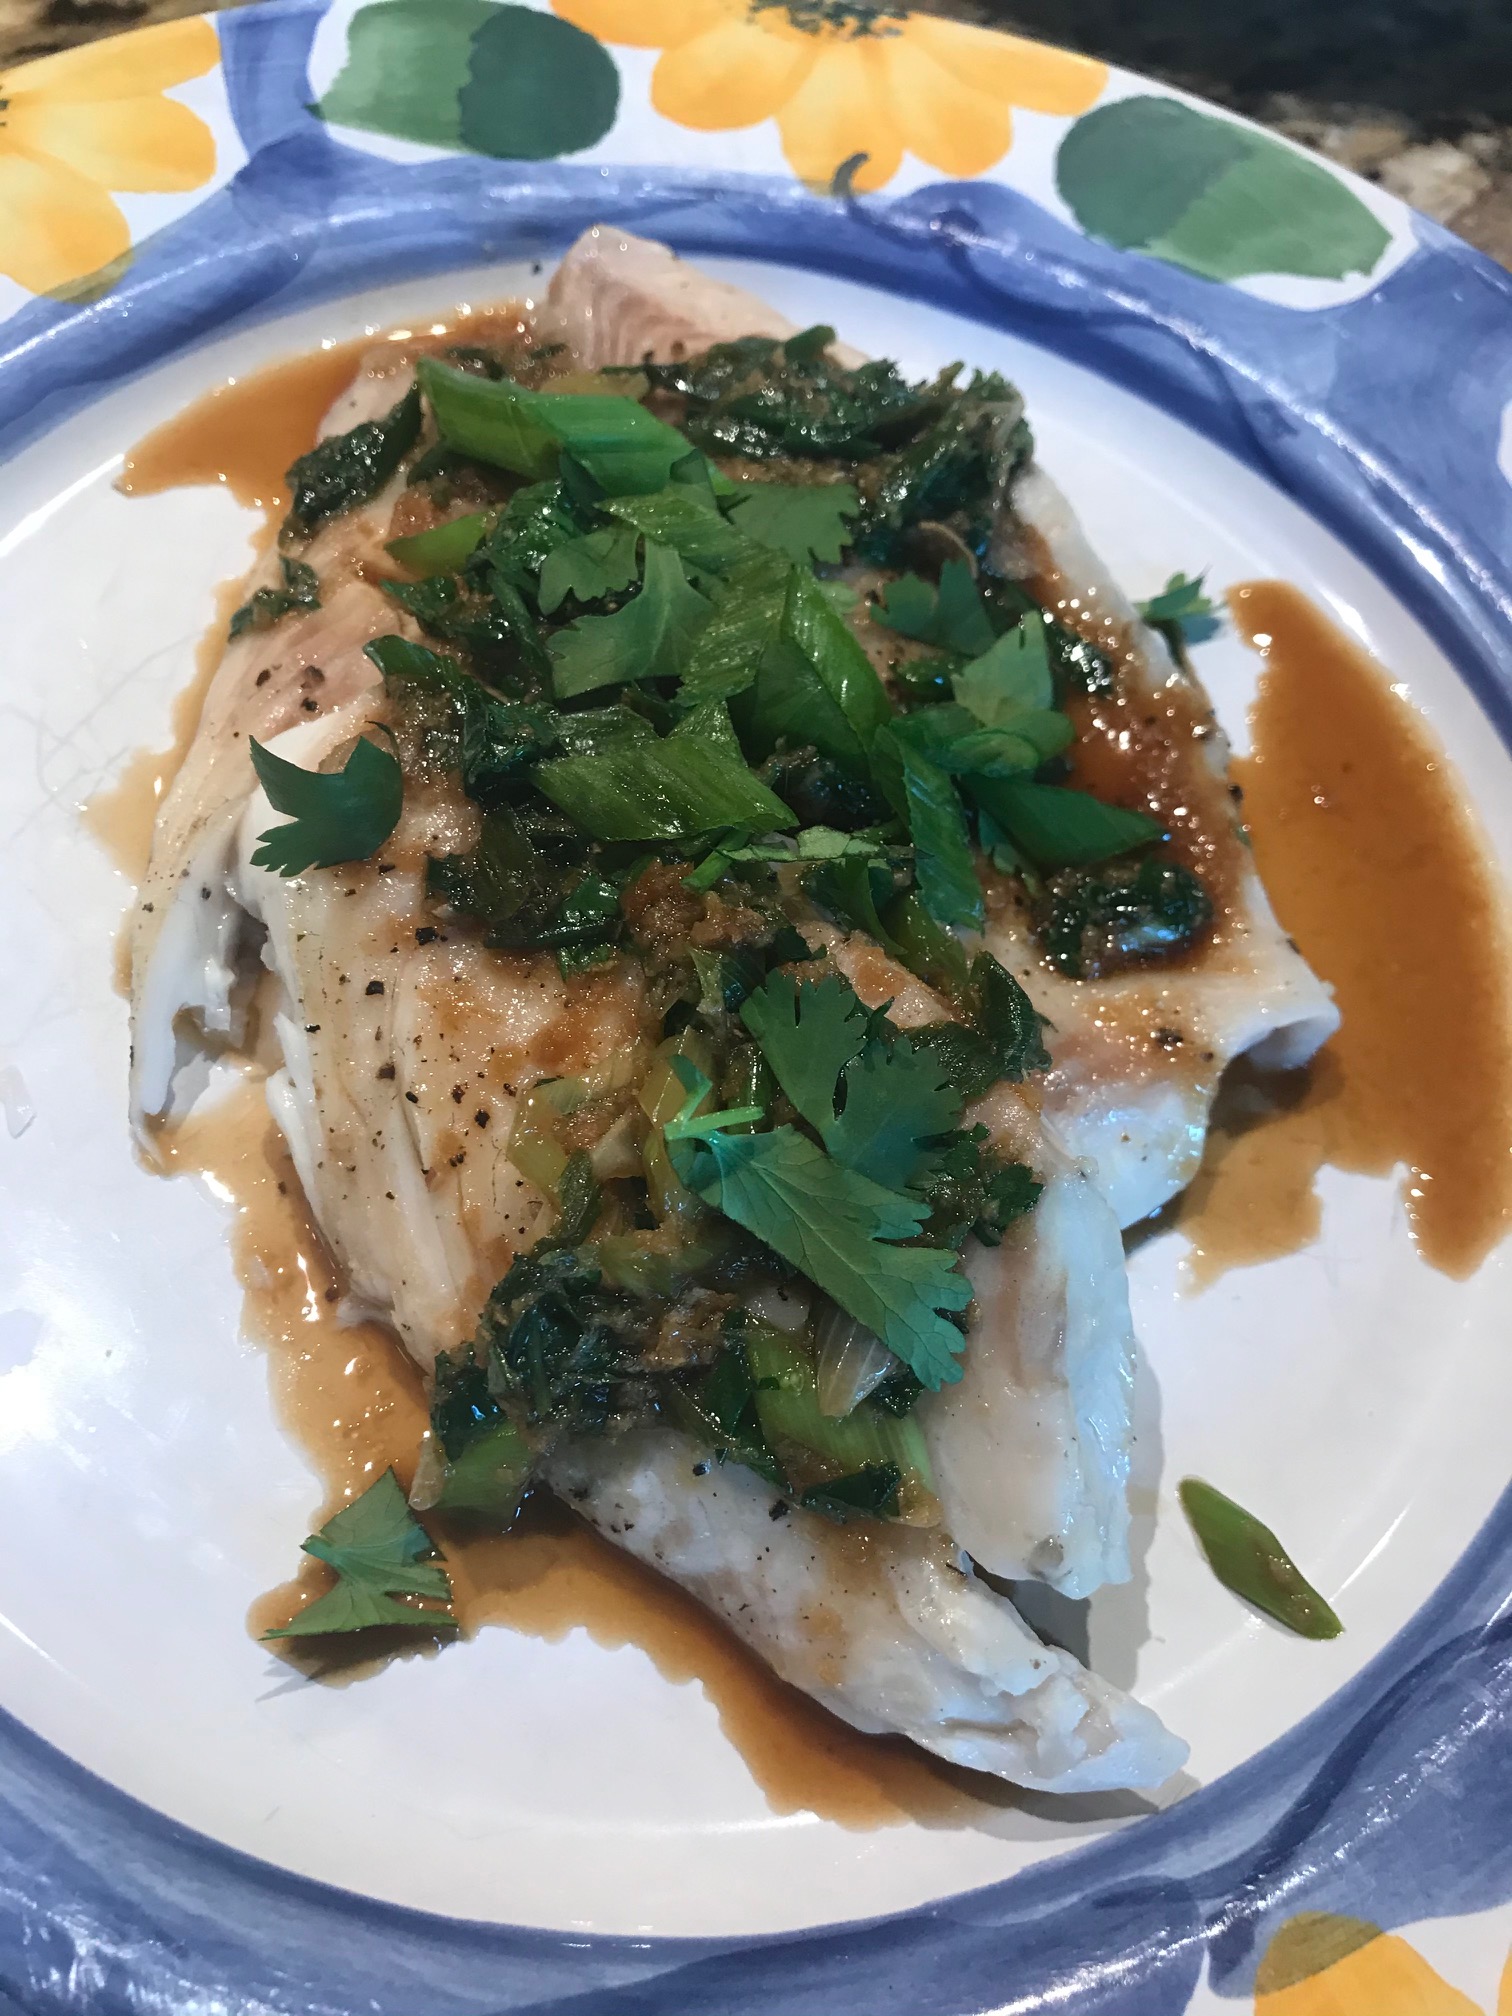
Pour it over the fish and throw some green onions and cilantro on top to make it look pretty.

Cantonese Steamed Fish

It’s not fancy. It’s just good food. I love how the ginger made it spicy and the soy sauce made it salty. The touch of sugar made it a bit sweet and the fish was moist unlike when you roast it in the oven or fry it in a pan. Definitely a make again.

Cantonese Steamed Fish

Cantonese Steamed Fish

Ingredients
  

  • 2 tablespoons ginger
  • 4 green onions
  • 1/2 cup cilantro
  • 3 tablespoons light soy sauce
  • 1/4 teaspoon salt
  • 1/4 teaspoon sugar
  • 4 tablespoons hot water
  • 1 1/4 pounds white fish
  • 2 tablespoons vegetable oil

Instructions
 

  • Grate ginger. Slice green onions at an angle and separate the green and white parts. Rough chop cilantro. Save some green onion and cilantro for garnish, and then set the rest aside.
  • Combine the light soy sauce, salt, sugar, and hot water in a small bowl, and mix until the sugar and salt are dissolved. Set aside.
  • Prepare your steaming set up in a wok by filling the wok with 1-2 inches of water. Bring to a boil. Place a metal steam basket in the wok.
  • Rinse fish and then season with salt and pepper. Carefully place it on the steamer basket, and adjust the heat to medium. The water should be at a slow boil and generates a good amount of steam.
  • Depending on the size and thickness of the fish, cover and steam for 7-10 minutes until cooked through. Turn off heat and set aside.
  • To make the sauce, heat a wok or small saucepan to medium high heat, and add vegetable oil. Add ginger, and fry for 1 minute. Add the white parts of the green onion and cook for 30 seconds.Then add rest of the green onion and cilantro. The mixture should be sizzling.
  • Add the soy sauce mixture. Bring the mixture to a simmer, and cook until the scallions and cilantro are just wilted, about 30 seconds. Pour mixture over fish. Garnish with green onions and cilantro.
Blog

Cheesy Beef and Macaroni

Jump to Recipe

Pasta is one of the ultimate comfort foods that you can make in so many different ways. I like to make a big batch of meat sauce and freeze it for future spaghetti dinners. Or make a bunch of meatballs (Ina Garten’s are the best) and freeze those to serve with jarred sauce and noodles. Along those lines, Cheesy Beef and Macaroni is a delicious and easy weeknight pasta dinner that everyone will love. It’s definitely not fancy. This one skillet dish makes plenty so you can freeze some for another night or just have some leftovers for lunch. This recipe comes from the Kitchn, but I changed it a bit. First off, I split the recipe. You are welcomed to make the full recipe, but I have no idea how it would fit in the 12-inch skillet that the recipe specifies. In fact, I used a 12-inch skillet and it barely all fit.

Gather all your ingredients. You need to chop up a few veggies: red pepper, carrots, and onions. Mince a few cloves of garlic. Grab ground beef, olive oil, a can of crushed tomatoes, and a bottle of Worcestershire sauce. Measure out your herbs and spices. Shred some cheese or buy it prepackaged. Pretty basic stuff.

Brown the ground beef, season with salt and pepper, drain the fat, and set it aside. A lot of recipes, including this one, don’t have you season the meat, but I think it’s a really important step. Salt brings out the flavor in meat. Use about a 1/2 teaspoon of salt per pound of meat. Throw in a little pepper to balance it out. I’ve found that if you season early on, you probably don’t need to add more salt later.

Add some oil and throw in your veggies and garlic. You’ll cook those until they are slightly soft for about 5 minutes. By the way, this is a sneaky way to add some veggies to your meal.

Cheesy Beef and Macaroni

Put the beef back into the skillet and add your herbs, spices, tomatoes, Worcestershire sauce, and 2 cups of water. Let that come to a simmer.

Cheesy Beef and Macaroni

Once it’s simmering, add the pasta. I love this kind of meal because it doesn’t require you to boil the pasta separately. Oh, and let me remind you that I halved recipe and the ingredients are as close to the top as they should get. How ginormous was their skillet?!

Cheesy Beef and Macaroni

Cook until the pasta is tender, which is about 10 minutes.

Cheesy Beef and Macaroni

Throw some cheese on top and let it melt. I used a cup of cheese. At the time I thought I could have used more because I was expecting this dish to be more cheesy like mac and cheese, but the amount of cheese was perfect.

Cheesy Beef and Macaroni

And that’s it! Like I said, not fancy, but a little fancier than your typical spaghetti and red sauce. Super comforting and delicious. Really easy to make in no time. You only use one skillet so clean-up is quick. Win-win.

Cheesy Beef and Macaroni

Cheesy Beef and Macaroni

Ingredients
  

  • 1 pound lean ground beef
  • kosher salt and ground black pepper
  • 1/2 tablespoon olive oil
  • 1/2 cup red, yellow, orange, or green bell pepper
  • 1/2 cup chopped carrots
  • 1/2 cup chopped onions
  • 1/2 tablespoon minced garlic
  • 1/2 teaspoon dried basil
  • 1 teaspoon dried oregano
  • 28 ounces crushed tomatoes in juice
  • 1/2 tablespoon Worcestershire sauce
  • 1 teaspoon chili powder
  • 1 1/2 cups dried elbow macaroni
  • 1 cup grated cheddar cheese

Instructions
 

  • Heat a 12-inch skillet over medium-high heat. Add beef seasoned with 1/2 teaspoon salt and 1/4 teaspoon pepper. Crumble and cook until browned, about 5 minutes. Set beef aside.
  • Wipe out the skillet. Heat oil over medium heat. Add bell pepper, carrots, onion, and garlic. Cook until almost tender, about 5 minutes.
  • Return the beef to the skillet. Add the basil, oregano, tomatoes with their juice, Worcestershire sauce, chili powder, and 2 cups of water. Season with salt and black pepper to taste. Increase the heat to high and let come to a simmer.
  • Add elbow macaroni, stir, and cover the skillet. Reduce the heat to medium and let simmer, stirring occasionally, until the macaroni is tender and most of the liquid has been absorbed, for 8 to 10 minutes. Taste for seasoning, adding more salt and black pepper as necessary.
  • Sprinkle the cheese on top. Cover the skillet and cook until the cheese is melted, about 1 minute. Serve from the skillet.
Blog

Crunchy Fish Tacos

Jump to Recipe

Tacos are amazing. It’s a perfect little meal with all the food groups. A crunchy corn shell or maybe a soft flour tortilla. Spicy chicken. Flavorful pork. Bold beef. Roasted peppers. Red salsa. Creamy guacamole. Cotija cheese. My mouth’s watering.

I’ve been wanting to try new taco recipes, but sometimes the endless number of ingredients are hard to find. The preparation takes hours and requires skills that I just don’t have. I nearly gave up until I found this amazing recipe for fish tacos. It was completely out of my comfort zone, but everyone needs to start somewhere. And I just read something about failing is part of the process of success so I’m going to go to my happy Zen place and make these tacos. It’s good for the soul.

Fish comes in all forms, shapes, and sizes. You have your traditional white fish, such as cod or mahi mahi, that works really well in tacos, but this recipe is more exotic. Instead, you use a rare small orange fish only found in the farmed waters of Pepperidge. I thought I would have to special order it because I couldn’t find it at my fish market, but I just wasn’t looking in the right place. It’s next to impossible to buy fresh so I purchased a well-sealed bag and made the best of it. I was skeptical, but pleased at the same time. The fish comes ready with seasonings such as salt, pepper, cheese, paprika, and onion powder. Preparation is easier when all the ingredients are already baked in. No poblanos to roast. No corn to mill. No special sauces to make from the tears of unicorns.

Fortunately, you can use any type of tortilla for this taco. I chose a crunchy white corn taco shell.

Oh, before I continue, you might not want to make this around small children who tend to sneak a piece of fish or two. They need to be patient and wait for dinner. Go feed them a cookie instead.

Open your taco shells. I like how they aren’t broken. Briefly heat them up in the microwave.

Crunchy Fish Tacos

Carefully open the bag and gently measure out 1/2 cup of fish, taking care not to break the fish or disrupt the seasonings.

Crunchy Fish Tacos

Next, place the fish into the taco shell, being mindful not to spill outside of the shell.

Crunchy Fish Tacos

That’s it. So simple! The crunchy texture with the salty cheese blends together beautifully with the crispy corn shell. I can’t believe I didn’t make this sooner. Enjoy! And don’t forget to follow me for more recipes!

Crunchy Fish Tacos

Crunchy Fish Tacos

Servings 4

Ingredients
  

  • 4 crunchy shells
  • 2 cups fish
  • Condiments to your liking

Instructions
 

  • Microwave your taco shells briefly, about 30 seconds.
  • Take a taco shell. Measure out 1/2 cup of fish. Pour into shell. Repeat until you've made 4 tacos.
  • Top with your favorite condiments. Enjoy!