Blog

Beef and Broccoli Fried Rice

Jump to Recipe

Who doesn’t like a quick weeknight dinner that is not only fast, but easy and tasty? Look no further! This one skips the Chinese take-out order, doesn’t take long to prep, and comes together in no time.

I found this recipe on the kitchn. I did make a few changes. There was a mistake about how much oil to use so I fixed that. I made 3 cups of rice instead of 4 so I also decreased the number of cups of broccoli from 5 to 4. I probably didn’t need to make rice/broccoli changes, but when I made the rice using my 1 cup rice to 1 1/2 cups of water ratio, it made 3 cups of rice and I wasn’t about to make more rice. Call me lazy. I don’t mind. By the way, if you have leftover rice around, use that. It turns out even better so I’ve heard.

After you make the rice, put it in the freezer to chill. You could make this the night before and chill it in the fridge, but that would require one to remember to do this. All the power to you if you plan ahead. Me? Not so much.

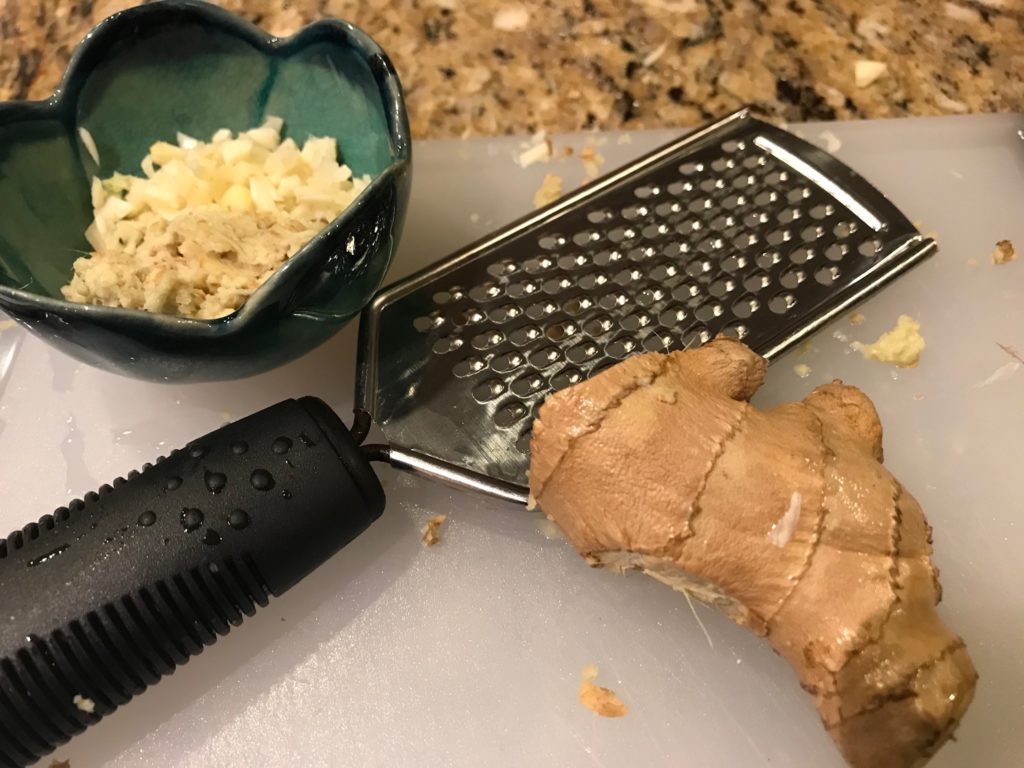
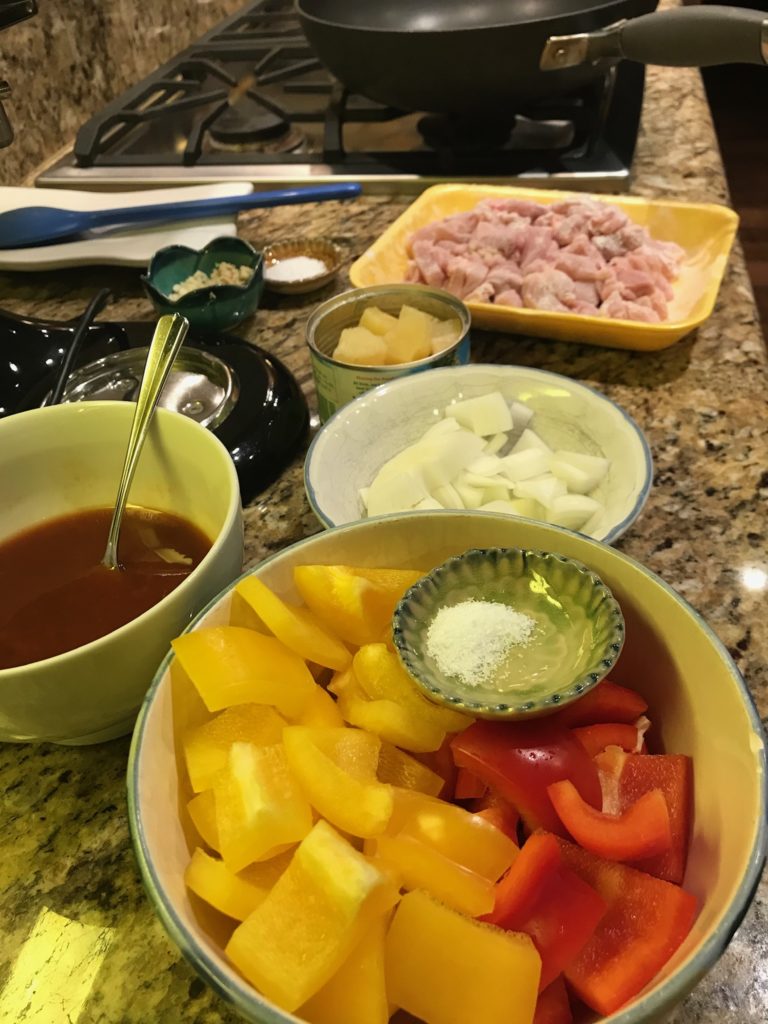
Next, chop up your veggies: broccoli and green onions. BTW, this is a great dish for vegetable haters. Not a zillion tiny pieces of vegetables to pick out. Mince a couple cloves of garlic. Grab your ground beef, soy sauce, sesame oil, and a couple eggs. Be sure to use sesame oil, not canola or olive. You want that nutty sesame flavor. You also need to beat your eggs.

Now you’re ready to go. See what I mean about prep work? Super simple. It takes longer to cook the rice.

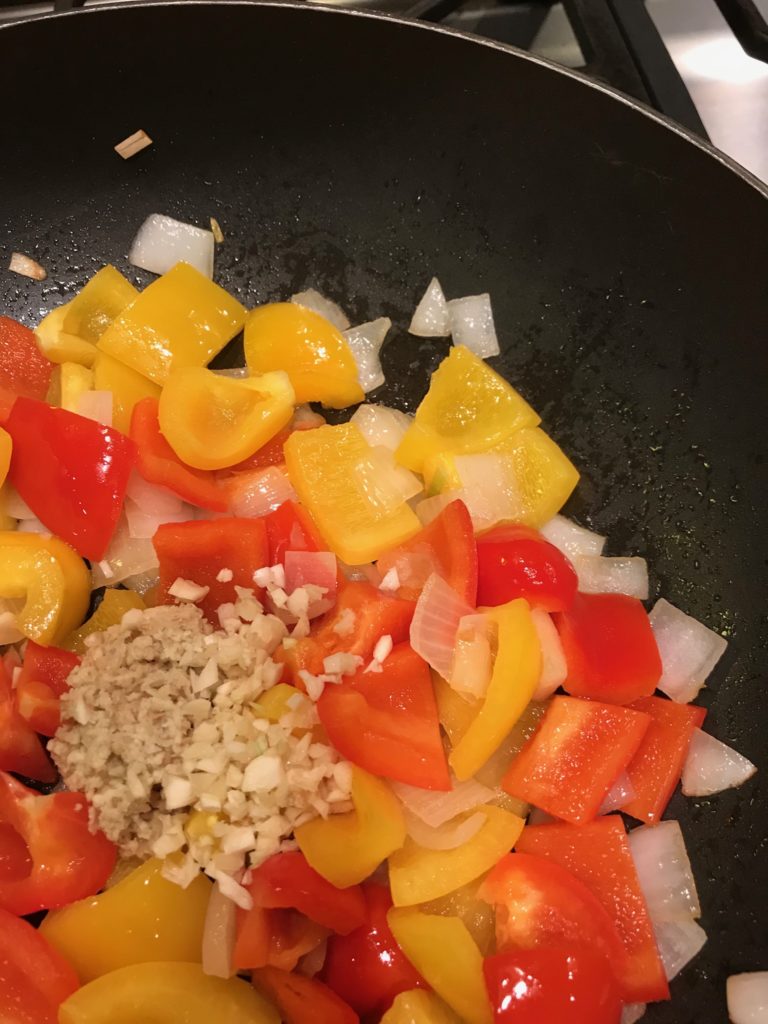
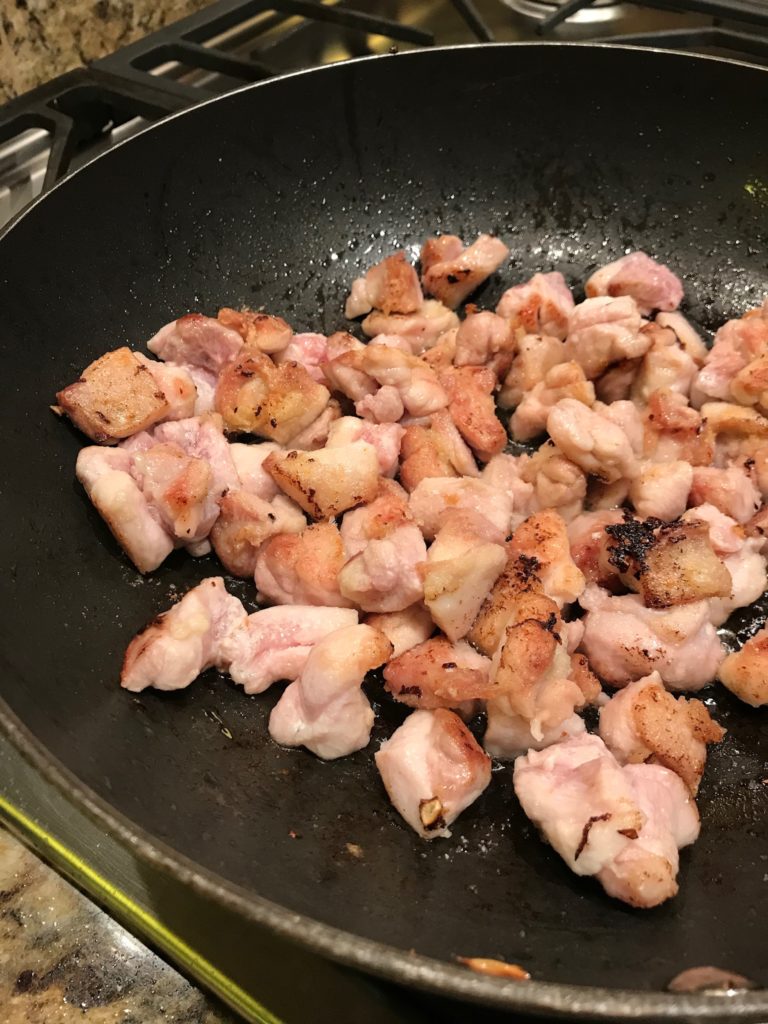
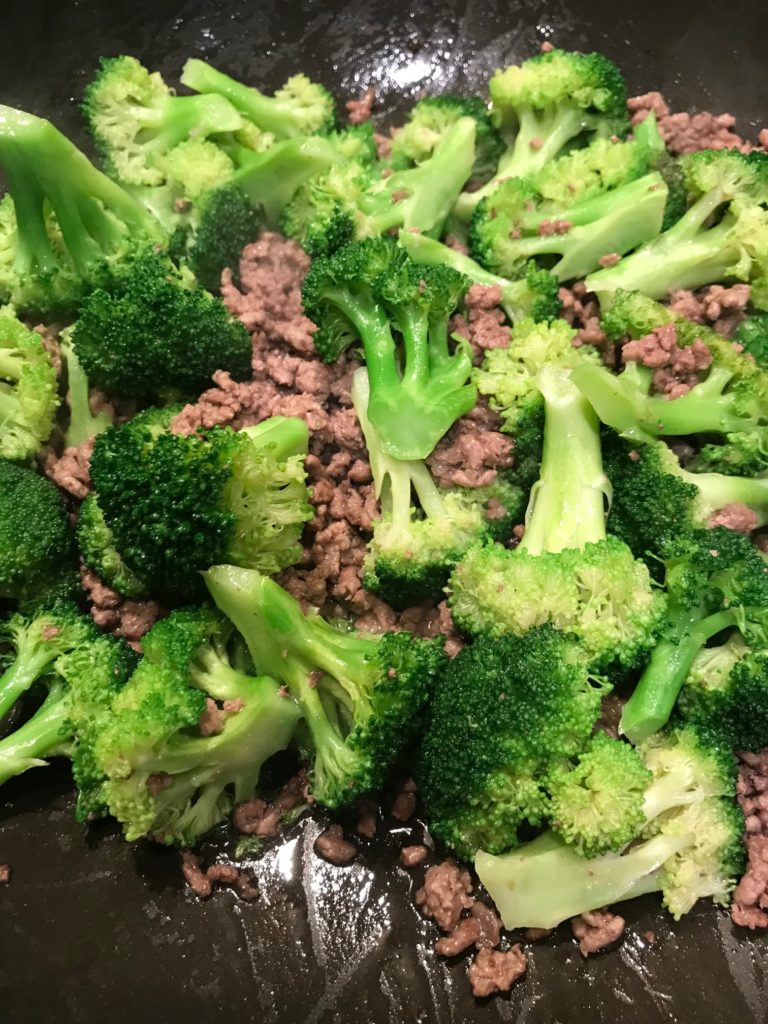
Heat up some oil in a wok or skillet, add the beef, and break it up until it’s crumbled. Don’t cook it all the way because you are going to continue cooking it with the broccoli. Throw in your chopped broccoli and cook that until it’s tender and crisp, and the beef is fully cooked.

Beef and Broccoli Fried Rice

Add garlic and some soy sauce, and mix it up. About a minute later, put all of this in a large bowl and set aside.

Add some more oil to your pan and throw in your rice and some more soy sauce, season with pepper, and stir until everything mixed together and heated through. Don’t ask me why you have to chill the rice only to heat it up again. I’m assuming it has something to do with not ending up with mushy rice.

Now the fun starts. Scoot the rice over to one side and add your beaten eggs to the other half.

Beef and Broccoli Fried Rice

Season with salt and pepper, and then stir until the eggs are almost set. Remove the pan from the heat, add your beef mixture that you set aside, throw in your green onions, and gently fold everything while making sure you break up large pieces of egg. Season it with more salt and pepper, and you are done!

Beef and Broccoli Fried Rice

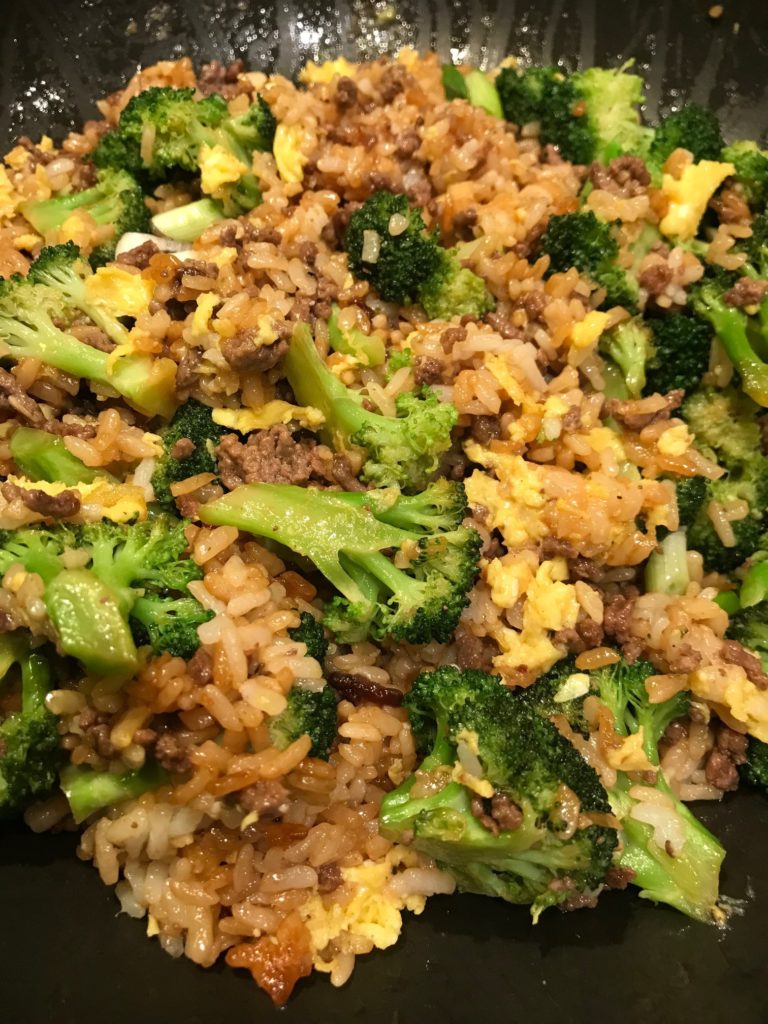
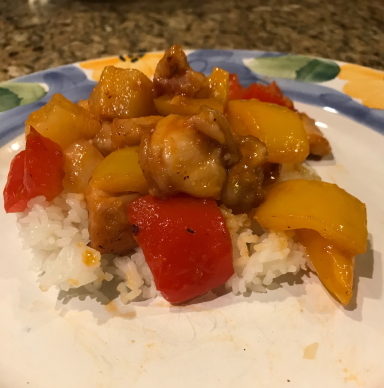
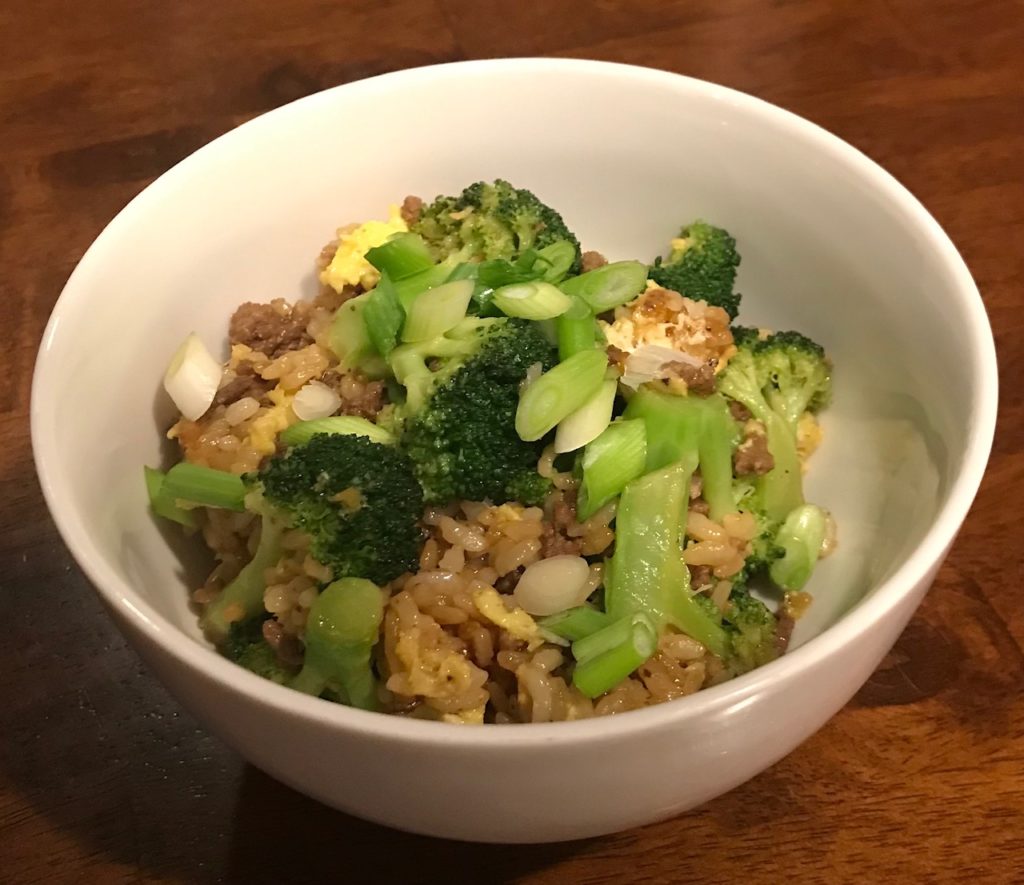
Dish it up in a bowl. If you’re feeling super fancy, sprinkle more green onions on top.

Beef and Broccoli Fried Rice

The boys loved this dish. The younger boy was obligated to eat one piece of broccoli. He claimed it was terrible, but not a bad way to cook it. I’ll take that. I just loved how it came together so quickly. Definitely a make again.

Beef and Broccoli Fried Rice

Beef and Broccoli Fried Rice

Servings 4

Ingredients
  

  • 1 cup rice or 3 cups cooked
  • 2 tablespoons sesame oil divided
  • 8 ounces ground beef
  • 4 cups broccoli cut into bite-sized pieces
  • 2 cloves garlic minced
  • 3 tablespoons soy sauce divided
  • freshly ground pepper
  • 2 large eggs lightly beaten
  • Kosher salt
  • 3 green onions sliced

Instructions
 

  • Cook 1 cup of rice with 1 1/2 cups of water. Chill. You can also used leftover rice.
  • Heat 1 tablespoon of the oil in a large nonstick skillet or wok over medium-high heat until shimmering. Add the beef, break it up into small pieces with a spoon, and cook until halfway cooked through, about 2 minutes. Add the broccoli, cover, and cook, stirring every minute or so, until the broccoli is crisp tender and the beef is cooked through, about 4 minutes total.
  • Add the garlic, drizzle in 1 tablespoon of soy sauce, stir to combine, and cook for 1 minute. Transfer the mixture to a large bowl. Set aside.
  • Add the remaining 1 tablespoon of oil to the pan over medium-high heat. Add the rice and the remaining 2 tablespoons of soy sauce. Season with pepper and cook, stirring occasionally, until the rice is heated through, about 4 minutes.
  • Push the rice to one half of the pan and add the beaten eggs to the other half. Season the eggs with salt and pepper. Stir occasionally with a rubber spatula until almost set, 1 to 2 minutes. Remove the pan from the heat, add the broccoli and beef, sprinkle with the green onions (leave some for garnish), and gently fold everything together with the rubber spatula, breaking up any large pieces of egg. Taste and season with salt and pepper as needed. Garnish with green onions.
Blog

Sweet and Sour Chicken

Jump to Recipe

I don’t think I’ve ever been to a Chinese restaurant that didn’t have some variation of sweet and sour chicken. It might have even been one of the first Chinese dishes I’ve ever had. It has fruit in it so it’s kid friendly, right?

So much of our Chinese food is westernized beyond recognition so I am almost embarrassed to call this Chinese food. To educate myself, I decided to learn more about the origins of this dish. I am glad to report that sweet and sour sauce actually originated in China, but it is more of a light vinegar and sugar mixture. It wasn’t until it came to America did we decide to bread and deep fry the meat, throw in peppers and pineapple, and then toss it in that glossy syrupy thick sauce common in most restaurants in the US. Naturally we would take a relatively healthy dish and supersize it. It’s the American way.

Although this recipe has peppers and pineapple, I’m also glad to say that this recipe is way more mellow and delicious than what you’d find at Chinese restaurants. It doesn’t have any of that sickly sweet goop smothering everything. You might not go back to restaurant sweet and sour chicken. I definitely will think twice and stick to Mongolian beef.

Prep all your ingredients. This is known as “mise en place.” Leave it to the French to come up with a phrase for prepping food. Ok, I actually love it. Makes me feel organized.

Be sure to use canned pineapple in 100% juice because you’ll need to save the juice for your sweet and sour sauce, which you’ll make next. After making the sauce, chop up your veggies and chicken into bite-sized pieces. Chop the chicken after the veggies so you don’t contaminate the board and have to use a second board for the veggies. Less mess. Coat the chicken with cornstarch and season with salt. I chose to use thighs instead of breast meat for the extra flavor.

Mince your garlic and ginger. To mince the ginger, I actually use a cheese grater. You don’t have to peel the ginger or deal with any of the tough fibers found in ginger. You could also grate your garlic, but I know I’ll grate my fingers and that’s just not right.

Sweet and Sour Chicken

Once you have everything ready to go, making the dish goes pretty fast.

Sweet and Sour Chicken

Stir-fry your veggies in a little oil. This recipe comes from the Kitchn, who recommend waiting until you have charred spots in the peppers, but I disagree. I like my veggies to be firm and slightly hold their shape, which means you should stir the veggies often. Next, add the garlic and ginger.

Sweet and Sour Chicken

In less than a minute, everything should smell pretty good, which means it’s time to transfer all this to a plate or bowl, and cook the chicken separately. This is the trick to ensure everything is ready at the same time. You won’t end up with mushy veggies or dried out chicken.

Instead of deep-frying the chicken, only add a couple tablespoons of oil to the pan. After heating up the oil, spread the chicken into an even layer in the pan. Now, DO NOT TOUCH IT. Resist the urge. It will not burn. You want to brown the chicken to provide flavor to the dish, and you want the cornstarch to stick to the chicken, creating an almost crispy texture that resembles deep-frying. You’ll flip it after it’s brown on one side. You’ll know this because the chicken will no longer stick to the pan. You definitely want to wait until this happens so all your cornstarch doesn’t stick to the pan.

Sweet and Sour Chicken

After the chicken is cooked, return everything to the pan plus the pineapple and pour the sauce over it all. Stir until everything is coated. Wait a few minutes, stirring a couple times, until the sauce is thickened to your liking. The cornstarch you used on the chicken will help thicken the sauce.

Sweet and Sour Chicken

Serve over rice if you don’t care about carbs. Eat.

What I really liked about this recipe is how healthy and fresh it tastes without any overwhelming sugary taste. After all, it’s a main dish, not dessert. The apple cider vinegar really stands out for that sour element, but it has just enough sugar to make it sweet. Two-thumbs up.

Sweet and Sour Chicken

Sweet and Sour Chicken

Servings 4

Ingredients
  

  • 8 ounces canned pineapple chunks in 100% pineapple juice with juice reserved
  • 1/4 cup ketchup
  • 2 tablespoons apple cider vinegar
  • 1 tablespoon brown sugar packed
  • 1 tablespoon soy sauce
  • 3 tablespoon canola oil divided
  • 1/2 medium onion
  • 2 medium bell peppers any color
  • 1 pound boneless, skinless chicken thighs
  • 3 tablespoons cornstarch
  • 1 1/4 teaspoons kosher salt divided
  • 2 cloves garlic minced
  • 2 tablespoons ginger grated
  • steamed rice

Instructions
 

  • Drain the pineapple, but save keep 1/4 cup of the juice from canned pineapple. Set the juice aside in a small bowl. Set the pineapple aside.
  • In the bowl with your pineapple juice, add ketchup, vinegar, brown sugar, and soy sauce. Whisk to combine. Set aside.
  • Cut onions and peppers into 1-inch pieces. Set aside. Cut chicken into 1-inch pieces. Sprinkle with 1 teaspoon of salt and cornstarch. Toss until well coated.
  • Mince garlic with a knife. Using a cheese grater, grate ginger.
  • Heat 1 tablespoon of the oil in a large nonstick frying pan over medium-high heat until shimmering. Add the onion and stir-fry for 1 minute. Add the peppers, season with 1/4 teaspoon of the salt, and stir-fry for about 3 to 4 minutes.
  • Add the garlic and ginger to the vegetables and stir-fry until fragrant, about 30 seconds. Transfer to a plate and set aside.
  • Heat the remaining 2 tablespoons oil in the pan over medium-high heat until shimmering. Add the chicken and spread into an even layer. Cook without stirring until browned on the bottom, 3 to 4 minutes. Flip and cook without stirring until the chicken is browned on the second side and cooked through, 3 to 4 minutes more.
  • Return the vegetables to the pan. Add the pineapple and sauce into the pan.
  • Stir-fry until thickened and coats the chicken and vegetables, 1 to 2 minutes. Serve over rice.