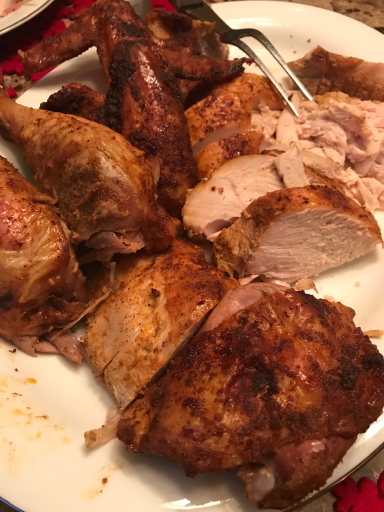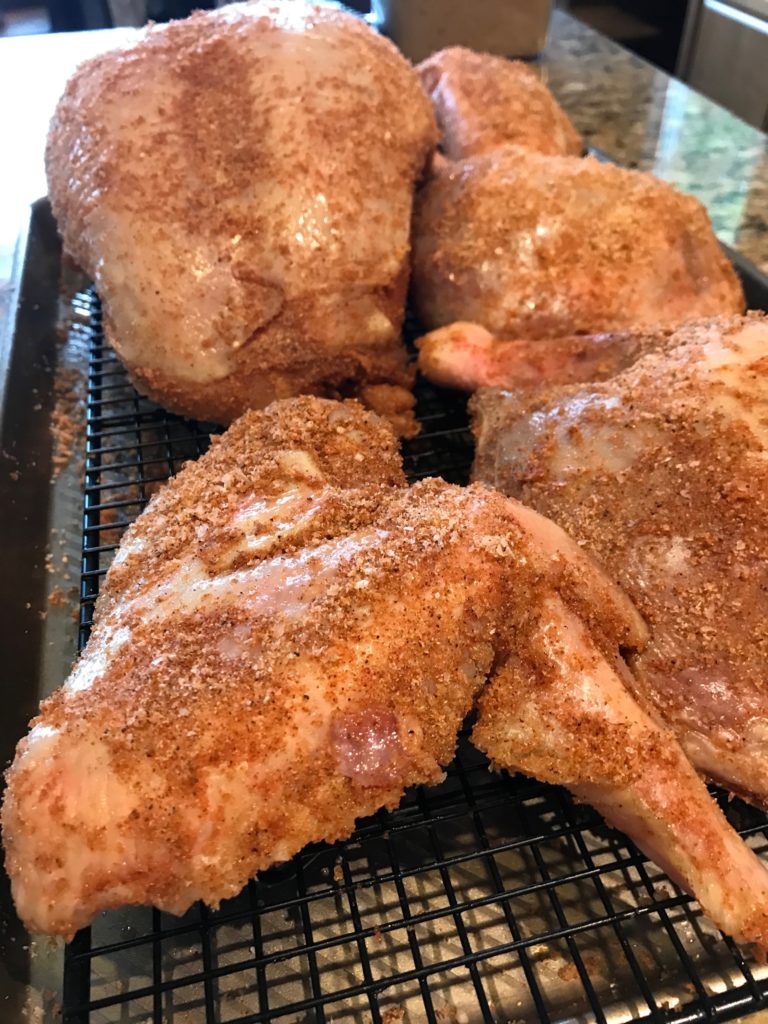
In my opinion, the sides make the Christmas dinner. I don’t dislike turkey, but I’m not its biggest fan (except this Expertly Spiced and Glazed Roast Turkey might have changed my mind) so I like to focus on the side dishes. There are too many delicious sides I like so the problem turns out to be which ones to make. The list starts out long, is cut, grows again when I ask the family if I’m missing anything (why do I ask them?!), and then finally reduced to something manageable and not too gluttonous.
I make all the sides the day before and heat them up on Christmas. I used to make them the day off, but that’s just insane. Nothing was ready on time and I would end up running around like a crazy woman with my family telling me to sit down. Sit down? This food doesn’t make itself! Do you want dinner or not?! See the tension I’m talking about? Ahhhh! No, thank you.
This year I trimmed the list down to cranberry sauce, dressing, mashed potatoes, mac and cheese, and a salad. There’s only five of us this year so this was plenty. We also had gravy (from a jar doctored with turkey drippings), brioche rolls (from the store), and my MIL’s famous Frozen Cranberry Salad. Five days later, we’re still eating leftovers.
I’ve made these recipes a few years in a row because I’ve found they are the best of the best. I really don’t need to go any further and they are not complicated to make.
Let’s start out with the cranberry sauce. It sounds fancy, but it’s the easiest thing to make. You just need fresh cranberries, juice, and honey. It’s also so much better than store bought cranberry sauce. You won’t go back.
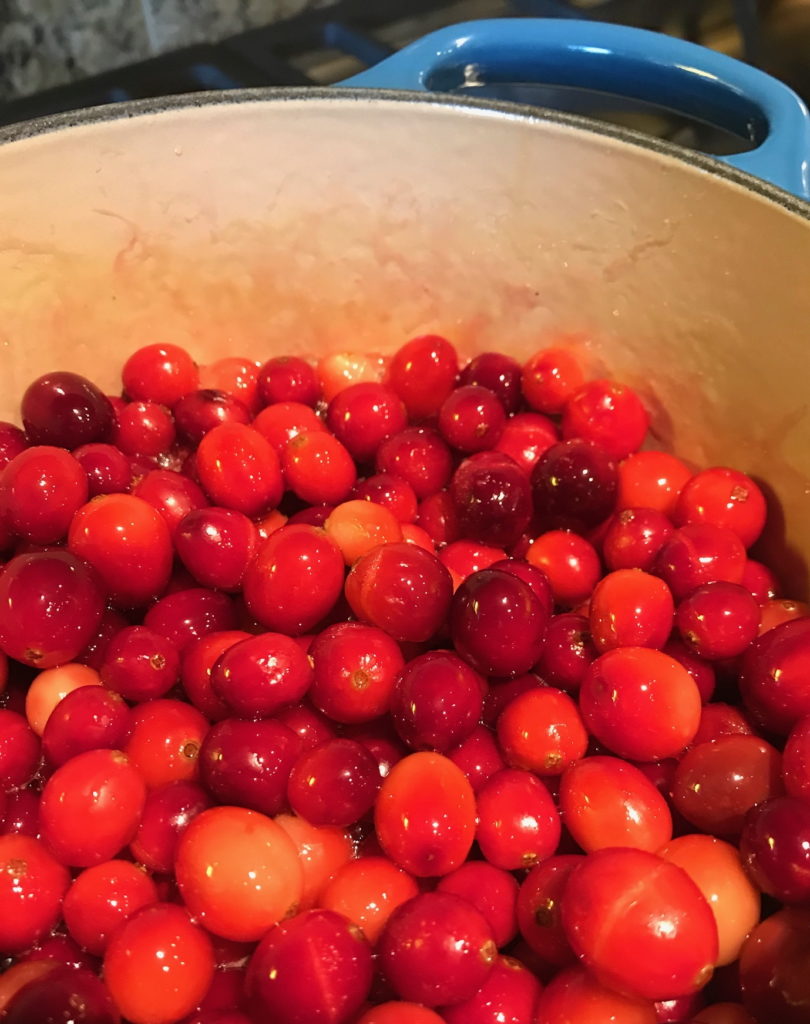
Simmer it down. Cranberry sauce.
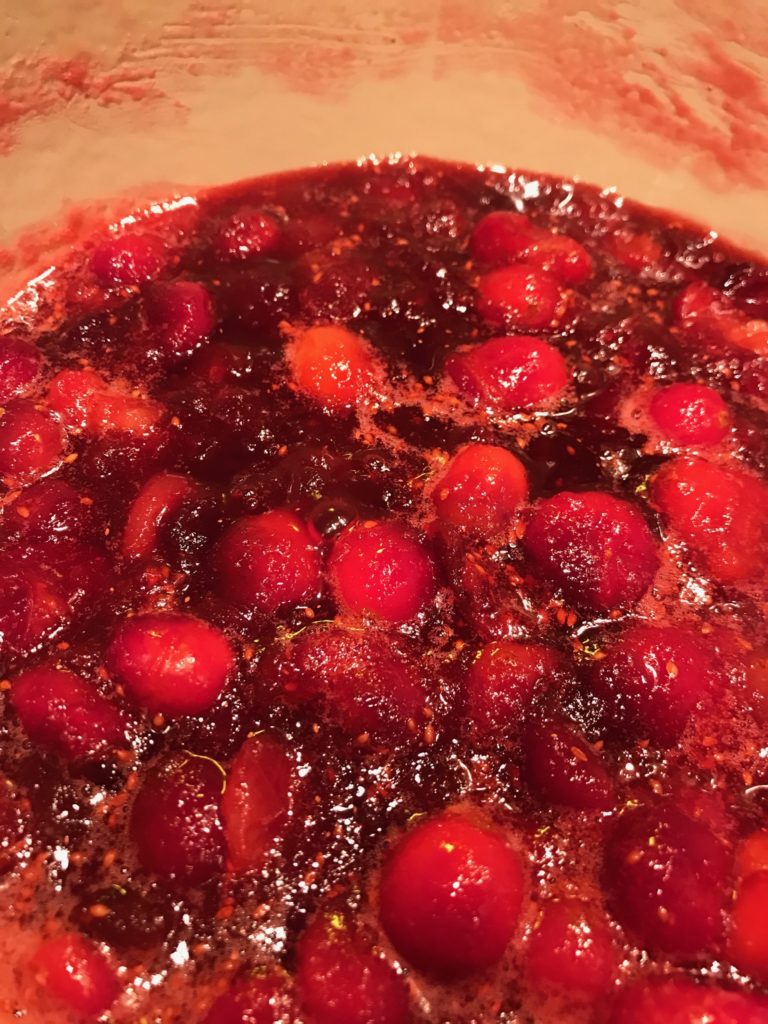
Told you it was easy.
Get the recipe: Alton Brown’s Cranberry Sauce. BTW, I’ve never found a recipe of his that I didn’t like. He’s goofy, but smart, backing up his mad methods with science.
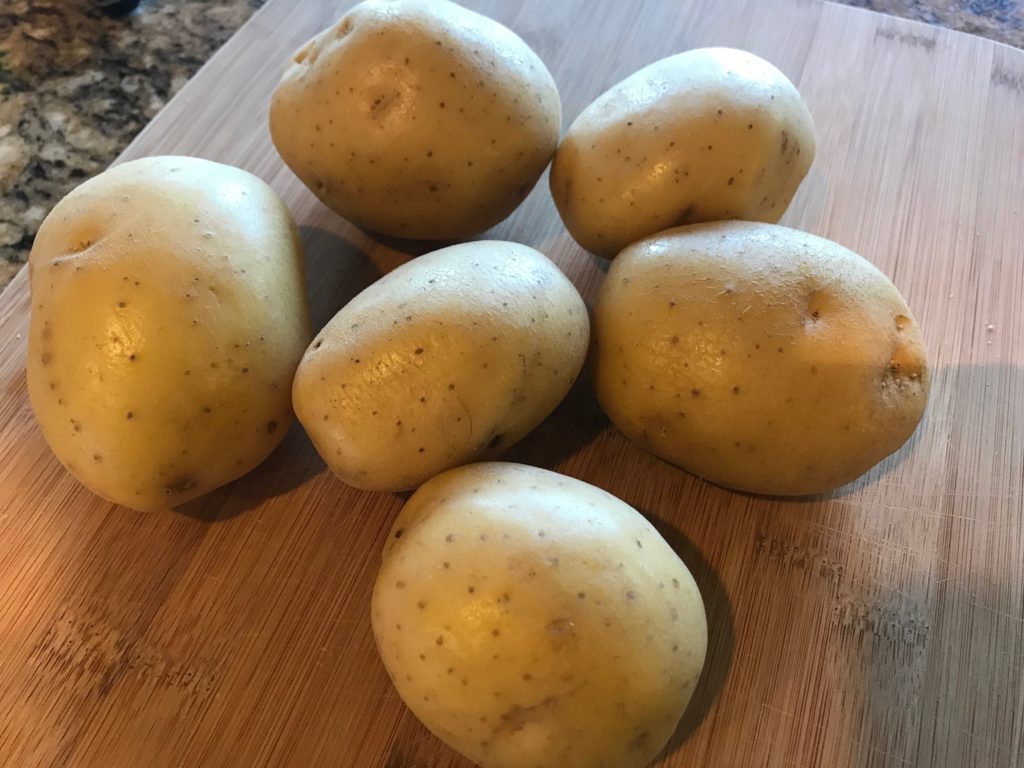
Speaking of Alton and his mad methods, he taught me how to make the best mashed potatoes. I used to cringe when people said that mashed potatoes are so easy. If they’re so simple, why do mine come out so gluey? Science. I was using the wrong potato and the wrong mashing method. Yes, you can use russet potatoes, especially if you like fluffy mashed potatoes, but if you like creamy mashed potatoes like I do, go with Yukon gold potatoes. It has to do with the amount of starch in the potatoes. Russets have more starch than Yukon gold potatoes. Using Yukons makes for a creamier, less fluffy mashed potatoes. Like I said, science.
A potato masher works, but you know what works better? My new best friend, the potato ricer.
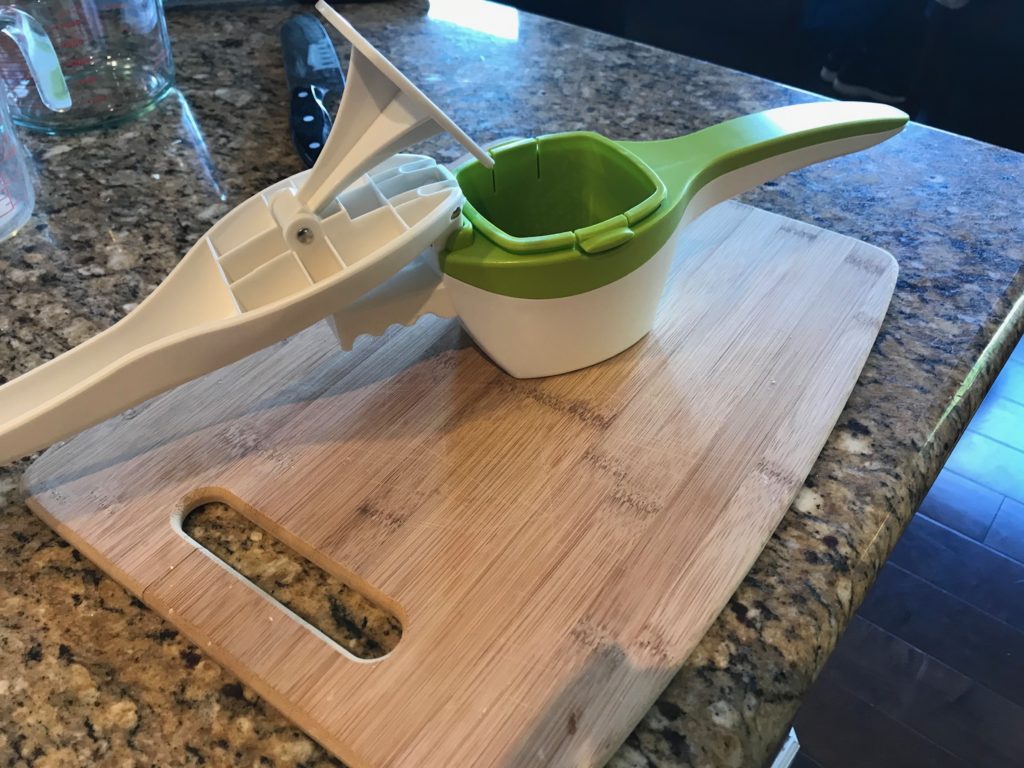
With these two tools in my back pocket, my mashed potatoes are now amazing. Creamy, buttery, with a hint of pepper…everything mashed potatoes should be.
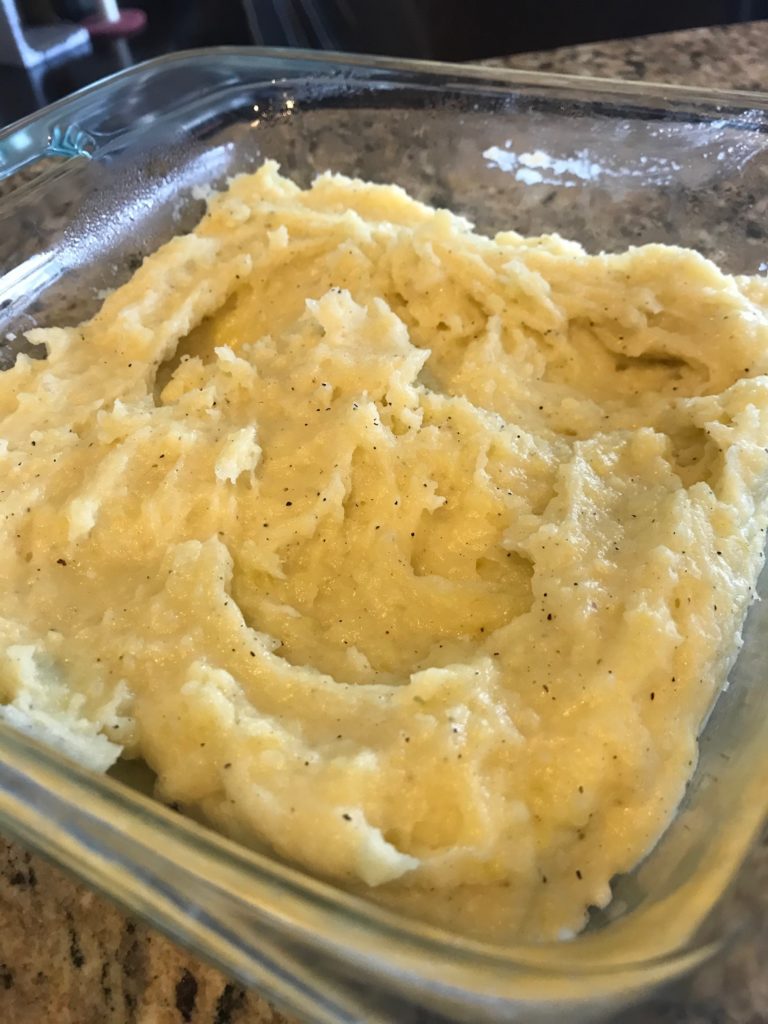
Get the recipe: Alton Brown’s Creamy Mashed Potatoes.
While I do love mashed potatoes, I love love LOVE mac and cheese. I rarely eat pasta (carbs) so this is a decadent treat for me that is worth every calorie. This recipe requires a little extra work, but it’s well worth it. It has both Gruyere and cheddar cheeses. This turns out to be the perfect marriage of cheeses. Cheddar is gooey and buttery, but needs another cheese to melt properly. Meet Gruyere, which is mild, nutty, tangy, AND melts easily. Mmmmm…cheese.
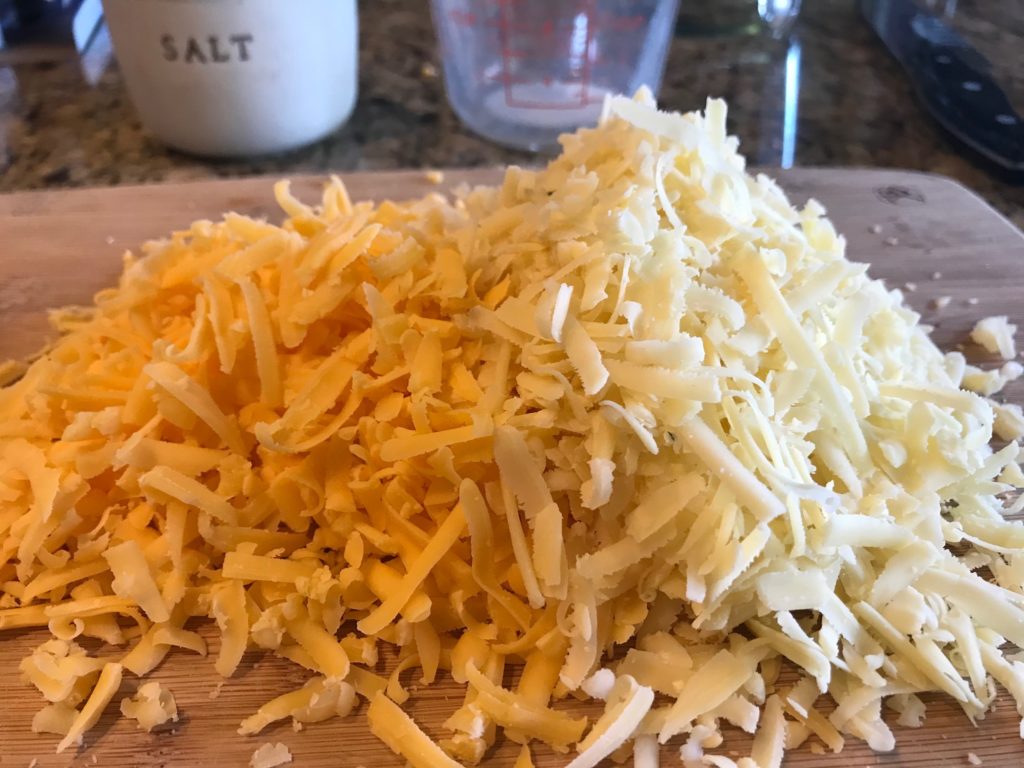
The recipe calls for 12 ounces of Gruyere to 8 ounces of cheddar, but you can use any amounts of each that you happen to have as long as it adds up to 20 ounces of cheese. I discovered this when this year, I might have accidentally nibbled on too much Gruyere and noticed I bought a little less than I should have. Doh. So there was more cheddar than Gruyere this year. It’s all good.
This recipe also makes a lot of mac and cheese so I split the recipe and we still have leftovers. Feel free to make the whole recipe if you have a ton of guests. All this cheesy goodness will disappear quickly.
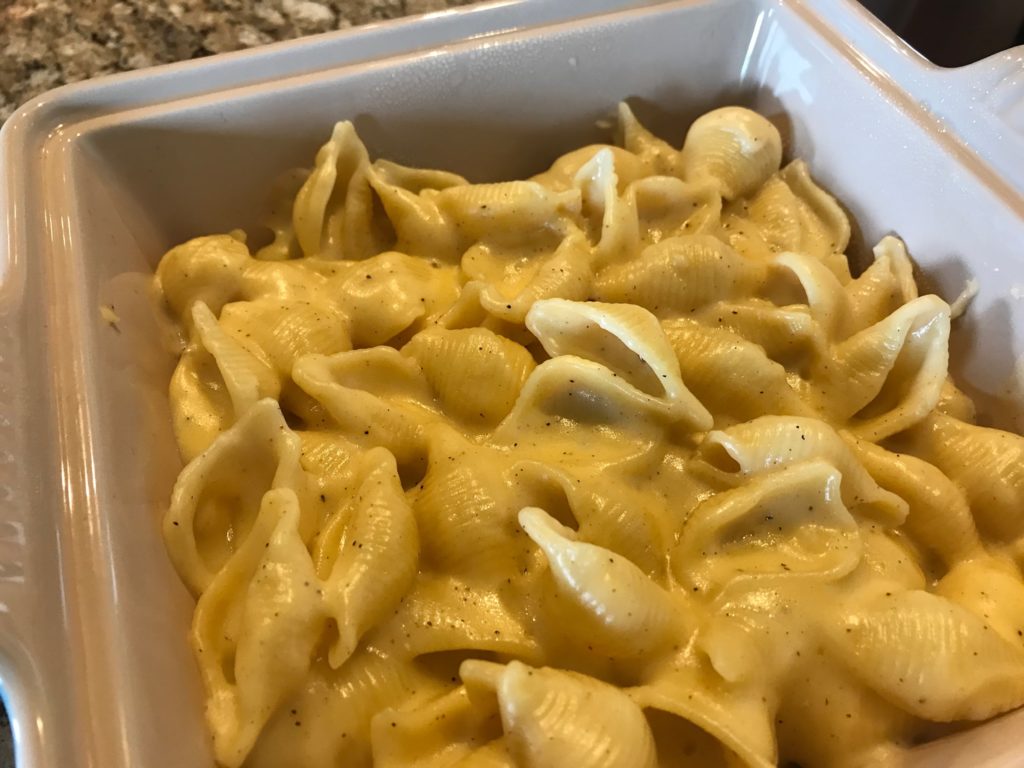
Get the recipe here: Macaroni and Cheese. It’s another good recipe from Ina Garten. I prefer it without the tomato breadcrumb topping, but I encourage you to try it either ways. I think the Gruyere is the secret, but give credit to the nutmeg that brings it all together. This is not your Kraft mac and cheese.
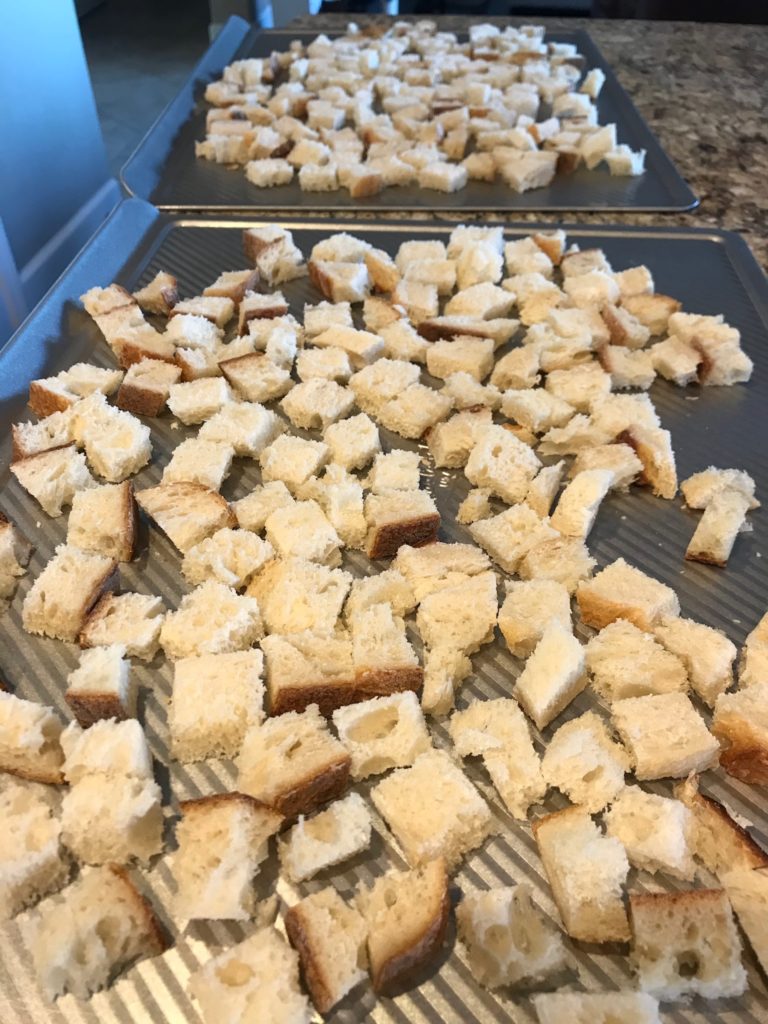
Now speaking of Ina Garten, she makes the best turkey dressing. I’m super picky about my dressing. I’ve tried a million different ones: store bought (ugh), cornbread (too crumbly), sage (not exciting enough), whole wheat (too healthy), cauliflower (not authentic)…you get the idea. Although I adore her (who doesn’t?) and think her recipes are spot on, I had been disappointed so many times that I had low expectations when I tried her recipe. Wrong. This dressing is amazing and gets rave reviews by everyone at home. It doesn’t have any unusual ingredients. I just think it’s the right mixture of everything you’d expect, but using toasted sourdough bread cubes and dried cranberries puts it over the top.
Along with your standard ingredients of celery and onion, use apples, which adds sweetness and prevents a dry dressing.
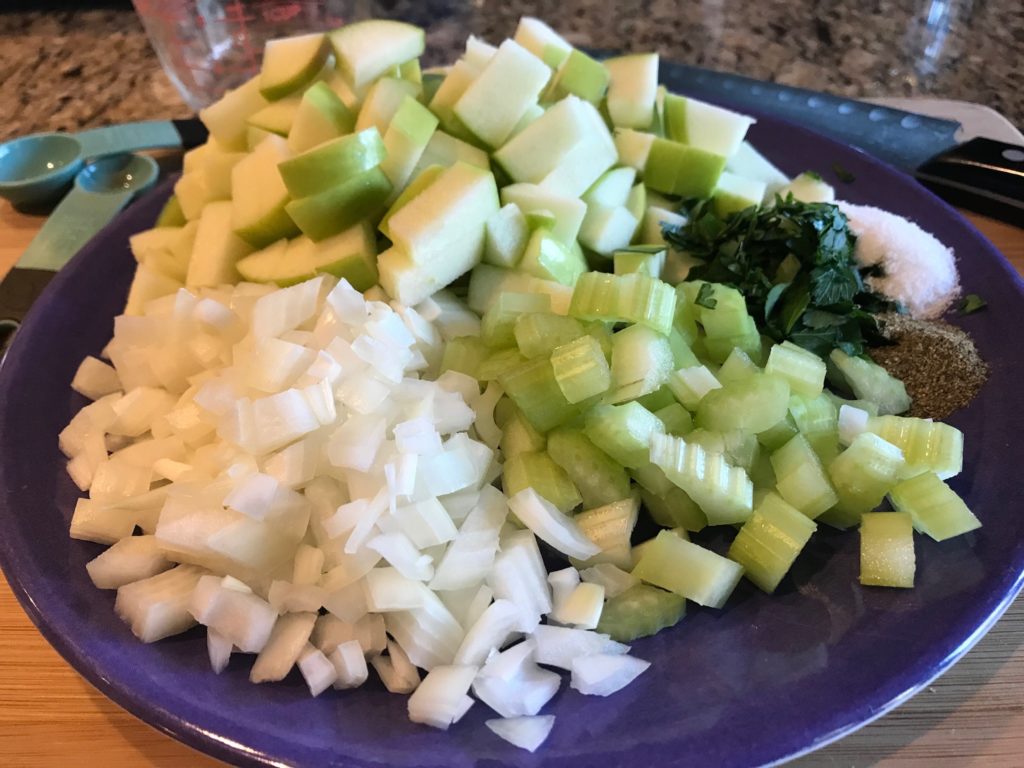
Using a VERY generous amount of butter (let’s not talk about how many sticks of butter today), saute the veggies and apples in a pan.
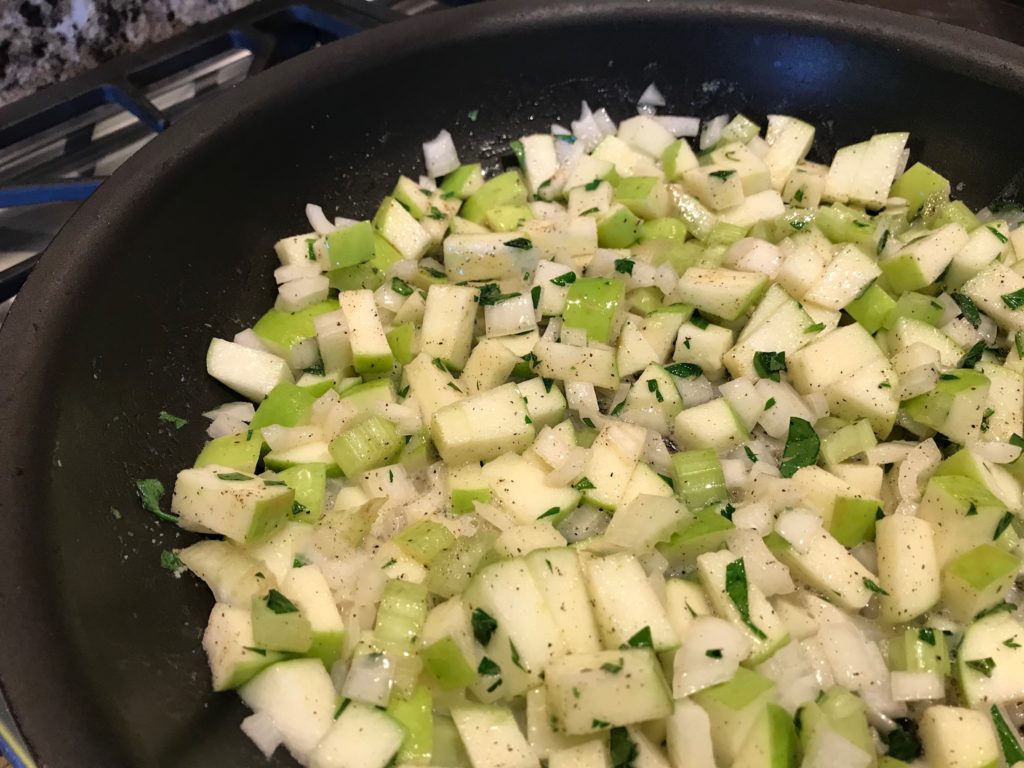
Ten minutes later, every will be soft and yummy. I could probably eat this straight out of the pan, but I used some self-control, unlike the Gruyere cheese incident.
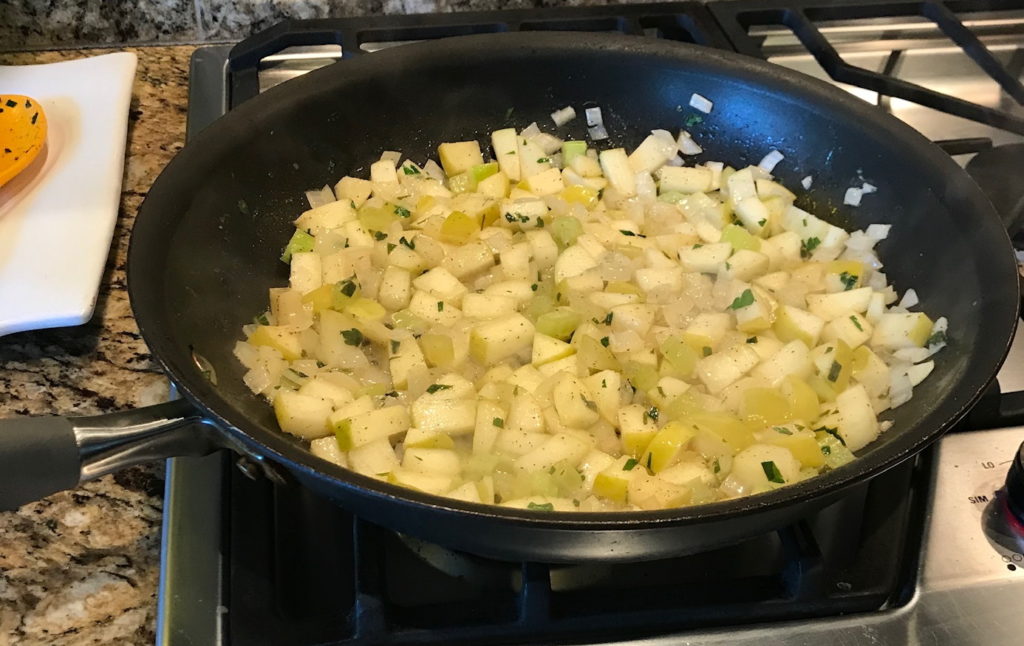
In a very large bowl with the bread cubes, add this mixture along with browned crumbled sausage, broth (homemade if you want to show off), and dried cranberries. The cranberries add another dimension of sweetness against the onions and a chewy texture that complements the toasted bread. Plus cranberries scream turkey so you gotta have them.

Mix well and plop it into a baking dish.
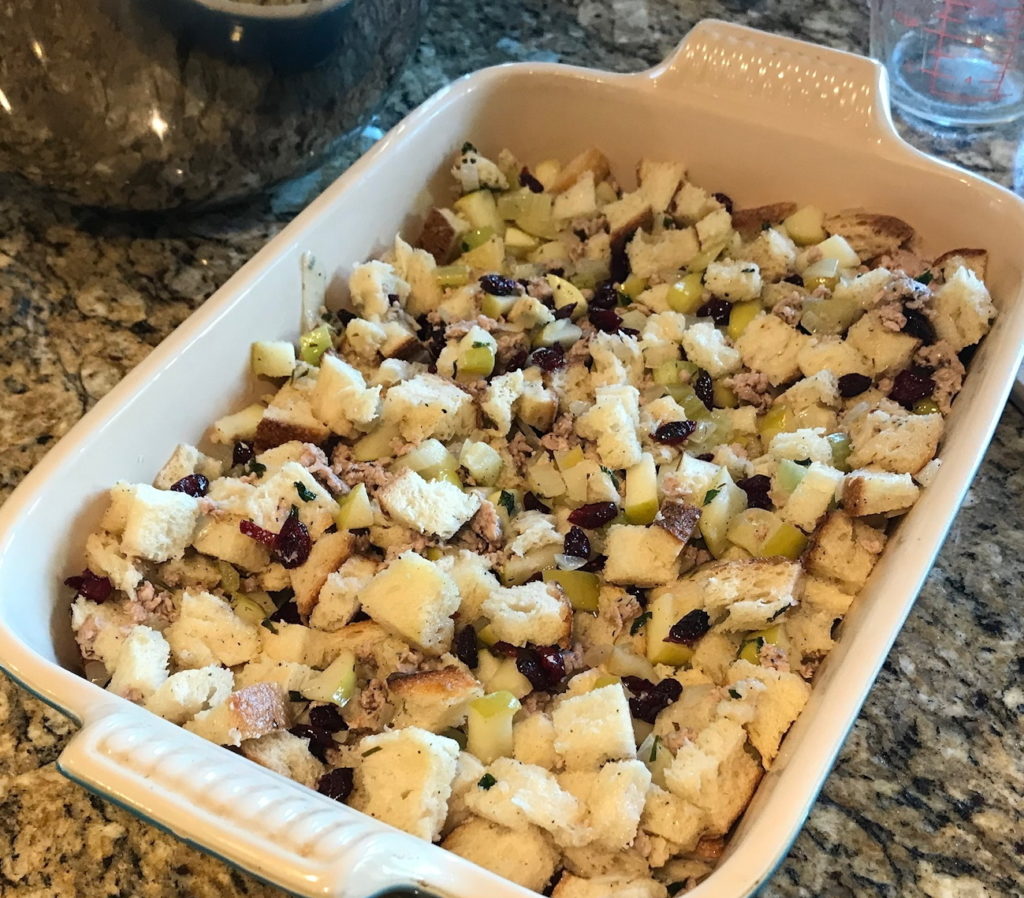
Because I bake it the next day, I add additional broth right before it goes into the oven to ensure it won’t dry out.
Get the recipe: Sausage and Herb Stuffing. As Ina would say, “How easy is that?”
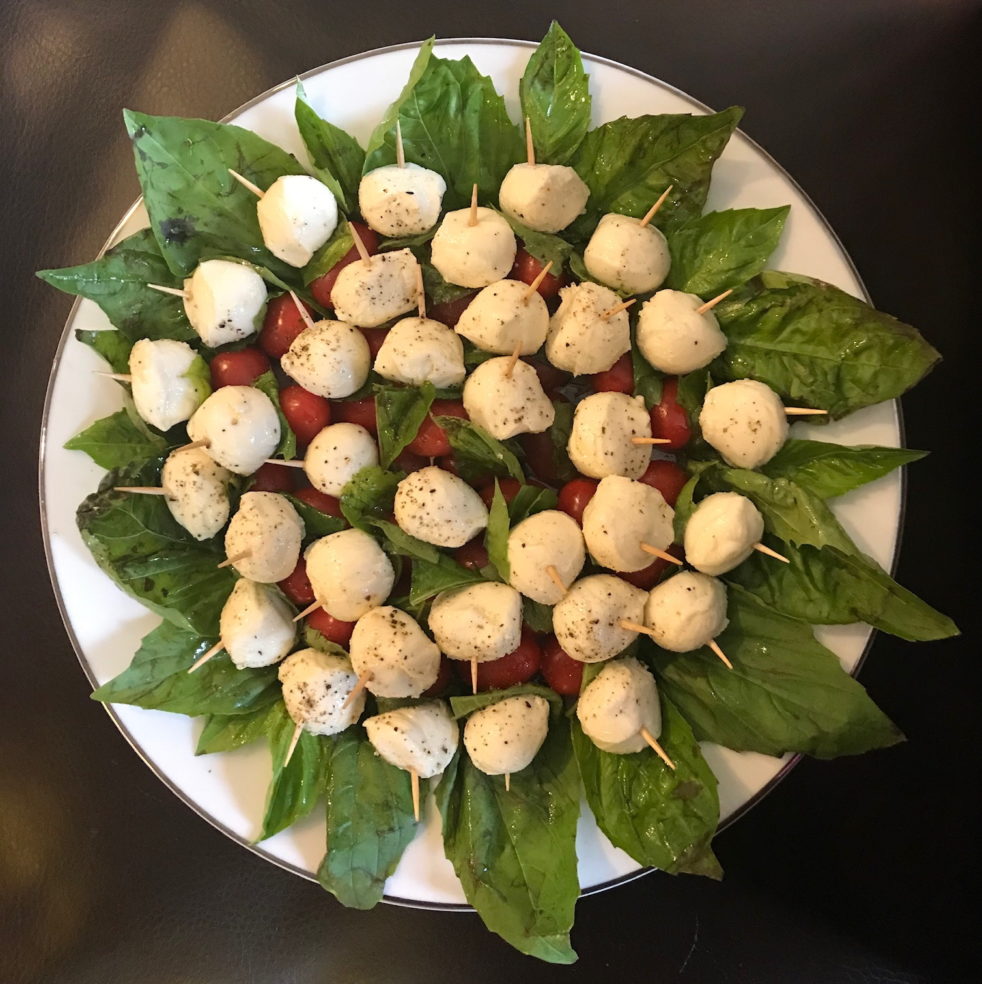
With all these heavy side dishes, I wanted to make a salad to balance it off. Well, this salad wasn’t exactly as light as I originally planned, but it turned out to be clever. You see, I love cute food. My crazy smooshed looking Spooky Peppers is evidence of my insanity. I came across the cutest idea for a caprese salad so I decided to make my own Caprese Christmas Wreath Salad.


Ingredients
Method
- Remove the basil leaves from the steams. Use the larger leaves to create a ring around the plate.
- Using a toothpick, skewer a tomato, a basil leaf, and a mozzarella ball.
- Arrange in a circle on the basil leaves. Continue until you've created enough circles to fill the wreath. Add small basil leaves to fill in the wreath as needed.
Merry Christmas! I hope I made your dinner a little easier with these dependable side dish recipes.