This recipe is embarrassingly simple. It’s like I’m cheating when I make it. If you don’t feel like cooking, make this. All you need is a cutting board, a bowl, and a pie pan. And a box of Bisquick. There. I admitted it.
Here’s the simple formula. You need 1 1/2 cups of cooked meat with 1 1/4 cups of shredded cheese. I prefer ham and Swiss cheese, but you can easily substitute your favorite meat and cheese combination like ground beef and cheddar, cubed chicken and jack, and so on.
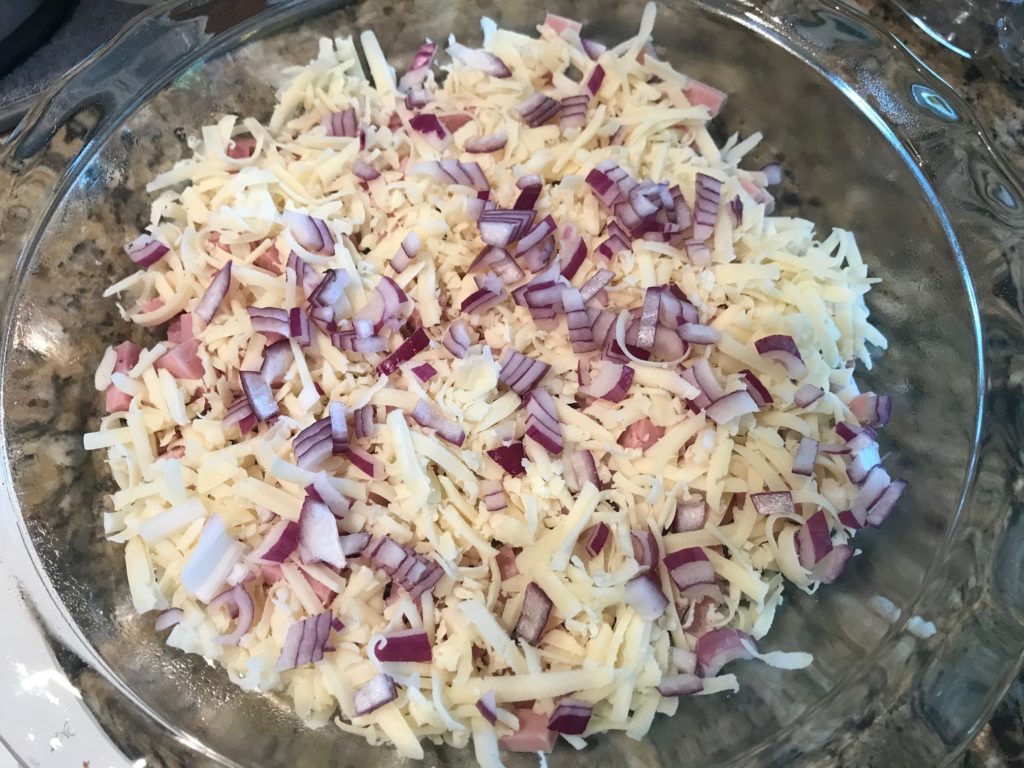
Grab your ingredients. Dice up some ham. Shred some cheese. Chop up some some onion. Throw this in a pie plate.
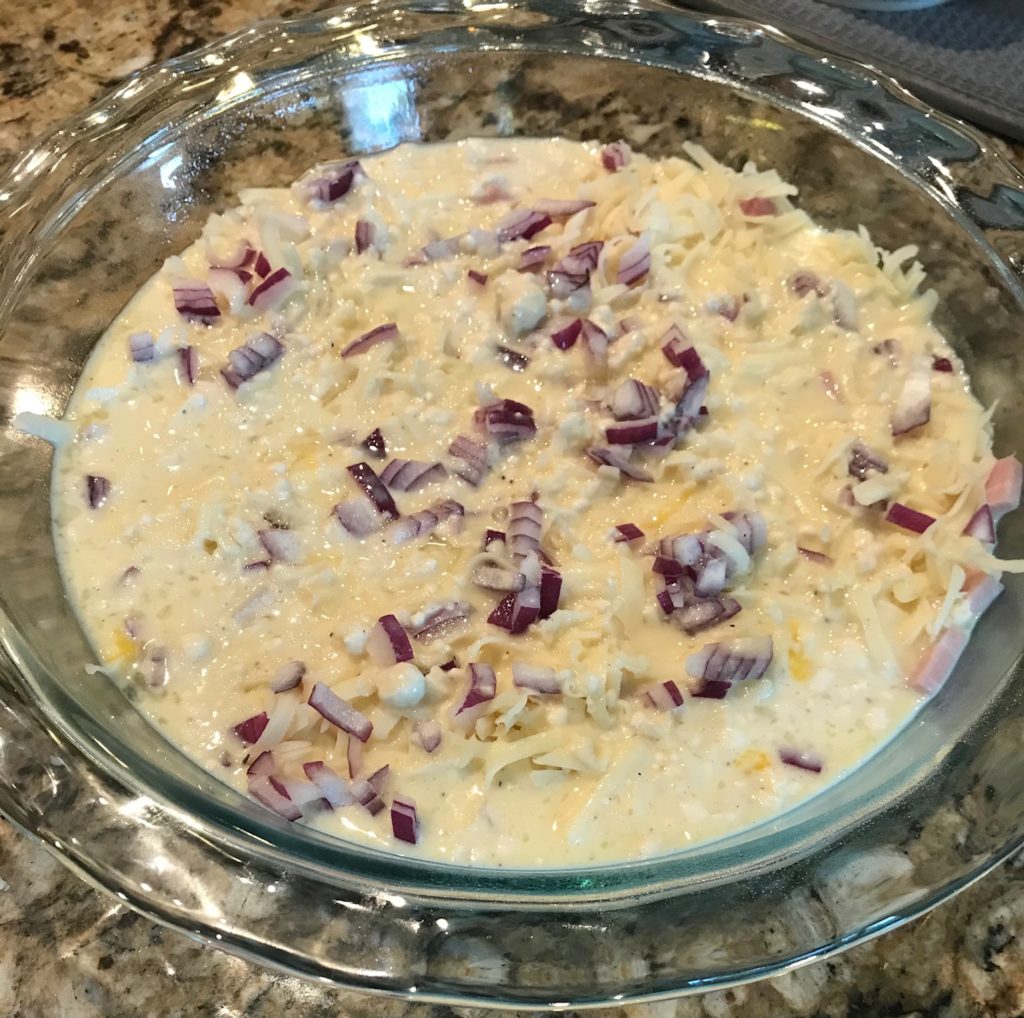
In a bowl, mix up your Bisquick mix, milk, and eggs. Season with salt and pepper. Pour this into the pie pan.
I’m blushing as I write this. This is barely cooking.
Stick it in the oven at 400F for about 35 minutes until barely browned. And that’s it.
This doesn’t sound very exciting, but sometimes you just want to use what you have in your pantry and call it done. Did I mention it’s delicious and you will make this over and over again?
Noodles are a big hit around here so I’ve been looking for quick and easy noodle bowls. I came across this recipe from eatwell101 that I thought I would try. They claimed you can pull this dish together in 15 minutes. Right. First off, I have to say that this meal was absolutely delicious, but in no way or form does it take 15 minutes to make. Boiling the water and cooking the noodles alone takes more than 15 minutes so I have no idea how they think 15 minutes is enough time. Ok, enough of my complaining. At least it’s super simple to make. Read on. I was up for the challenge, just to prove them wrong.
I got the water started for the noodles. I didn’t time it, but boiling water easily took 7-10 minutes. Cooking the noodles took 12 minutes. How is this a 15 minute meal? Ok, again, I’ll quit my whining.
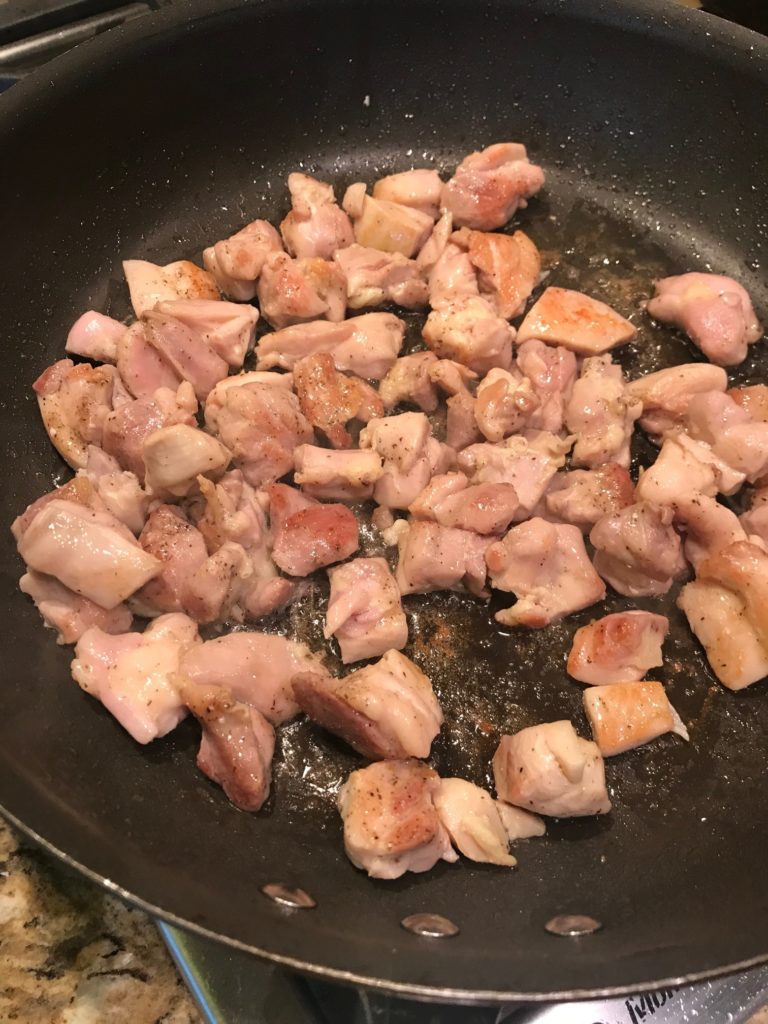
The original recipe uses chicken breasts, which are leaner, but I typically use thighs. Cheaper and better tasting. Cut them into chunks and pan fry them until barely brown.
Because I was determined to make this in 15 minutes, while the chicken was cooking, I quickly minced a few garlic cloves, shredded a carrot, and chopped up some broccoli. I should have julienned the carrots, but no time for that nonsense!
Once the chicken was half done, I threw in the garlic and carrots. Yikes! I need to make the sauce! I quickly mixed together ginger (which I had to grate…seriously people?), brown sugar, soy sauce, hoisin sauce, sesame oil, red pepper flakes, black pepper, and the kitchen sink. Maybe I should have made the sauce first, but I was following the order of the ingredients. Yes, yes, I should have read the directions first, but I was in a hurry!
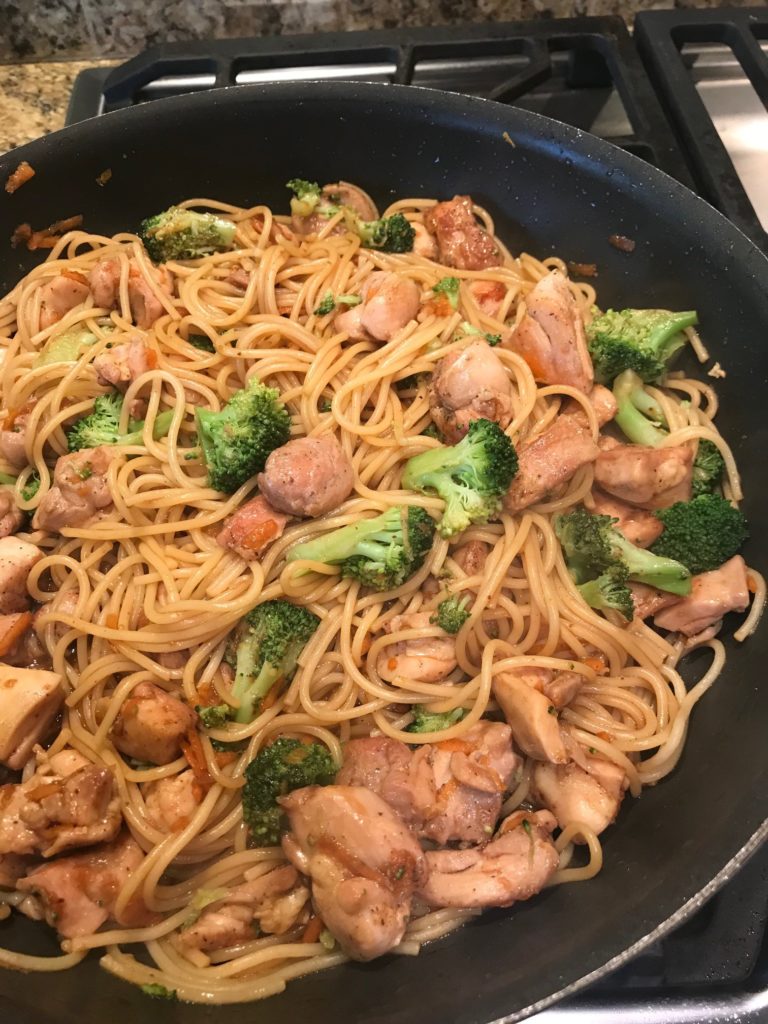
During the last 2 minutes of boiling your noodles, throw your chopped up broccoli into the boiling pot of water and let it cook. Drain, and add the pasta and broccoli to the skillet with the chicken. Pour the sauce over and then stir it together until everything’s well mixed.
Whew. It’s done. For such a simple dish, I was exhausted as if I had just completed round 1 of Chopped. Again, how did they make this in 15 minutes?! But I have to say using spaghetti made the dish easy. The sauce was a perfect blend of salty/spicy/sweet. It could have used more broccoli, but I stole a few to dip in ranch. My bad. Best of all, the boys loved it. It’s a make again. Just plan on taking 30 minutes and try to be more zen about it than I was.
1poundskinless boneless chicken thighscut into chunks
1tablespoonolive oil
3garlic clovesfinely minced
1mediumcarrotjulienned or shredded
3cupsbroccoli florets
fresh chopped green onionsfor garnish
Sauce
1/2teaspoonfreshly grated ginger
1tablespoonbrown sugar
1/4cuplow-sodium soy sauce
2tablespoonshoisin sauce
2teaspoonssesame oil
1/4teaspooncrushed red pepper flakesoptional
fresh cracked black pepperto taste
Method
In a large pot with boiling salted water, cook the spaghetti according to package directions. Add the broccoli florets the last 2 minutes of cooking and let them cook with pasta until tender. Drain the noodles and broccoli, and set aside.
While the pasta is cooking, whisk together the ginger, brown sugar, soy sauce, hoisin sauce, sesame oil, red pepper, and black pepper in a small bowl.
Season chicken with salt and pepper. Add olive oil to a medium-sized skillet and cook chicken in an even layer over medium heat, turning from time to time for 2 or 3 minutes, until slightly golden. Stir in the garlic, and carrots, and cook for a minute more, until cooked through but not overdone.
Transfer the cooked spaghetti and broccoli to the skillet, and pour the sauce on top and toss until fully incorporated. Reheat for a couple of minutes and serve the chicken stir fry noodles, garnished with green onions.
We have a favorite Chinese restaurant in town called Fat’s that makes this amazing Cantonese steamed fish. I wanted to try making it at home. It’s a little out of my comfort zone because I don’t have much experience steaming anything, but how hard could it be? People steam stuff all the time. It’s not like I’m making a souffle or macarons. Actually, let’s not speak of the time I tried making macarons. They turned out chewy. Enough said.
Some people use bamboo steam baskets, but I decided to go with an old-fashioned metal steam basket like the kind my mom used to use to make that awful mushy steamed broccoli she’d serve for dinner. Let’s not speak of that either.
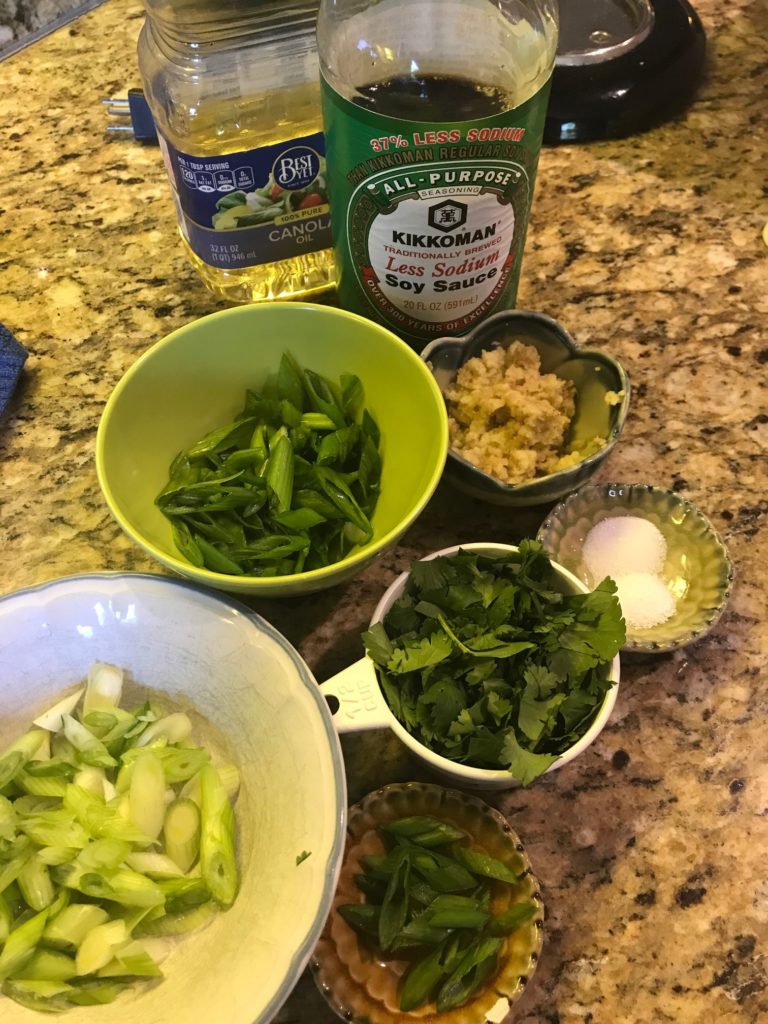
Let’s prep the ingredients. Grate some fresh ginger. Slice up some green onion. Rough chop the cilantro. Set aside a bit of green onion and cilantro for garnish. Measure out the soy sauce, salt, sugar, and vegetable oil. Grab some hot water.
Mix together soy sauce, salt, sugar, and hot water. Set aside. Now comes the fun part. Grab a wok and add a couple inches of water. It doesn’t need to be precise, but the water level needs to be below your steamer. When you stick your steamer in the wok, if there’s water in the steamer, you’ve got too much water.
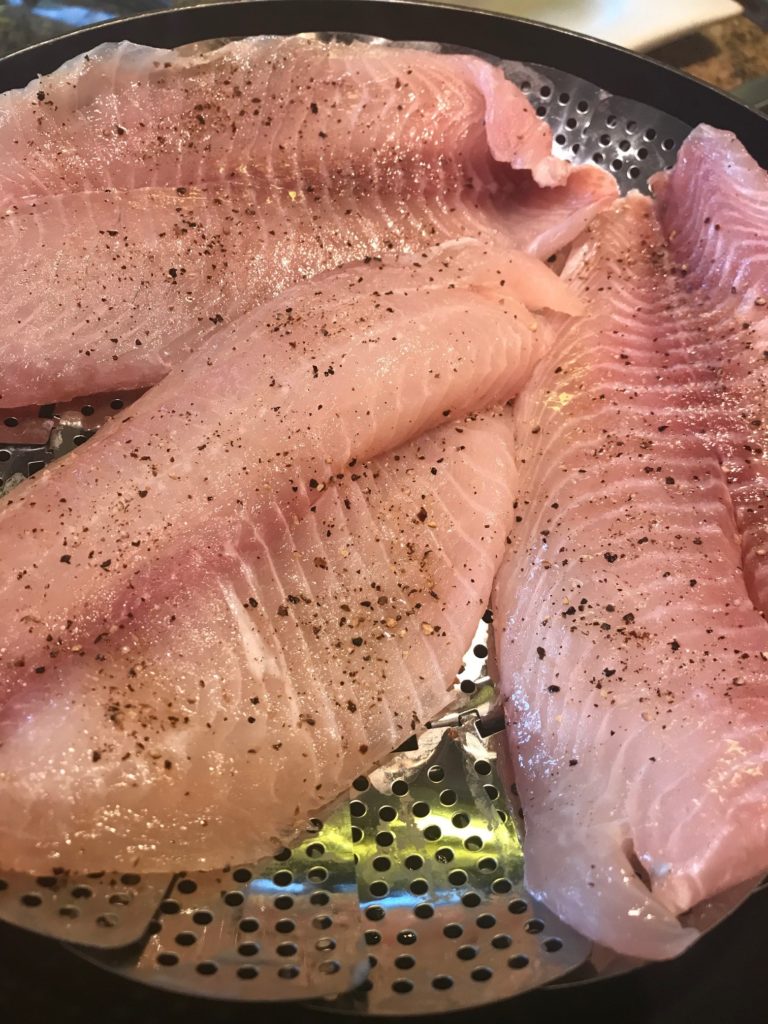
Salt and pepper your fish. I chose tilapia because it was on sale and I’m all about the sales. Once your water is boiling, place the fish in the steam basket.
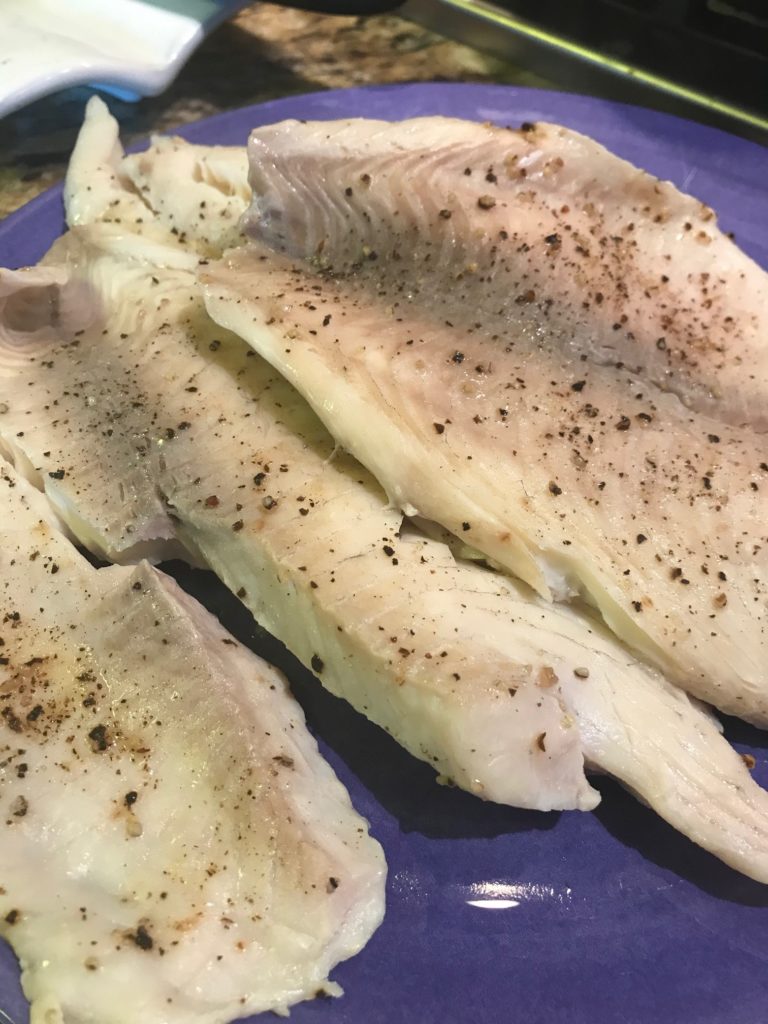
Cover and steam it until the fish is cooked. Mine looked like this and took about 9 minutes.
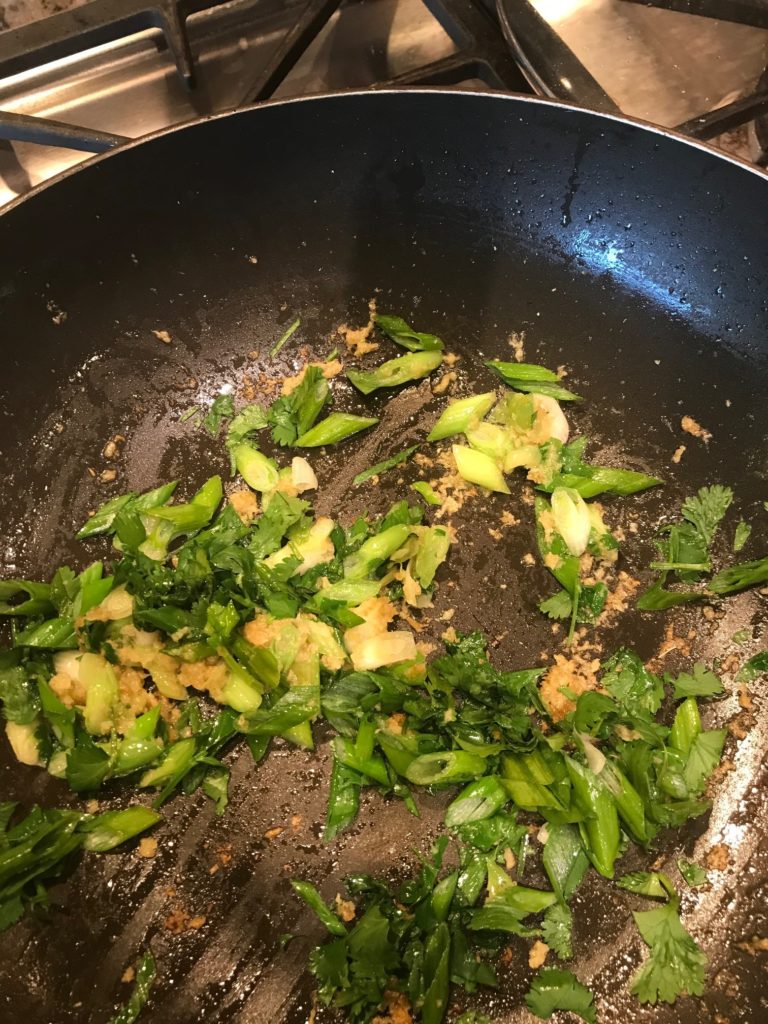
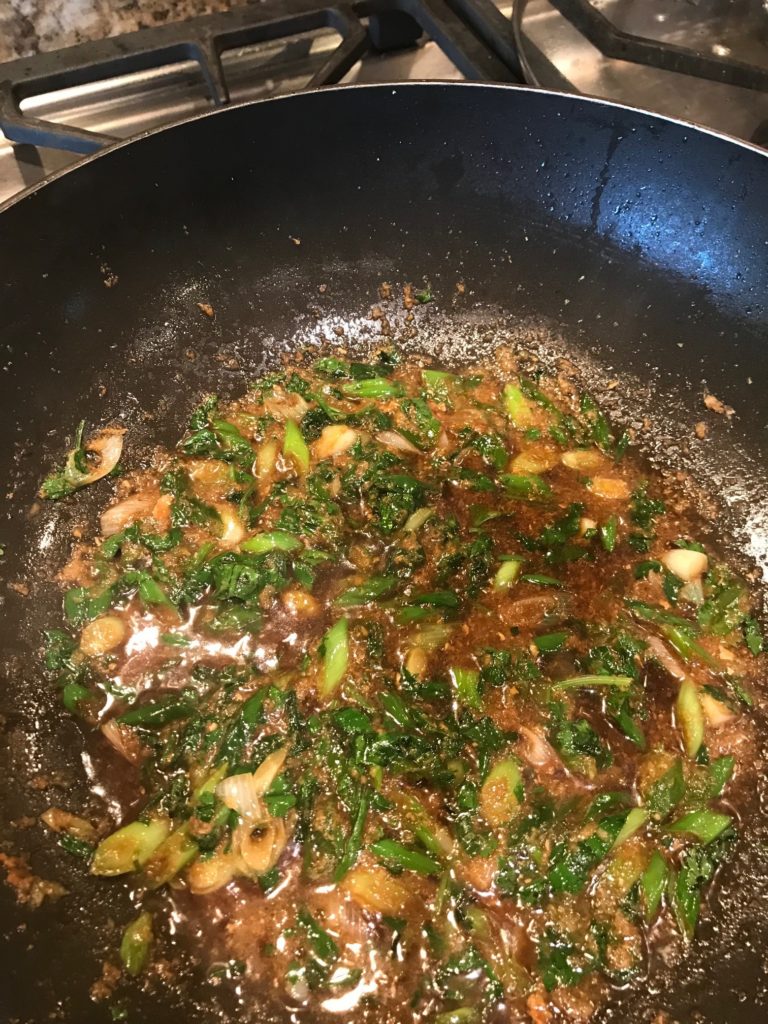
Time to make the sauce. I poured out the water from the wok, wiped it dry, and heated it up with vegetable oil. Cooked the ginger, added the white parts of the green onion, cooked it some more, added the rest of the green onions and cilantro. Everything smells pretty good at this point.
But wait! There’s more! Add the soy sauce mixture you made earlier. and bring it to a simmer. When everything looks a bit wilted, you’re done.
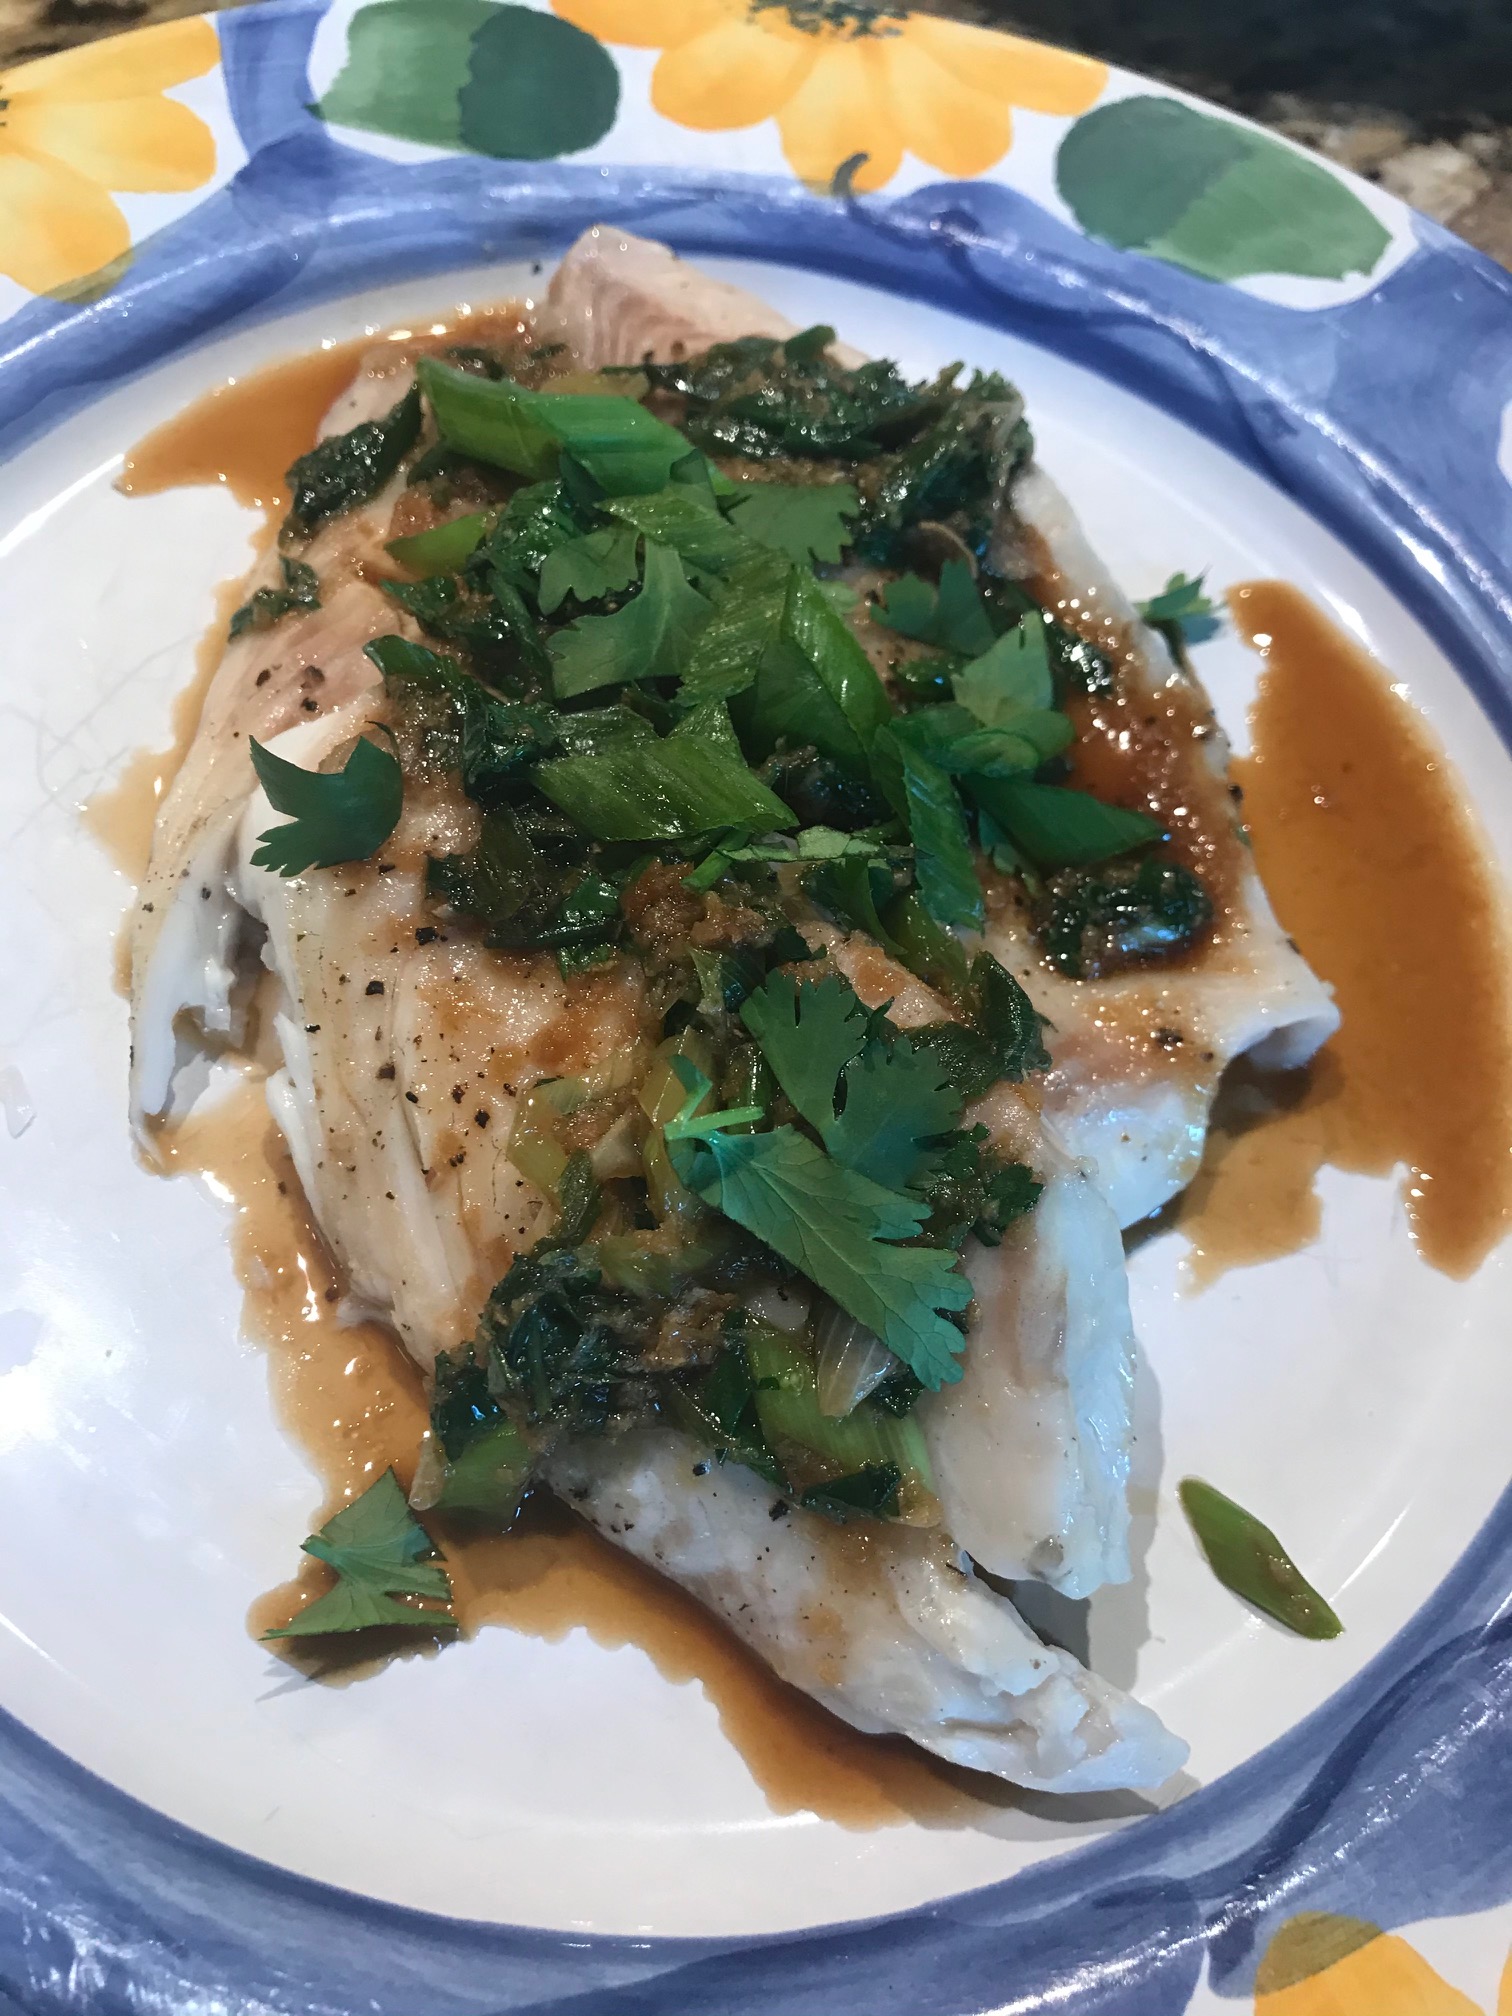
Pour it over the fish and throw some green onions and cilantro on top to make it look pretty.
It’s not fancy. It’s just good food. I love how the ginger made it spicy and the soy sauce made it salty. The touch of sugar made it a bit sweet and the fish was moist unlike when you roast it in the oven or fry it in a pan. Definitely a make again.
Grate ginger. Slice green onions at an angle and separate the green and white parts. Rough chop cilantro. Save some green onion and cilantro for garnish, and then set the rest aside.
Combine the light soy sauce, salt, sugar, and hot water in a small bowl, and mix until the sugar and salt are dissolved. Set aside.
Prepare your steaming set up in a wok by filling the wok with 1-2 inches of water. Bring to a boil. Place a metal steam basket in the wok.
Rinse fish and then season with salt and pepper. Carefully place it on the steamer basket, and adjust the heat to medium. The water should be at a slow boil and generates a good amount of steam.
Depending on the size and thickness of the fish, cover and steam for 7-10 minutes until cooked through. Turn off heat and set aside.
To make the sauce, heat a wok or small saucepan to medium high heat, and add vegetable oil. Add ginger, and fry for 1 minute. Add the white parts of the green onion and cook for 30 seconds.Then add rest of the green onion and cilantro. The mixture should be sizzling.
Add the soy sauce mixture. Bring the mixture to a simmer, and cook until the scallions and cilantro are just wilted, about 30 seconds. Pour mixture over fish. Garnish with green onions and cilantro.
Pasta is one of the ultimate comfort foods that you can make in so many different ways. I like to make a big batch of meat sauce and freeze it for future spaghetti dinners. Or make a bunch of meatballs (Ina Garten’s are the best) and freeze those to serve with jarred sauce and noodles. Along those lines, Cheesy Beef and Macaroni is a delicious and easy weeknight pasta dinner that everyone will love. It’s definitely not fancy. This one skillet dish makes plenty so you can freeze some for another night or just have some leftovers for lunch. This recipe comes from the Kitchn, but I changed it a bit. First off, I split the recipe. You are welcomed to make the full recipe, but I have no idea how it would fit in the 12-inch skillet that the recipe specifies. In fact, I used a 12-inch skillet and it barely all fit.
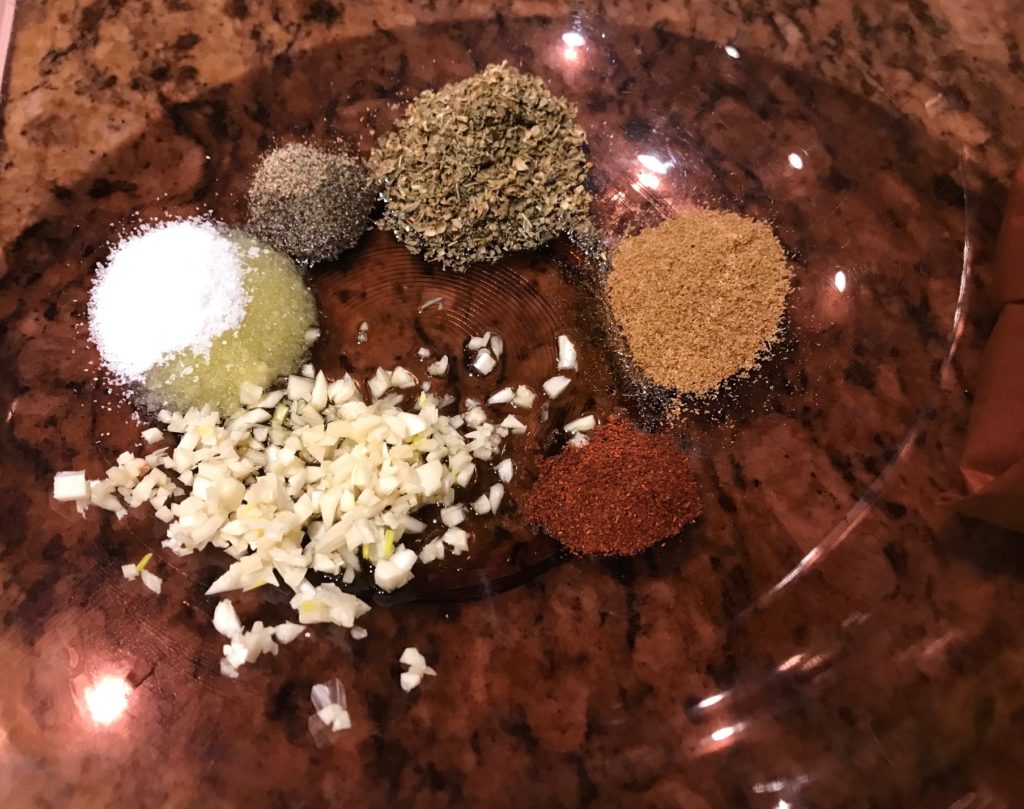
Gather all your ingredients. You need to chop up a few veggies: red pepper, carrots, and onions. Mince a few cloves of garlic. Grab ground beef, olive oil, a can of crushed tomatoes, and a bottle of Worcestershire sauce. Measure out your herbs and spices. Shred some cheese or buy it prepackaged. Pretty basic stuff.
Brown the ground beef, season with salt and pepper, drain the fat, and set it aside. A lot of recipes, including this one, don’t have you season the meat, but I think it’s a really important step. Salt brings out the flavor in meat. Use about a 1/2 teaspoon of salt per pound of meat. Throw in a little pepper to balance it out. I’ve found that if you season early on, you probably don’t need to add more salt later.
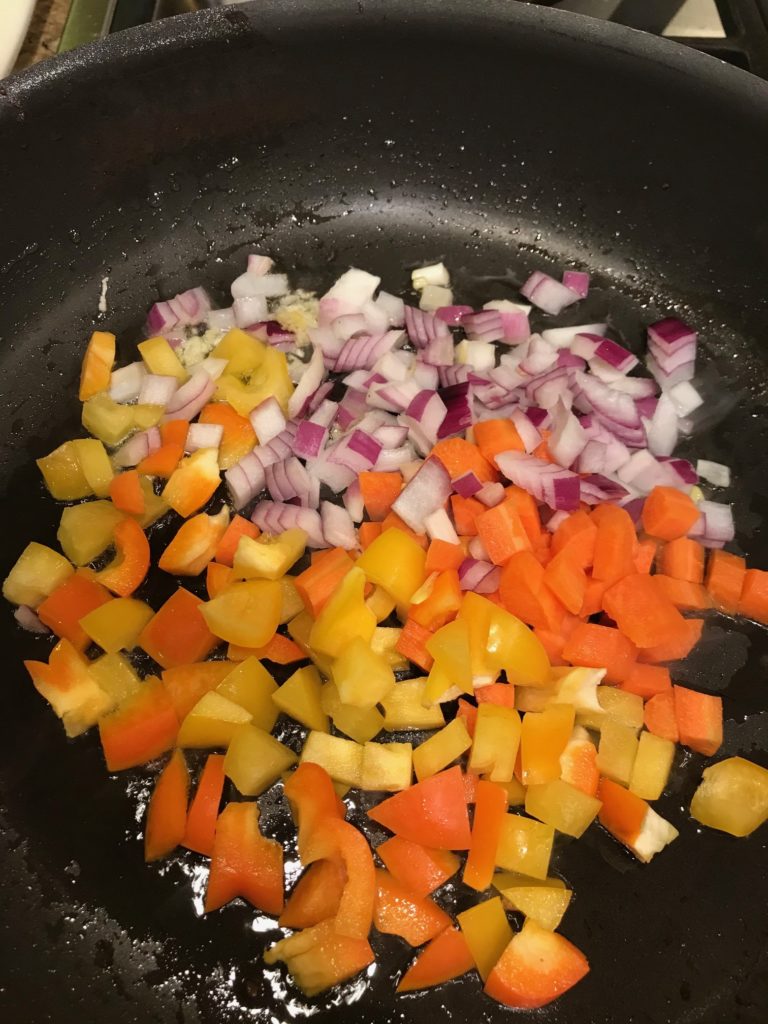
Add some oil and throw in your veggies and garlic. You’ll cook those until they are slightly soft for about 5 minutes. By the way, this is a sneaky way to add some veggies to your meal.
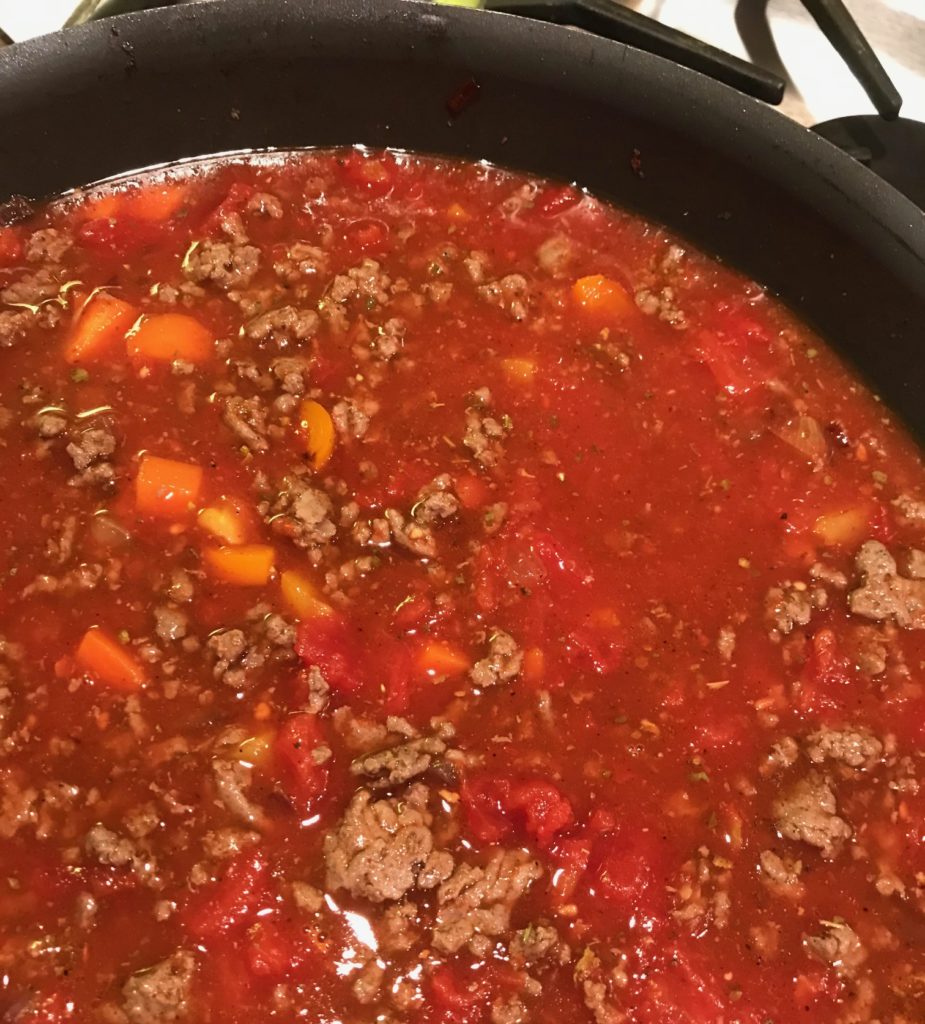
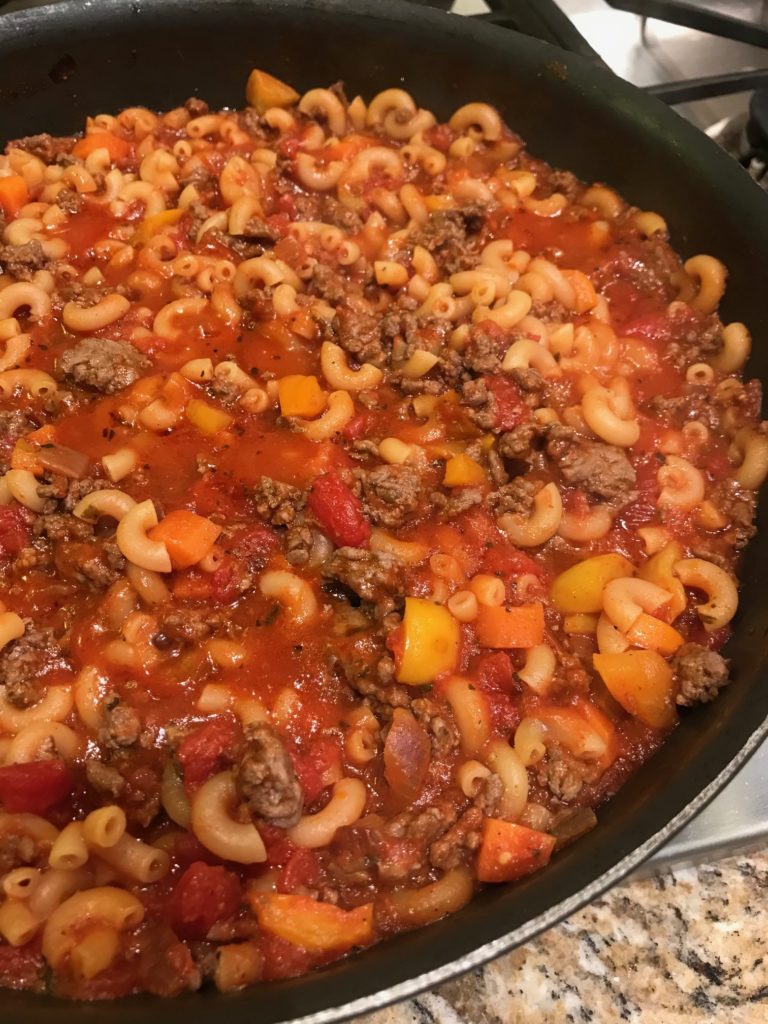
Put the beef back into the skillet and add your herbs, spices, tomatoes, Worcestershire sauce, and 2 cups of water. Let that come to a simmer.
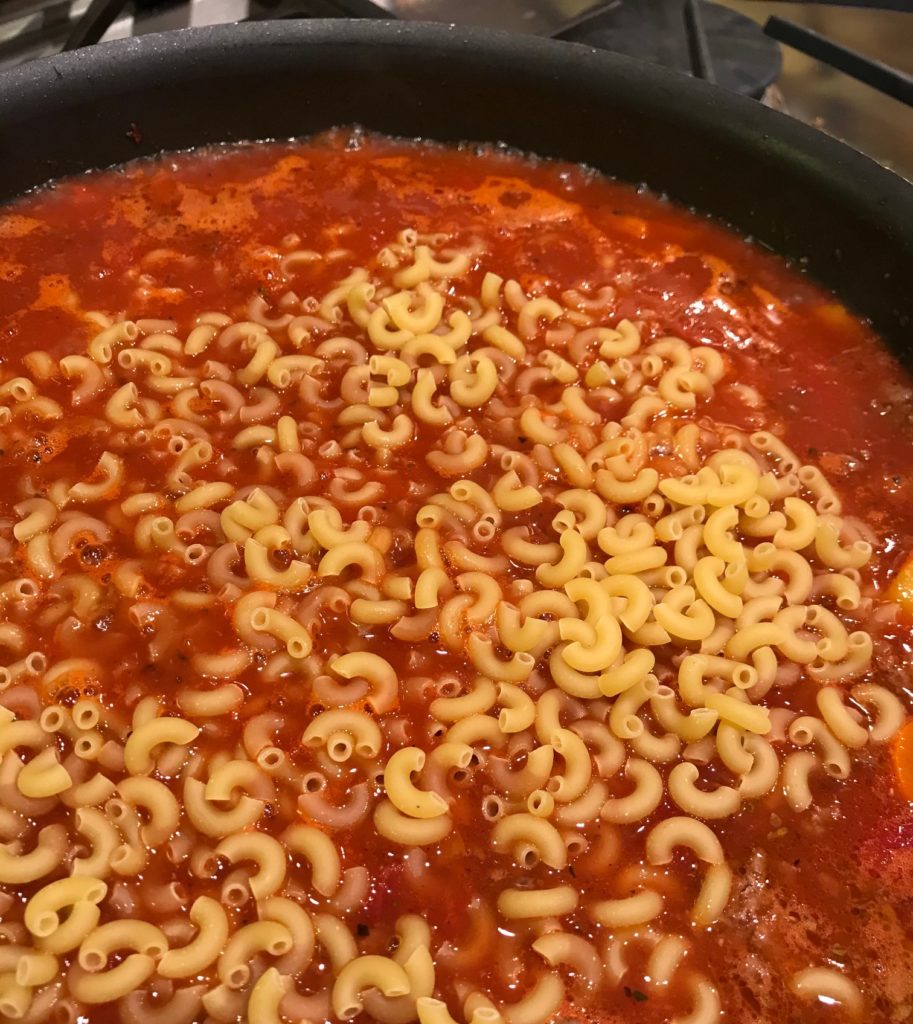
Once it’s simmering, add the pasta. I love this kind of meal because it doesn’t require you to boil the pasta separately. Oh, and let me remind you that I halved recipe and the ingredients are as close to the top as they should get. How ginormous was their skillet?!
Cook until the pasta is tender, which is about 10 minutes.
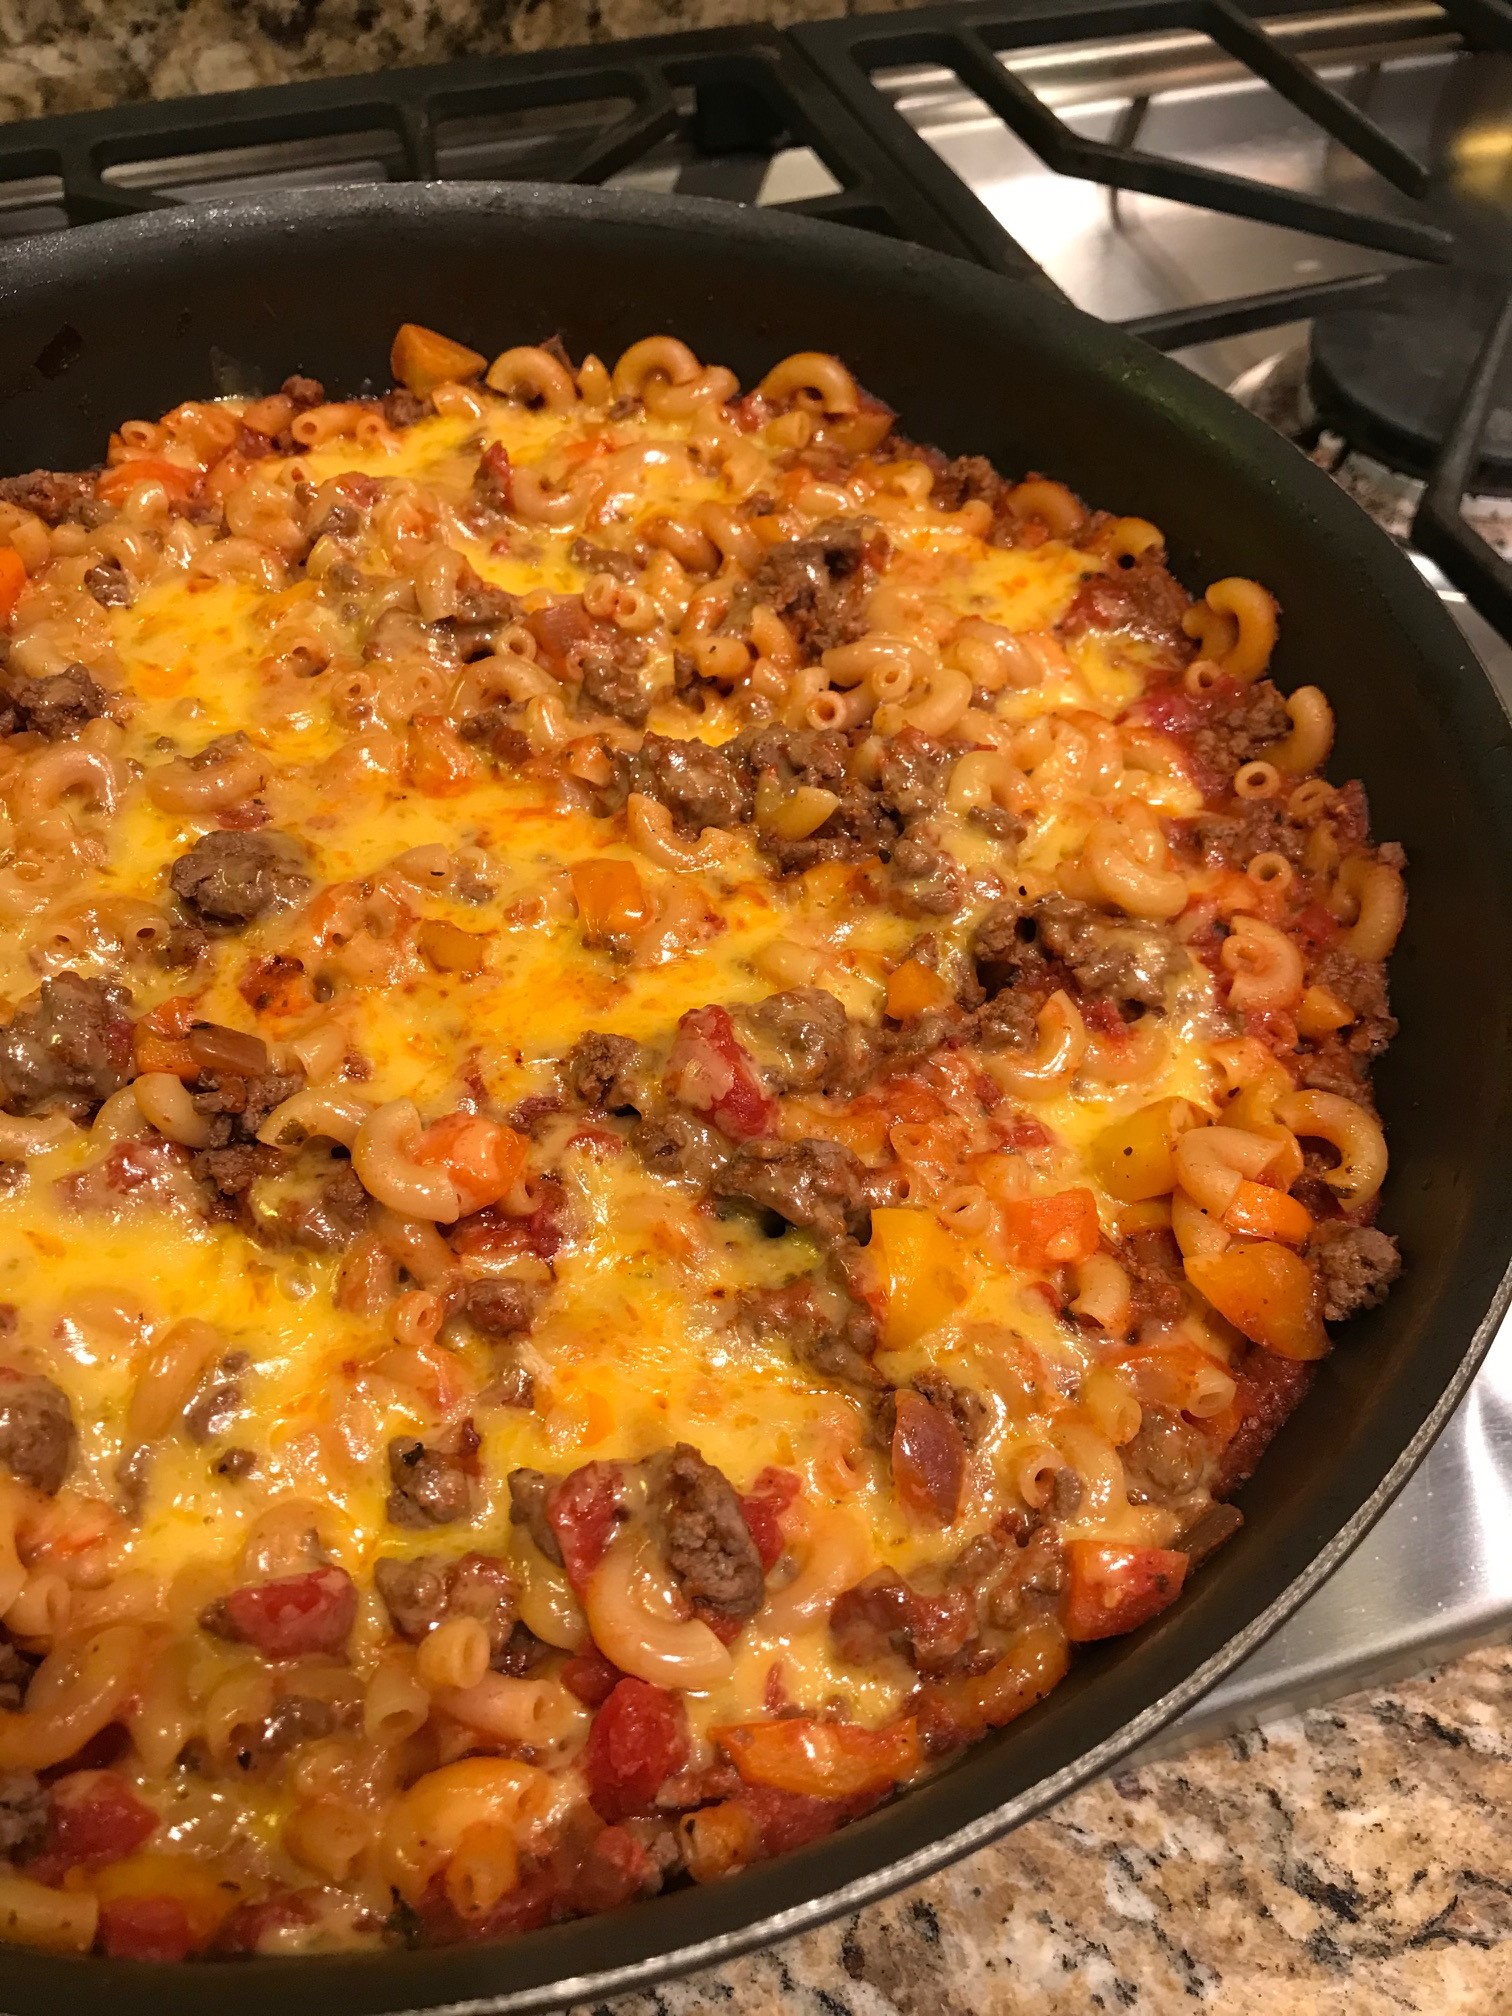
Throw some cheese on top and let it melt. I used a cup of cheese. At the time I thought I could have used more because I was expecting this dish to be more cheesy like mac and cheese, but the amount of cheese was perfect.
And that’s it! Like I said, not fancy, but a little fancier than your typical spaghetti and red sauce. Super comforting and delicious. Really easy to make in no time. You only use one skillet so clean-up is quick. Win-win.
Heat a 12-inch skillet over medium-high heat. Add beef seasoned with 1/2 teaspoon salt and 1/4 teaspoon pepper. Crumble and cook until browned, about 5 minutes. Set beef aside.
Wipe out the skillet. Heat oil over medium heat. Add bell pepper, carrots, onion, and garlic. Cook until almost tender, about 5 minutes.
Return the beef to the skillet. Add the basil, oregano, tomatoes with their juice, Worcestershire sauce, chili powder, and 2 cups of water. Season with salt and black pepper to taste. Increase the heat to high and let come to a simmer.
Add elbow macaroni, stir, and cover the skillet. Reduce the heat to medium and let simmer, stirring occasionally, until the macaroni is tender and most of the liquid has been absorbed, for 8 to 10 minutes. Taste for seasoning, adding more salt and black pepper as necessary.
Sprinkle the cheese on top. Cover the skillet and cook until the cheese is melted, about 1 minute. Serve from the skillet.
Tacos are amazing. It’s a perfect little meal with all the food groups. A crunchy corn shell or maybe a soft flour tortilla. Spicy chicken. Flavorful pork. Bold beef. Roasted peppers. Red salsa. Creamy guacamole. Cotija cheese. My mouth’s watering.
I’ve been wanting to try new taco recipes, but sometimes the endless number of ingredients are hard to find. The preparation takes hours and requires skills that I just don’t have. I nearly gave up until I found this amazing recipe for fish tacos. It was completely out of my comfort zone, but everyone needs to start somewhere. And I just read something about failing is part of the process of success so I’m going to go to my happy Zen place and make these tacos. It’s good for the soul.
Fish comes in all forms, shapes, and sizes. You have your traditional white fish, such as cod or mahi mahi, that works really well in tacos, but this recipe is more exotic. Instead, you use a rare small orange fish only found in the farmed waters of Pepperidge. I thought I would have to special order it because I couldn’t find it at my fish market, but I just wasn’t looking in the right place. It’s next to impossible to buy fresh so I purchased a well-sealed bag and made the best of it. I was skeptical, but pleased at the same time. The fish comes ready with seasonings such as salt, pepper, cheese, paprika, and onion powder. Preparation is easier when all the ingredients are already baked in. No poblanos to roast. No corn to mill. No special sauces to make from the tears of unicorns.
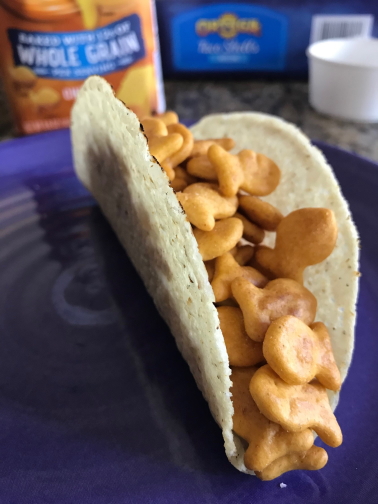
Fortunately, you can use any type of tortilla for this taco. I chose a crunchy white corn taco shell.
Oh, before I continue, you might not want to make this around small children who tend to sneak a piece of fish or two. They need to be patient and wait for dinner. Go feed them a cookie instead.
Open your taco shells. I like how they aren’t broken. Briefly heat them up in the microwave.
Carefully open the bag and gently measure out 1/2 cup of fish, taking care not to break the fish or disrupt the seasonings.
Next, place the fish into the taco shell, being mindful not to spill outside of the shell.
That’s it. So simple! The crunchy texture with the salty cheese blends together beautifully with the crispy corn shell. I can’t believe I didn’t make this sooner. Enjoy! And don’t forget to follow me for more recipes!
I love any excuse to make a themed dinner so every year when March 17th comes around, I make corned beef just because I can. I know that I should probably make lamb stew, which is a traditional Irish meal, but I’m going to make corned beef anyway.
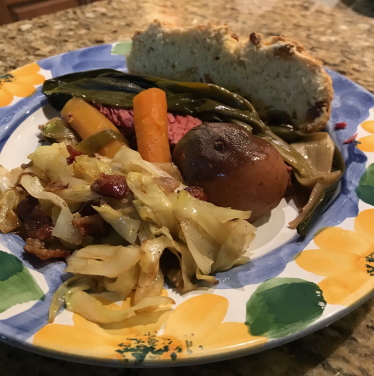
This year, I decided to make Ina Garten’s Irish Soda Bread, Slow Cooker Corned Beef inspired by Foodie Crush, and Sauteed Cabbage with Bacon, which is a mix of a couple different recipes, including Ina Garten.
This Irish soda bread recipe is really easy to make. The dough is a bit messy, but it’s worth the trouble because it tastes better than any Irish soda bread you can buy at the store. The recipe makes one loaf and it freezes well if you can’t eat it all. I love how in less than 90 minutes, you have homemade bread.
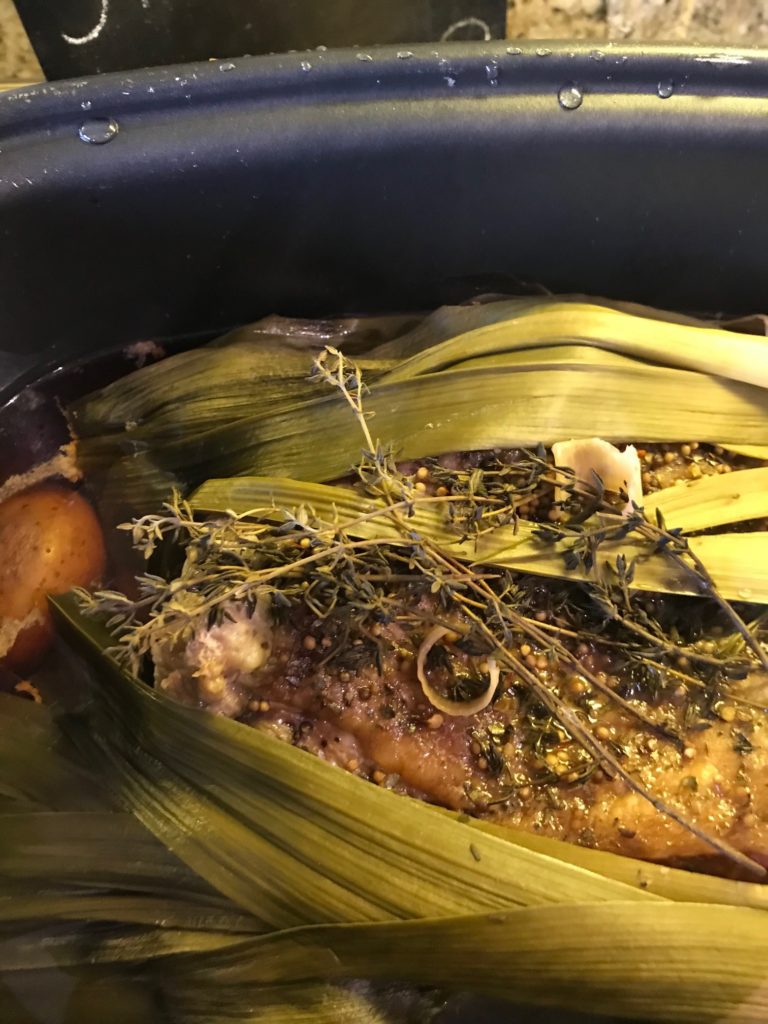
First thing in the morning, I set up my slow cooker and started the corned beef. I made a few adjustments to the recipe. My husband loves carrots so I only throw in a couple potatoes, but a ton of carrots. Because I am making a cabbage side dish, I left out the savoy cabbage, but I like how the recipe calls for savoy instead of green cabbage. It’s harder to find, but I think savoy cabbage tastes better. I also decided to throw some leeks in because I had some.
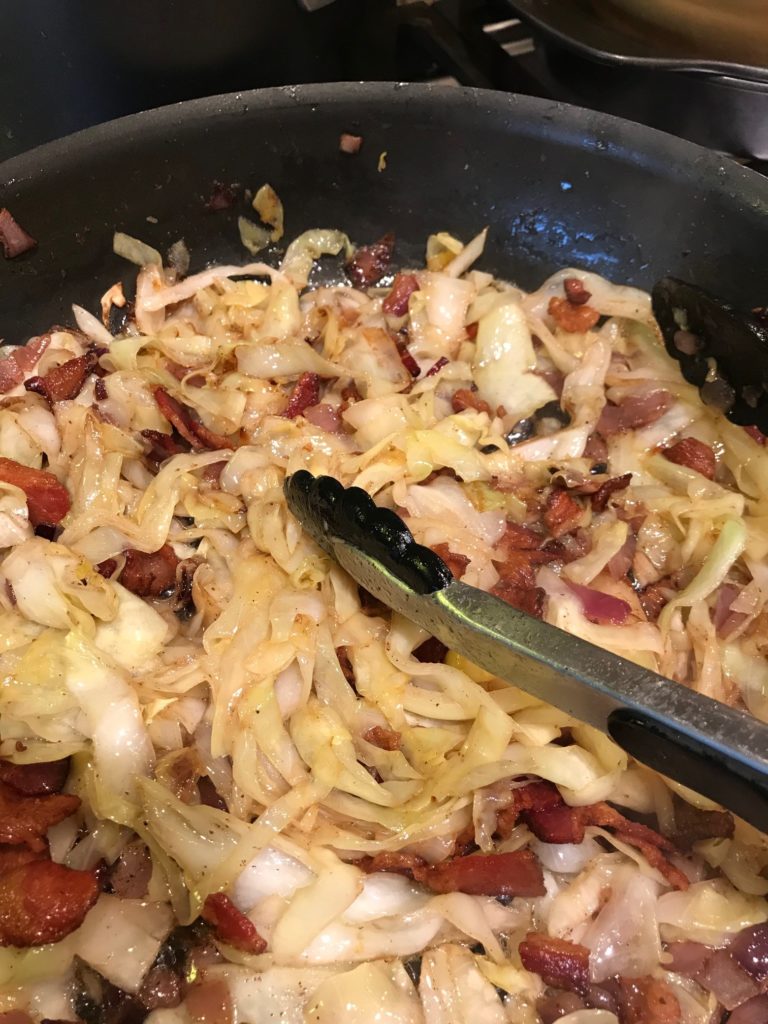
About 30 minutes before dinner time, I started on the cabbage. Dice four strips of thick bacon and fry them in butter until slightly crisp. (Did I mention this is a very healthy dish?!) Set aside. Slice up about a pound of cabbage. A small head is about 2 pounds so half a head is just about right. You can use more than a pound, but I can’t get more than that fit in the pan and stir properly so I saved some for coleslaw later.
In the same pan as your bacon, cook chopped onions and garlic seasoned with some salt. After about 8 minutes, add your cabbage, a little more salt, and some pepper. Saute for about 10-15 minutes until the cabbage is soft and slightly browned. I like mine not too soft so I cook mine for about 10 minutes. After you’ve cooked it, add the bacon and stir.
Throw some more salt and pepper on it if it needs it, and serve with corned beef, vegetables, and bread. The corned beef is somewhere under that pile of food.
There’s been a lot of talk lately about culture. I don’t have a lot to say about mine and that’s a problem. My mom was from El Salvador, which makes me half Salvadoran. Growing up in California, I noticed that my mother didn’t embrace her culture as one would expect. She tried to blend in, didn’t teach me any traditions, and didn’t cook very many Salvadoran meals. She kept her memories of her homeland close to her chest and hidden. I regret not pushing her more for information, but she never wanted to talk about it.
She also hated cooking so I couldn’t fault her for not teaching me Salvadoran cooking. But she did make a few things and she made them well. She taught me how to cook black beans three ways: soup, refried, and gallo pinto. She baked Salvadoran quesadilla, a slightly sweet dessert made with rice flour and cream cheese. I remember one year when I was 5 she made tamales with some of the ladies from the neighborhood. I sat on a tall stool and watched all day as they did magical things to meats, dried fruits, and banana leaves. I wish she continued that tradition so I could learn, but it’s a lot of work and for someone who doesn’t like to cook, it was not fun, except the camaraderie shared among the women in the kitchen that December afternoon while drinking horchata. We ate tamales for Christmas Eve that night.
A few decades later, I’ve decided I need to learn what I didn’t learn: how to cook Salvadoran food. I’ve searched for cookbooks and came up empty handed. El Salvador is a small country, but I expected to find something. But with all this talk of culture, Bon Appetit has brought diverse cooking to the forefront and wrote an article about Salvadoran food. The article made me emotional, like maybe I’ve found my people. I know, it’s silly, but I found a piece of me that day, something to connect to. I decided to start my adventure on a fairly easy recipe, Hangar Steak with Chimol.
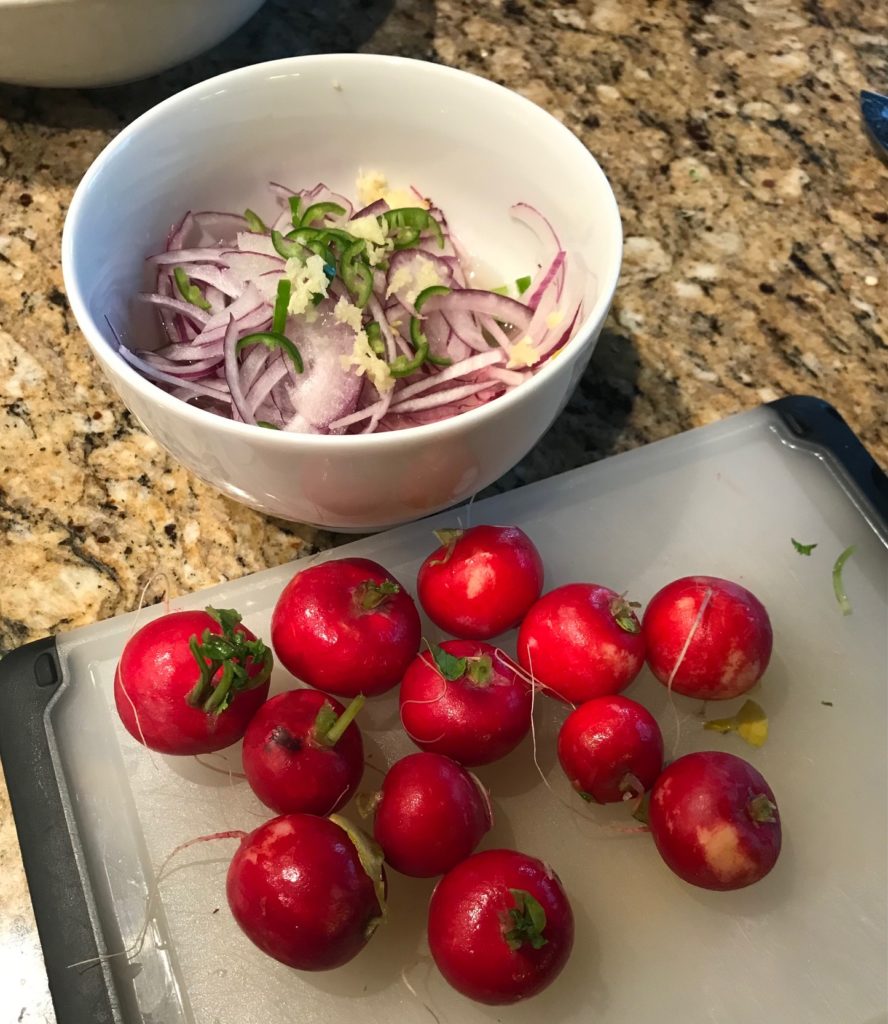
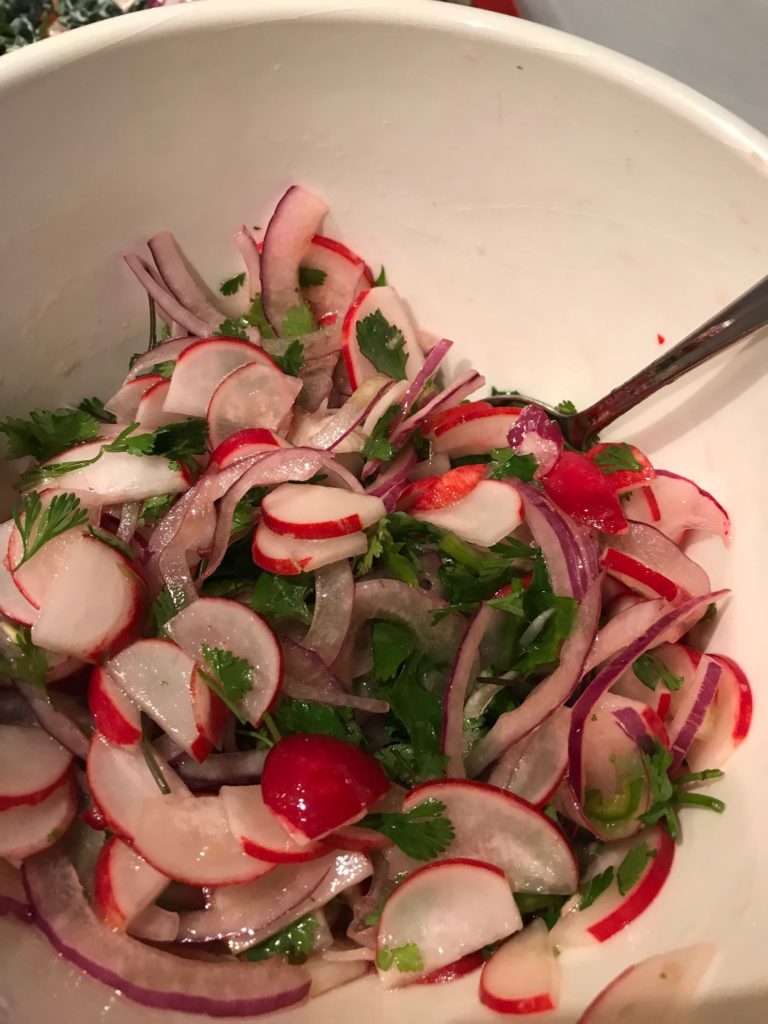
Chimol is a radish salsa that also includes red onions, lime or lemon juice, chiles, and cilantro. Some also add tomatoes, but this recipe left those out. Chimol drew out a distant memory of when my aunt made this icky radish and lemon juice mix every single day. At the time, I thought it was weird, but I think she was making chimol her way.
This recipe is not difficult to make, but making chimol was a little time consuming because of all the slicing and chopping. Combine lime juice along with thinly sliced red onion and serrano chiles (leave the seeds and membrane on for more spice). Grate a couple cloves of garlic (I added 2 cloves instead of 1 in the original recipe…I like a lot of garlic!) and slices of radish. I cut the radishes in half and then with the flat side down, sliced them up. Took a while, but that’s okay. Some things are worth the effort. I do have to say that I only used about 1/2 a chile because I didn’t want to scare away the boys. Next time, I’m going to make my own batch. Also, don’t forget to season it all with salt and pepper.
When you’re done, it will look something like this.
I think it looks pretty.
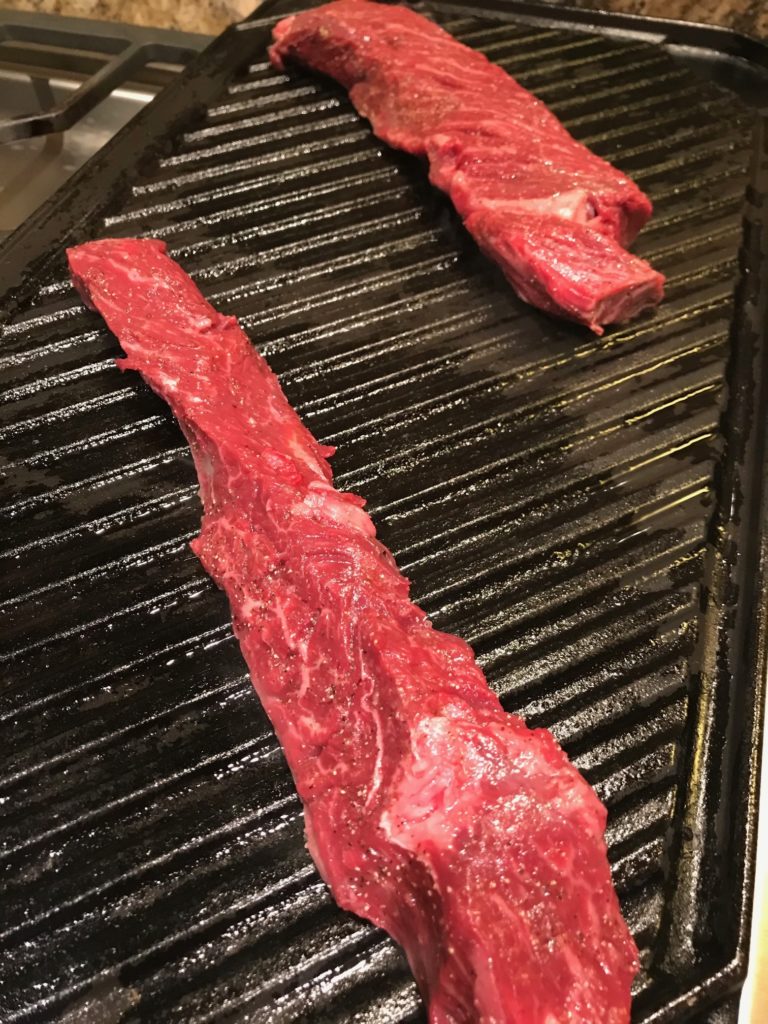
Prepare the grill for the hanger steak. I chose to use a grill pan and do this indoors. Hanger steak might be a bit tricky to find so ask your butcher if you can’t find it on the shelf. They usually have some in back. I thought it was the same as skirt steak and my butcher corrected me quickly. He’s a good guy. Here’s an informative article about the differences if you want to know.
While your grill pan is heating up, salt and pepper the meat and rub it with olive oil. Throw it on the pan on medium high heat. The original recipe has you do this first, but I think it’s better to wait until you’re done making the chimol.
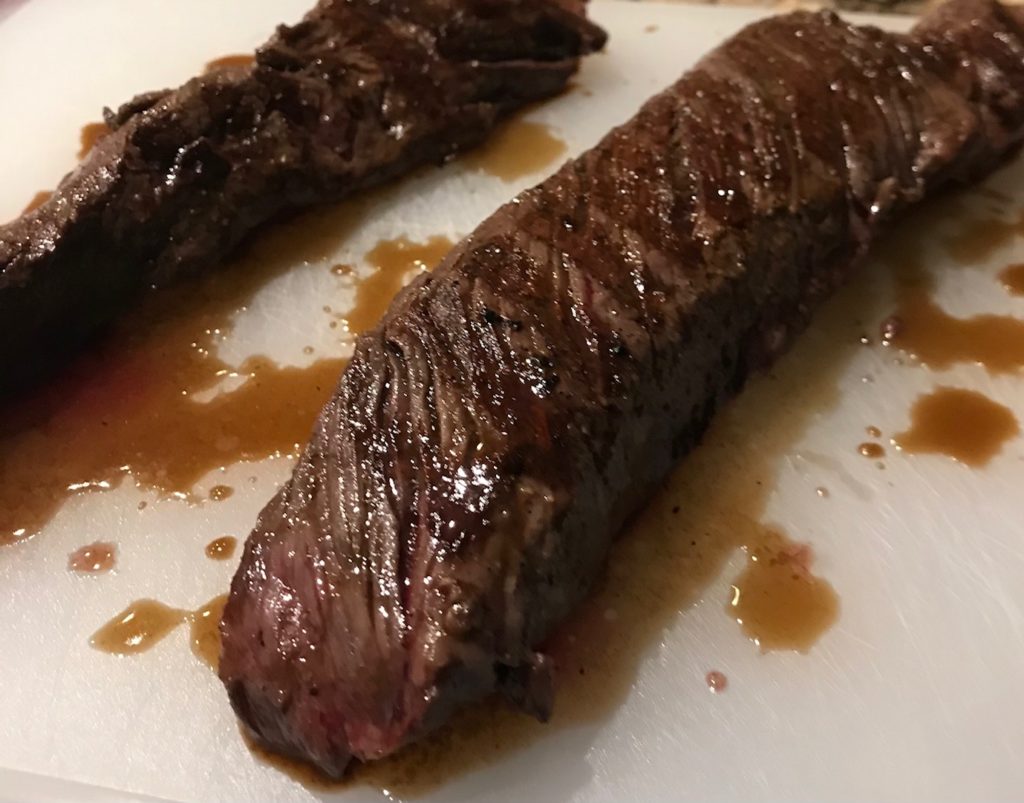
Cook each side for about 10 minutes for rare, or longer if you prefer. Move it to a large cutting board and douse it with that sauce no one can pronounce: Worcestershire. Apparently it’s used a lot in El Salvador and is sometimes called salsa inglesa, which I’m thinking of calling it that from now on. It’s a lot easier to say. I also learned that El Salvador has the highest per-capita consumption of salsa inglesa. That’s impressive.
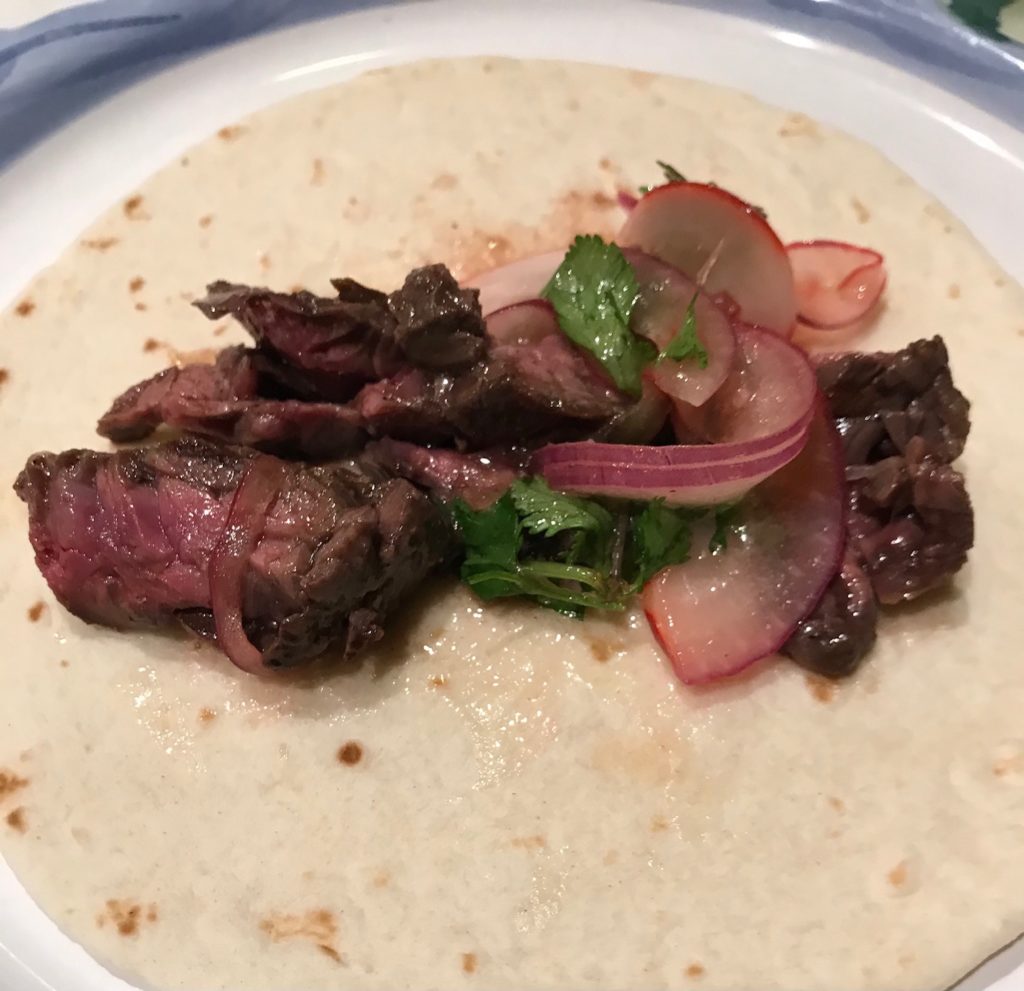
Let the meat rest for about 5 minutes so when you cut it, the juices stay in the meat rather than run all over your board. Cut thinly and serve on warm tortillas with chimol and more salsa inglesa. Yum. The meat is super tender. The chimol is peppery and spicy with the right amount of acidic tang from the lime juice. I thought that it would be weird to have salsa inglesa in a taco, but it complements it perfectly. Definitely a make again.
Prepare your ingredients: Thinly slice red onions. Depending on how spicy you want your chimol to be, remove the seeds and membrane of the chiles, and thinly slice. Grate garlic. Slice radishes. Rough chop cilantro.
Mix together lime juice, red onion, chiles, garlic, radishes, and cilantro in a medium bowl. Season generously with salt and pepper. Stir in 1/4 cup olive oil. Let chimol sit at room temperature while the steak cooks.
Prepare a grill for medium-high heat. Oil grate with vegetable oil. Season steak with salt and pepper, and then rub all over with remaining tablespoon of olive oil. Grill, turning once, until deeply browned on the outside and cooked to desired doneness, 8-12 minutes for medium-rare. Transfer to a cutting board and generously drizzle with Worcestershire sauce. Let sit 5 minutes before thinly slicing.
Serve steak with chimol, warmed tortillas, and more Worcestershire sauce.
Unless you are somewhere warm, grilling cheeseburgers outside is probably not high on your list. But what are you to do when you want a delicious cheeseburger? You certainly can fry a hamburger patty indoors, but let’s try something easier and without the grease splatter.
The first time I made these cheeseburger sliders was for a Super Bowl party. I think I tripled the recipe and we had plenty without a lot of effort. This recipe makes a great party food. But I now make these all the time for my family with just a pound of ground beef. Sometimes I include chopped onions, sometimes I don’t. I don’t use lean beef because it tends to dry out in my opinion, but you certainly can use 93% instead of the 80% beef I use. You can also use ground turkey instead.
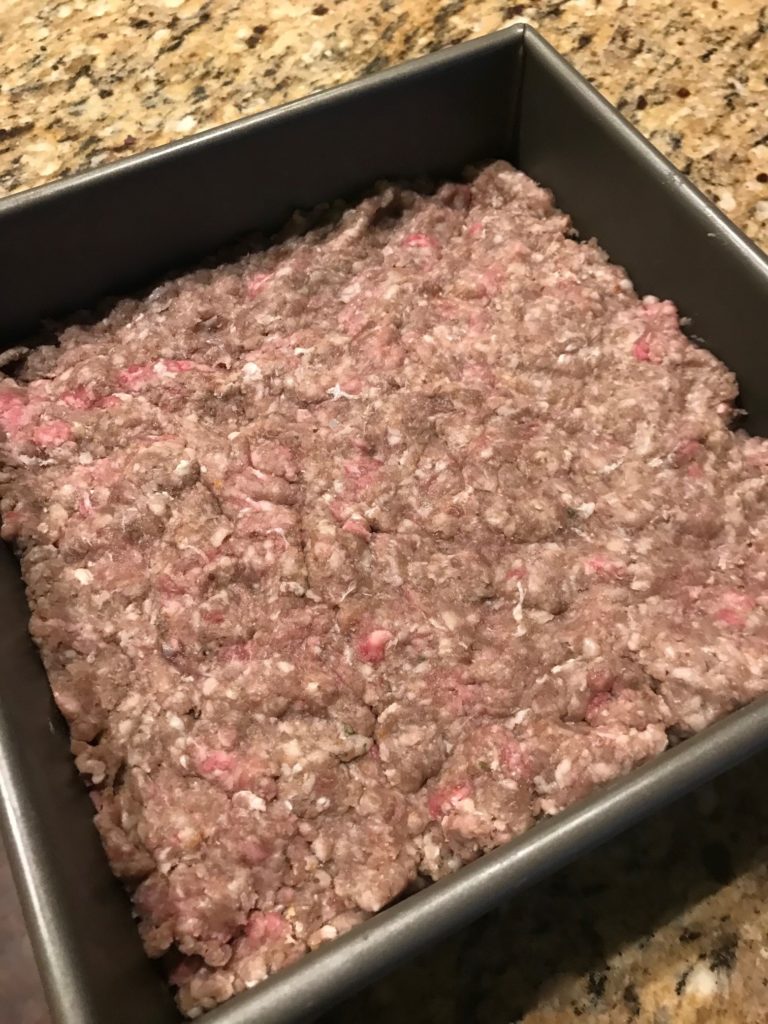
Grab a bowl. Mix up beef, bread crumbs, finely chopped onion, and salt. Don’t over mix or your burger will turn out tough. You just want to mix just enough so everything’s combined. Are the chopped onion bits all over the place so each bite has a piece of onion? Stop. You’re good.
Press the meat into an 8 x 8-inch pan.
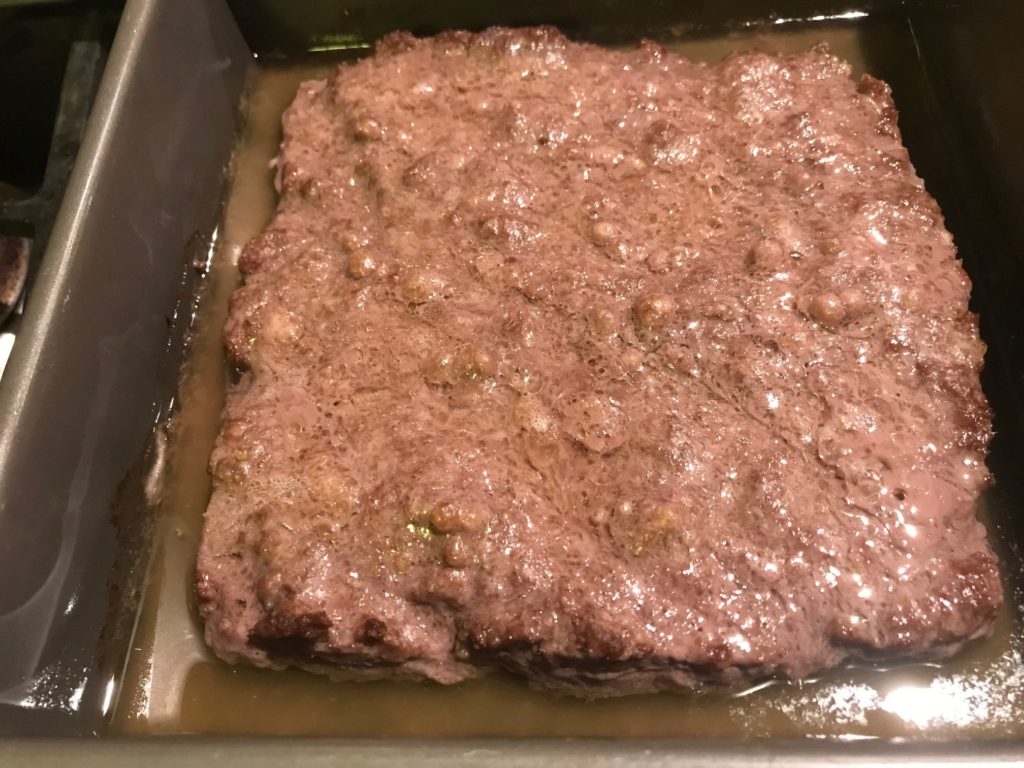
You can use any sized pan, but the thickness will vary and so will your cooking times. Next, use a fork to poke a bunch of holes in the meat to help evenly cook the meat. Bake for 20 minutes. When you pull them out of the oven, you’ll notice that the meat shrunk and is in a pool of liquid. Completely normal.
Carefully pour the liquid out into a soda can or jar. Don’t pour it down the drain unless you want clogged pipes and your plumber on speed dial.
Top the burgers with slices of your favorite cheese. American cheese melts nicely, but we’ve used cheddar, pepper jack, or even blue cheese.
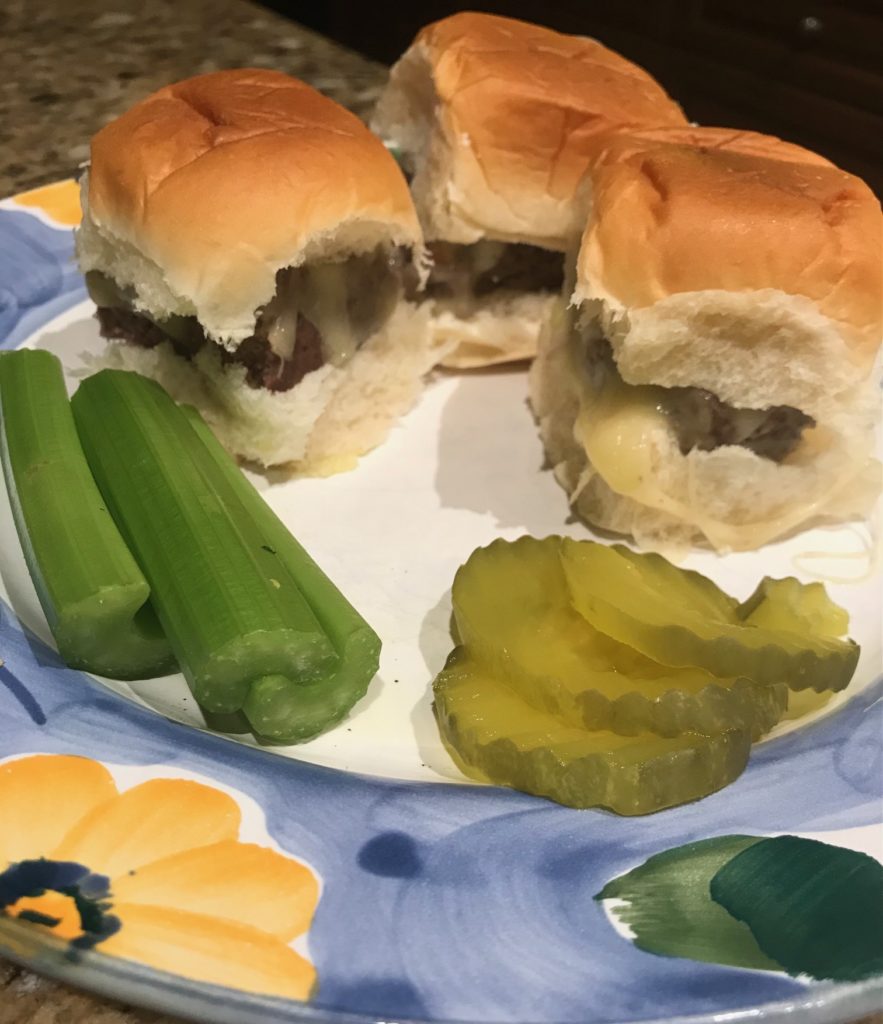
Stick the pan back in the oven until the cheese melts. Cut into squares the same size as your rolls, place them on Hawaiian rolls (or any sized roll or bun), add your favorite toppings, and tada! A cheeseburger!
I like to fry up some bacon while the the burgers are cooking in the oven for bacon cheeseburgers, but bacon bits will do in a pinch. Here we serve them with celery and pickles. That and the ketchup counts as a vegetable.
Do these have grill marks? No. They are oven-baked, people! And they are completely wonderful and delicious. Another easy meal.
Heat oven to 400 degrees. In a bowl, combine beef, bread crumbs, onion, and salt. Gently press mixture into a 8 x 8-inch pan so that it makes one large patty of even thickness. Using a fork, poke holes throughout the meat so the meat will cook evenly. Bake for 20 minutes. As it bakes, the meat will shrink away from the sides and liquid will accumulate around the edges of pan. When fully cooked, remove the pan from oven (keep oven turned on) and carefully drain off the liquid.
Top the meat with an even layer of sliced cheese. Return pan to oven for about 2 minutes or until the cheese melts. Remove from the oven and allow to rest for a few minutes. Cut into 2-inch squares (or the size of the buns used) about 9 mini-hamburgers.
I love all things tacos. Taco Tuesday might be my favorite day of the week. One particular week I made these amazing beef carnitas that didn’t take as much time as my slow cooker pork carnitas, and were even better. I don’t remember having any leftovers and that’s saying a lot when we started out with a two pound hunk of meat and there’s only three of us.
This recipe alone is enough justification to run our and buy an Instant Pot. You really won’t regret it. There’s so much you can do with it and it’s not scary at all like those old-fashioned pressure cookers.
This recipe came from an Instant Pot magazine that I purchased when I first bought my Instant Pot. I really should try more of the recipes because none of them have ever failed. I made a few changes, but stuck to the recipe.
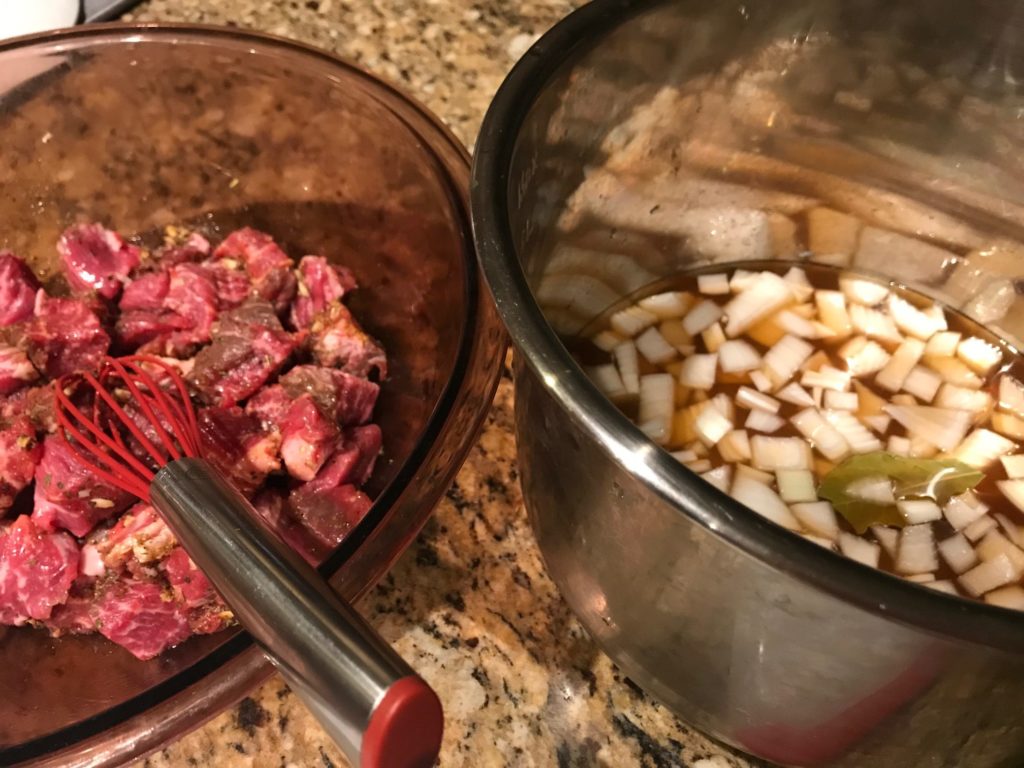
Gather your ingredients. Chop up an onion until you have a cup. Cut the meat into large 2-inch chunks. I used chuck instead of the stew meat that the recipe lists. Stew meat is a mixed bag, literally. Stew meat is whatever left over meat cuts the butcher has that are good for braising. Because the meat might not be all the same cut, you won’t get consistent results. Some cuts might be tougher than others all in the same package. It’s much better to just have one cut of meat, like chuck, and stick with that.
There are a lot of seasonings, but you probably already have most of them. If you don’t have ancho chili powder, use your standard chili powder. I actually had ancho chili powder so I’m sort of kicking myself. I couldn’t find it and thought I didn’t have any. Time to clean out that spice rack! Or, maybe I just need to make this recipe again. 🙂
Combine olive oil with your seasonings.
Add the beef and mix it until the beef is well coated. Also add your chopped onion, bay leaf, and broth in the pot.
Add the meat to the pot and cook on high pressure for 45 minutes. Plan on an extra 15-20 minutes for the pot to come up to pressure. Sounds long, but it’s worth it. Go watch some TV or something. When it’s done, natural release the pressure, which will take another 5-10 minutes.
Remove the beef with a slotted spoon. Transfer the beef to a baking pan, shred it a little, and let it crisp up in the broiler for about 5 minutes. You can certainly skip this step, which I did. It’s less authentic, but I like the juicy chunks of meat just on its own.
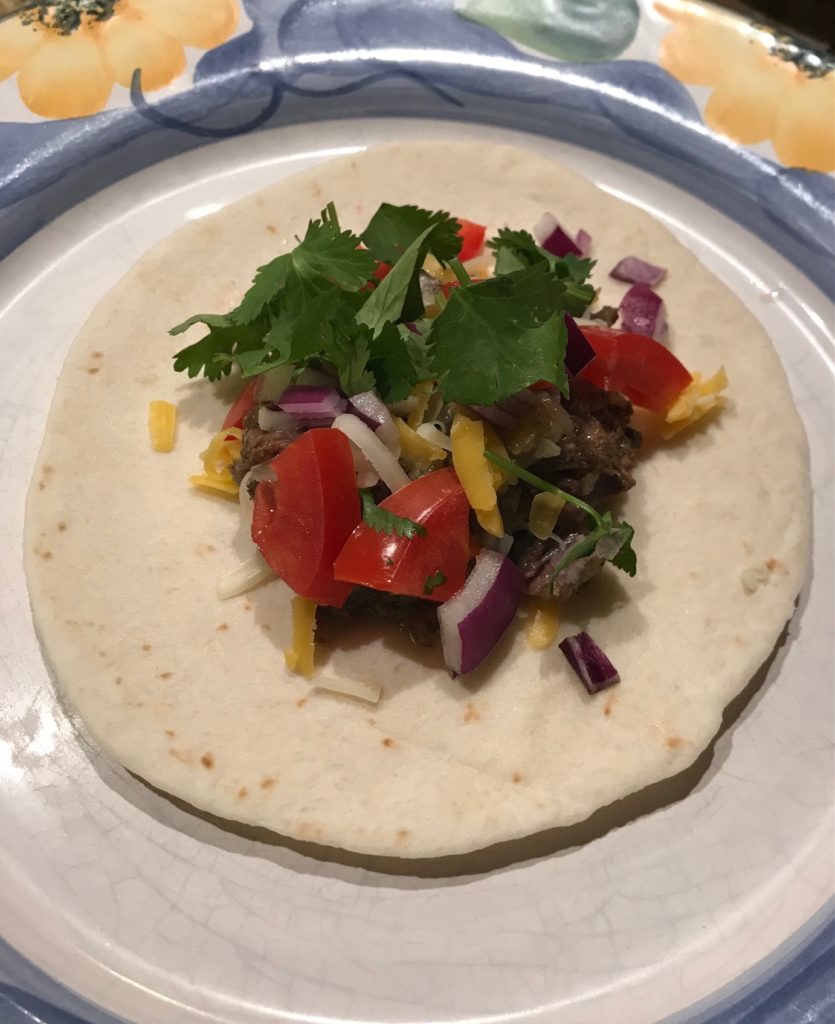
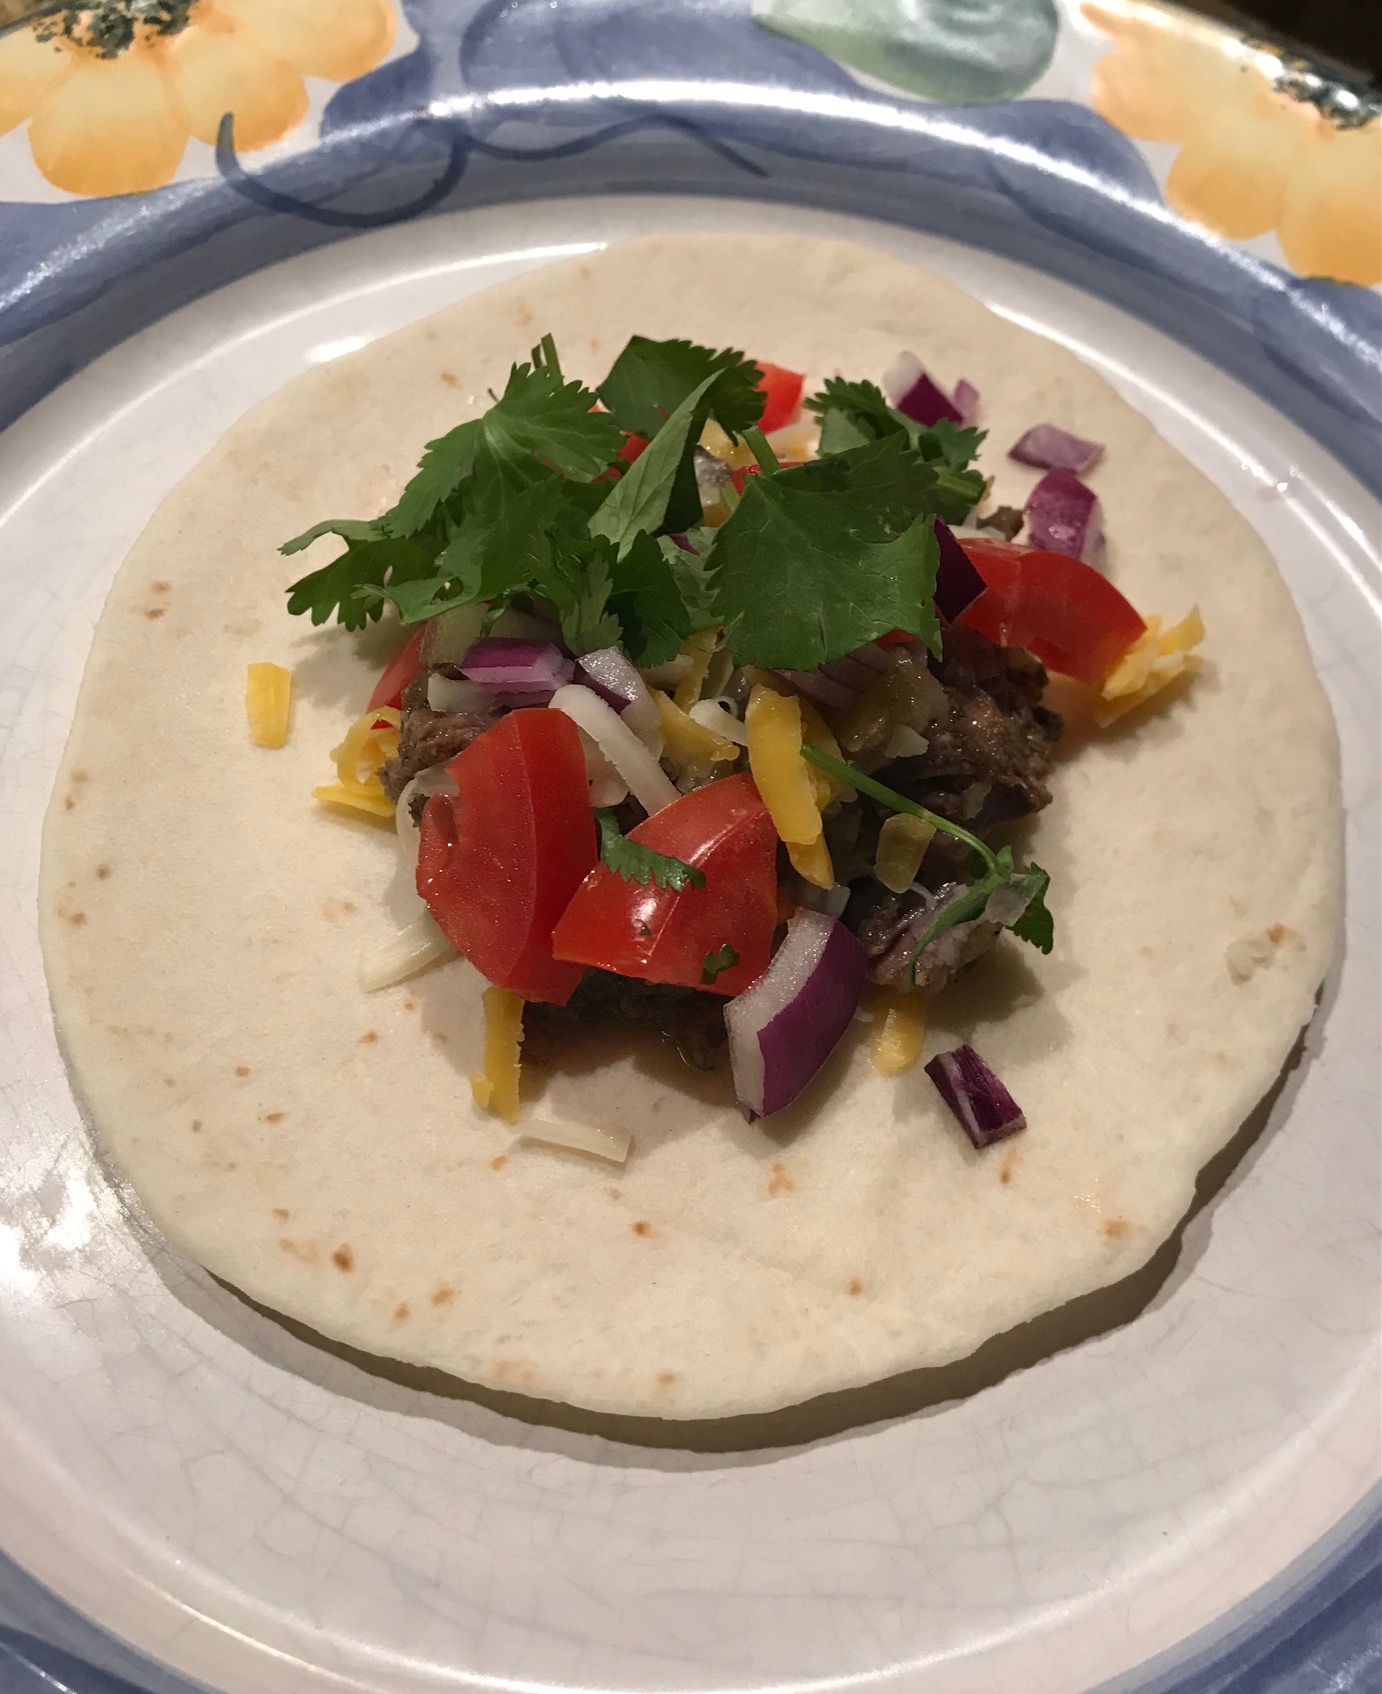
Warm up some tortillas, spoon the carnitas onto the tortillas, add your favorite toppings, and enjoy. I think I was a little heavy handed with the toppings, but I swear the meat is down there somewhere. The meat is super flavorful because of the spices and tender beyond belief. I really did not except these results. Another win for the Instant Pot!
In a large bowl, combine the olive oil, garlic, salt, pepper, oregano, cumin, and chili powder. Cut up the beef into 2-inch cubes and mix until well coated. Place chopped onion, bay leaf, and broth in the pot. Add beef.
Cook at high pressure for 45 minutes. When cooking is complete, natural release to depressurize.
Remove the beef with a slotted spoon or large fine-mesh strainer to remove the liquid. Reserve some liquid if you are broiling the meat. Shred or leave in chunks. Serve on warm tortillas with your favorite toppings.
Optional: Transfer the meat to a baking pan. Use two forks to shred the beef and spread into an even layer on the pan. Broil about 4 inches away for about 5 minutes or until it reaches the crispiness you like. If needed, add some of the cooking liquid to moisten.
In my attempts to make something other than chicken, I came across this Brazilian fish stew also known as moqueca, which is pronounced mo-KEH-kah. It’s amazingly easy to make and really affordable depending on the fish you use. I chose cod, which is a bargain these days, but you can use halibut, sea bass, or even shellfish. I did a little research to find out more about moqueca and was disappointed that not much turned up. It was originally cooked in clay pots, but today’s Dutch oven works well. There are many variations of it, but it’s typically a tomato-based broth with onions, peppers, garlic, and lime. The best write up I found about it is from Olivia’s Cuisine.
This recipe, from Little Ferraro Kitchen and adapted from Simply Recipes, is super simple and contains nothing unusual that requires you to go to an ethnic grocery store to purchase. Moqueca can be more complicated than the recipe I tried if you want a more authentic version. Regardless, this stew is both healthy and comforting, especially on a cold rainy day, and you can make this version in under an hour so it’s definitely a week night meal. I did make a couple changes, but nothing major.
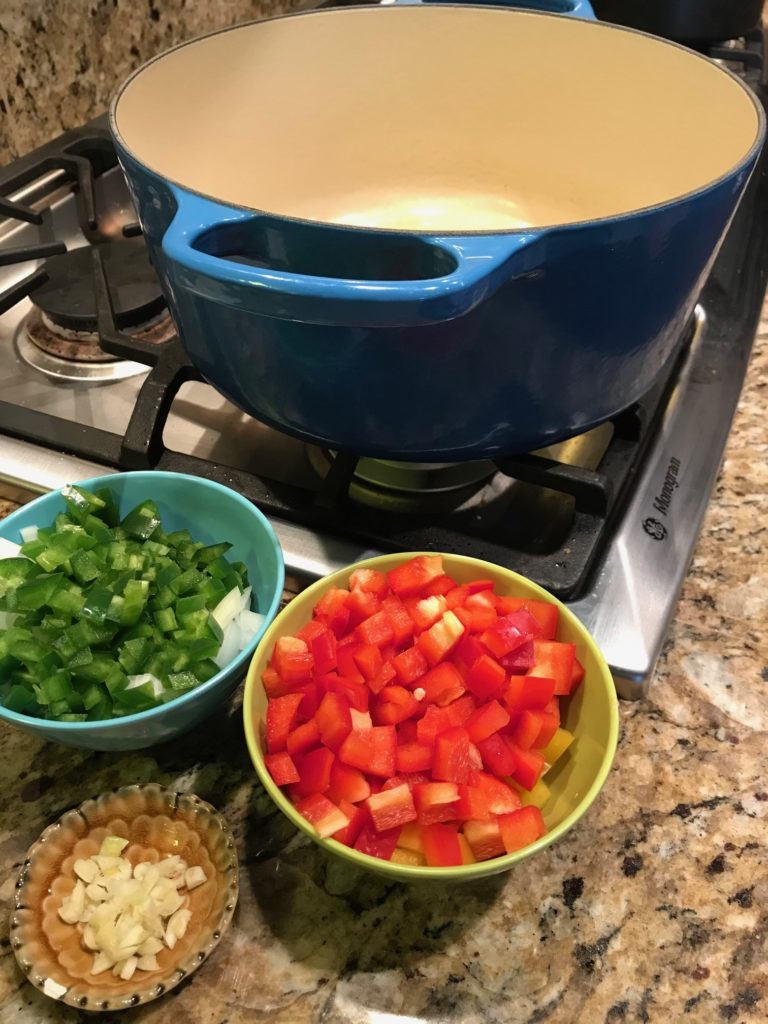
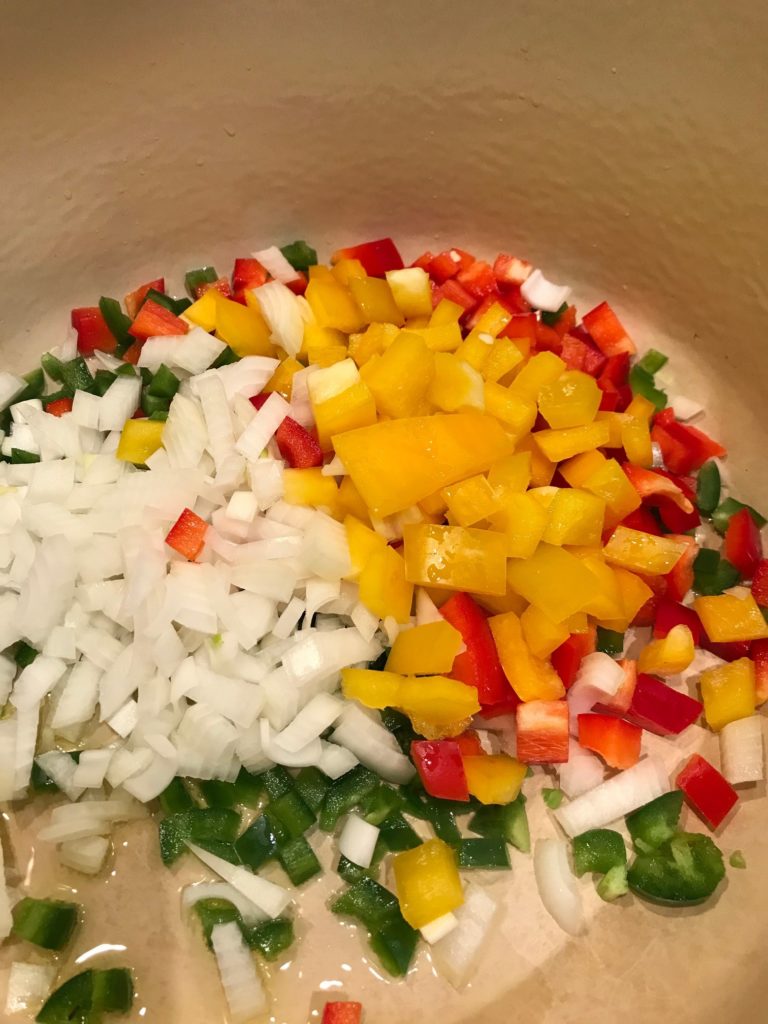
Gather your ingredients. Chop up yellow and green onion, peppers, and garlic. Grab paprika, cayenne, coconut milk, fish and vegetable stock, and jasmine rice. Cut up your fish into 2-inch pieces, and season it with salt and pepper. Zest a lime and you’re ready to go.
Start by sauteing your onions and peppers until they are slightly soft. There’s jalapeno in this recipe, but it really just adds flavor, not heat. Use the entire jalapeno if you’re looking for something spicier, but I removed the ribs and seeds.
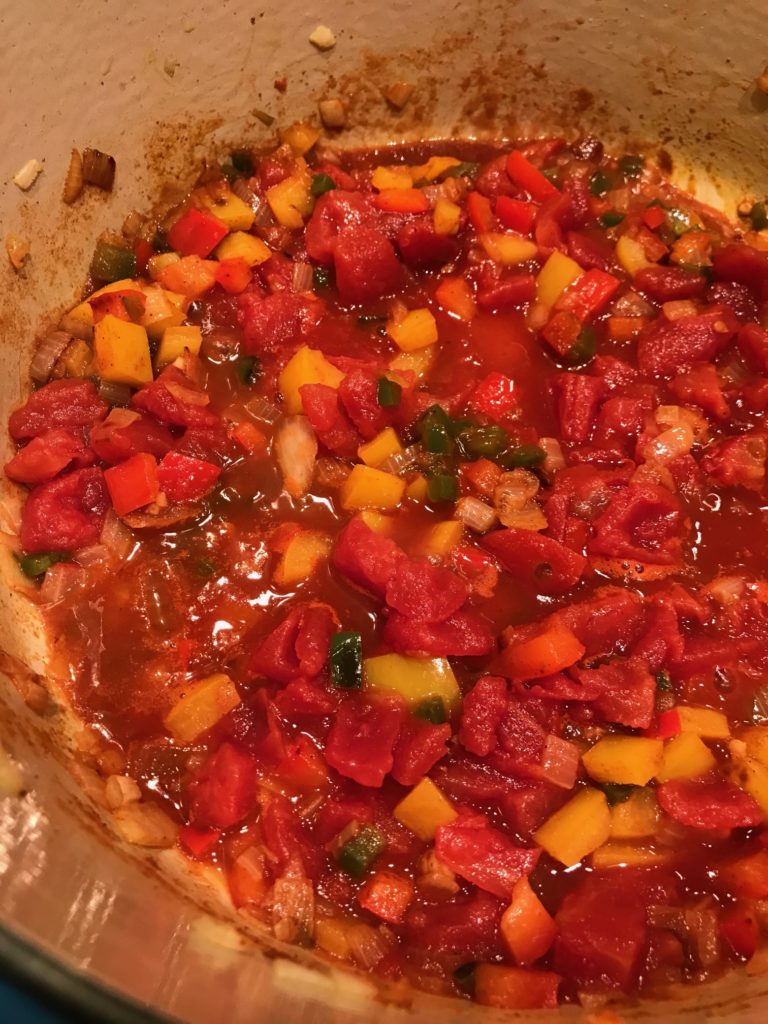
Add garlic, spices, and mix. Let it cook for a minute and until it smells delicious, if it doesn’t already. Add tomato and cook some more.
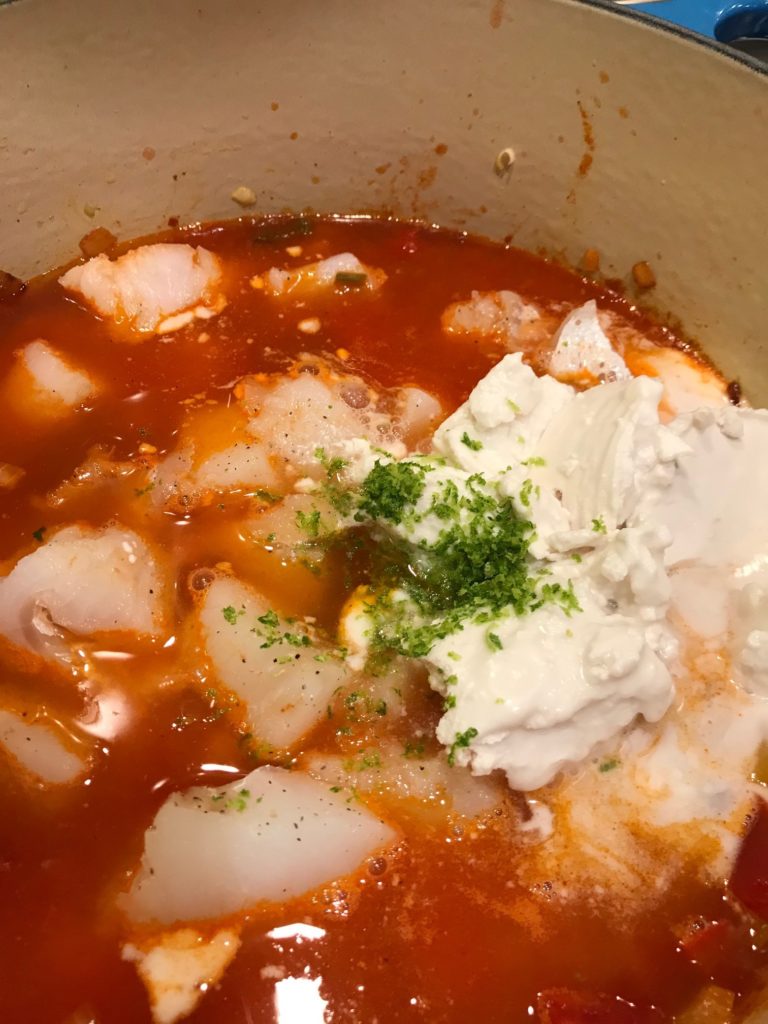
Add fish, fish stock, and coconut milk. If you can’t find fish stock, vegetable stock works too. Add lime zest and add some more salt and pepper.
Bring to a simmer and cook for 20 minutes. While that’s going on, make some extra fancy rice (anything other than white rice is fancy). Saute some onion and garlic in olive oil (that’s the fancy part). Add rice and mix it well. Pour in vegetable stock (more fanciness). Bring it to a boil and cook for 20 minutes.
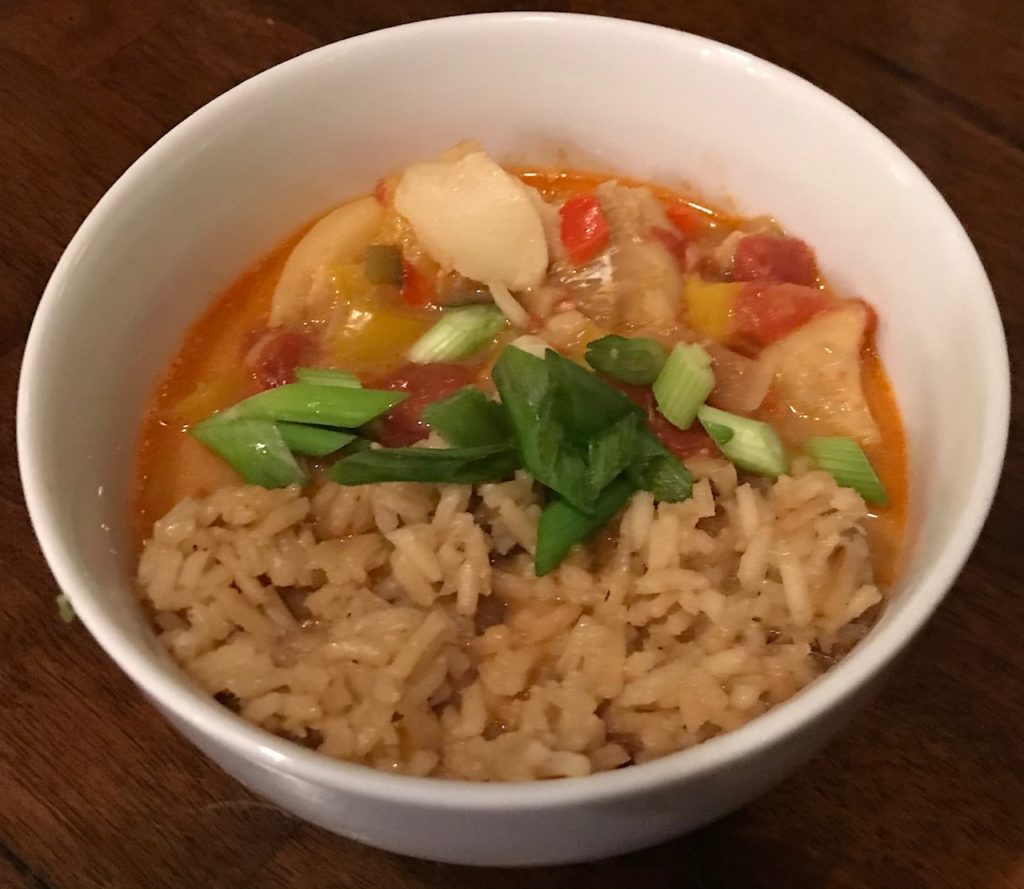
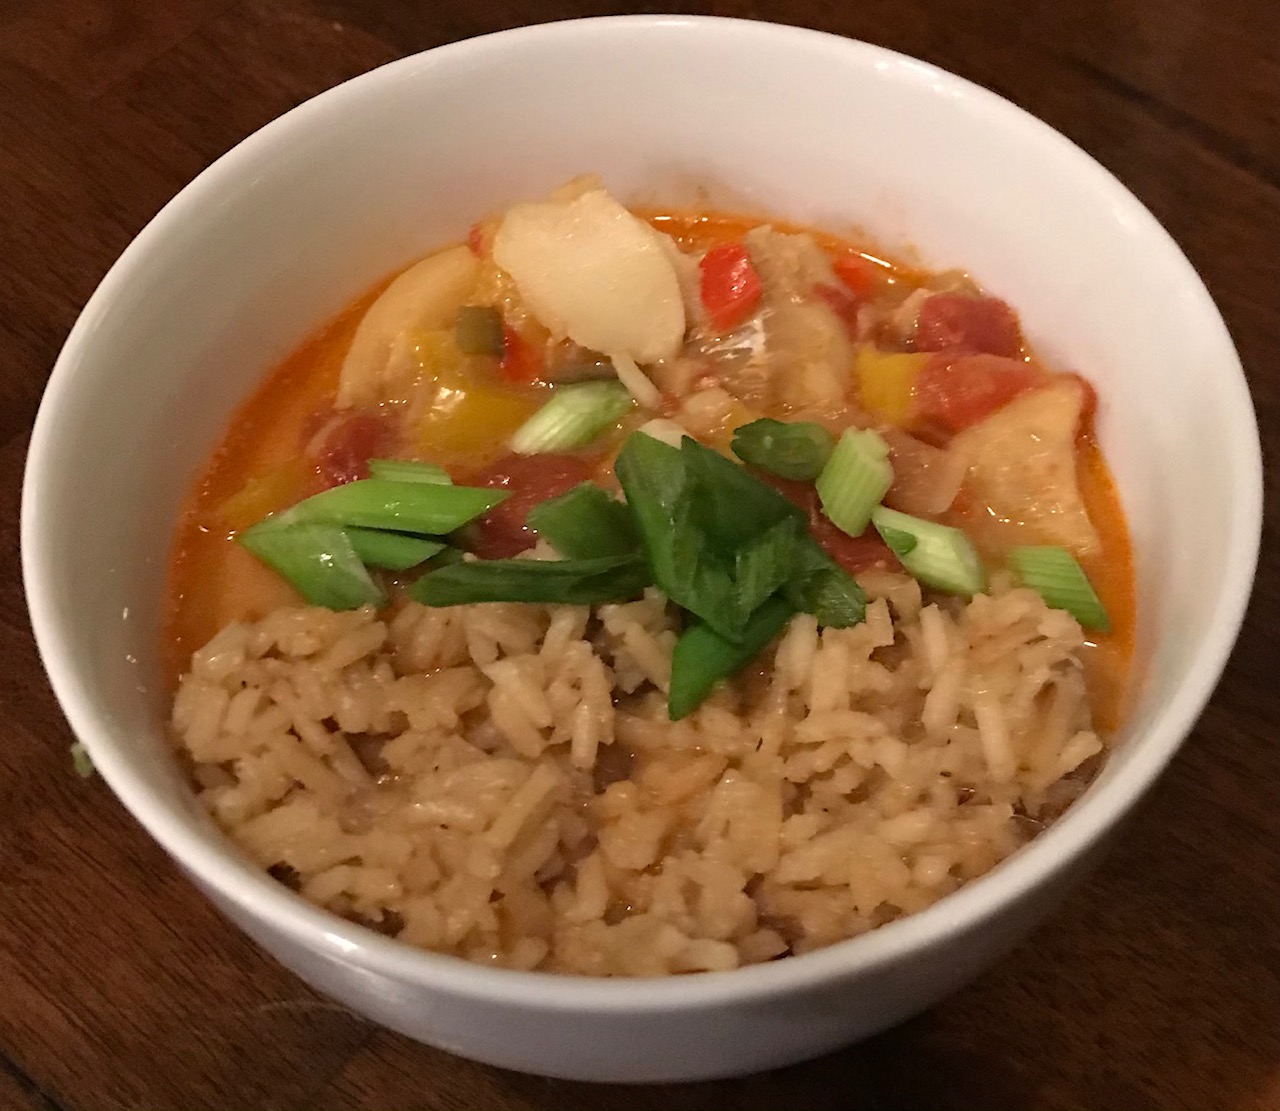
When it’s all done, serve the stew over rice or side by side. Top with green onion. Some cilantro would have been nice too, but I was so ready to dig in I forgot. The chunks of fish were so tender and flavorful. The tomato was rich with a tiny hint of spice from the jalapenos and cayenne. The broth tasted like it had been cooking for hours. My husband loved it. My son had to surgically remove all the chopped up veggies so he was less of a fan. Regardless, it’s a perfect winter meal that makes great leftovers if you can manage not to eat it all.
In a large pot, heat olive oil on medium heat for a minute, Saute chopped onion, bell peppers, and jalapeno until lightly soft, about 6 minutes. Add chopped garlic, paprika, and cayenne. Stir to combine, for another minute.
Add chopped tomatoes with their juice. Stir and cook for 2 minutes.
After cutting the fish in 2-inch chunks, dry the fish very well with a paper towel. Season with salt and pepper on both sides. Add the fish, fish stock, coconut milk, and lime zest. Season with salt and pepper. Cover and cook for about 20 minutes on medium-low heat or until the fish is fully cooked.
While stew is cooking, make the rice. In a small pot, saute chopped onion and garlic in olive oil until lightly caramelized. Add jasmine rice, and stir to coat so onion and olive oil are evenly distributed through the rice.
Add vegetable stock, and season with salt and pepper. Bring rice to a boil, lower heat to a simmer, cover, and continue cooking for about 20 minutes or until the liquid has evaporated.
Serve by spooning the stew over a bowl of rice, or serve the stew and rice side by side. Garnish with cilantro and chopped green onions.