As I mentioned before, I love a good taco. Time to share another taco recipe…my favorite carnitas.
There are a lot of carnitas recipes out there. I took the best out of a few recipes and created this one, which I like because of the fruit juices and real Coke. You get that orange and lime flavor with the sweetness of the cola. Be sure to use Mexican Coke with sugar, not the stuff with corn syrup or sugar substitute.
This recipe takes all day because you make it in the slow cooker, but doesn’t have the lard so it’s healthier for you. It makes a lot so I usually split it into 3 meals and freeze it. When you are ready to use it, defrost and then crisp it up on the stove.
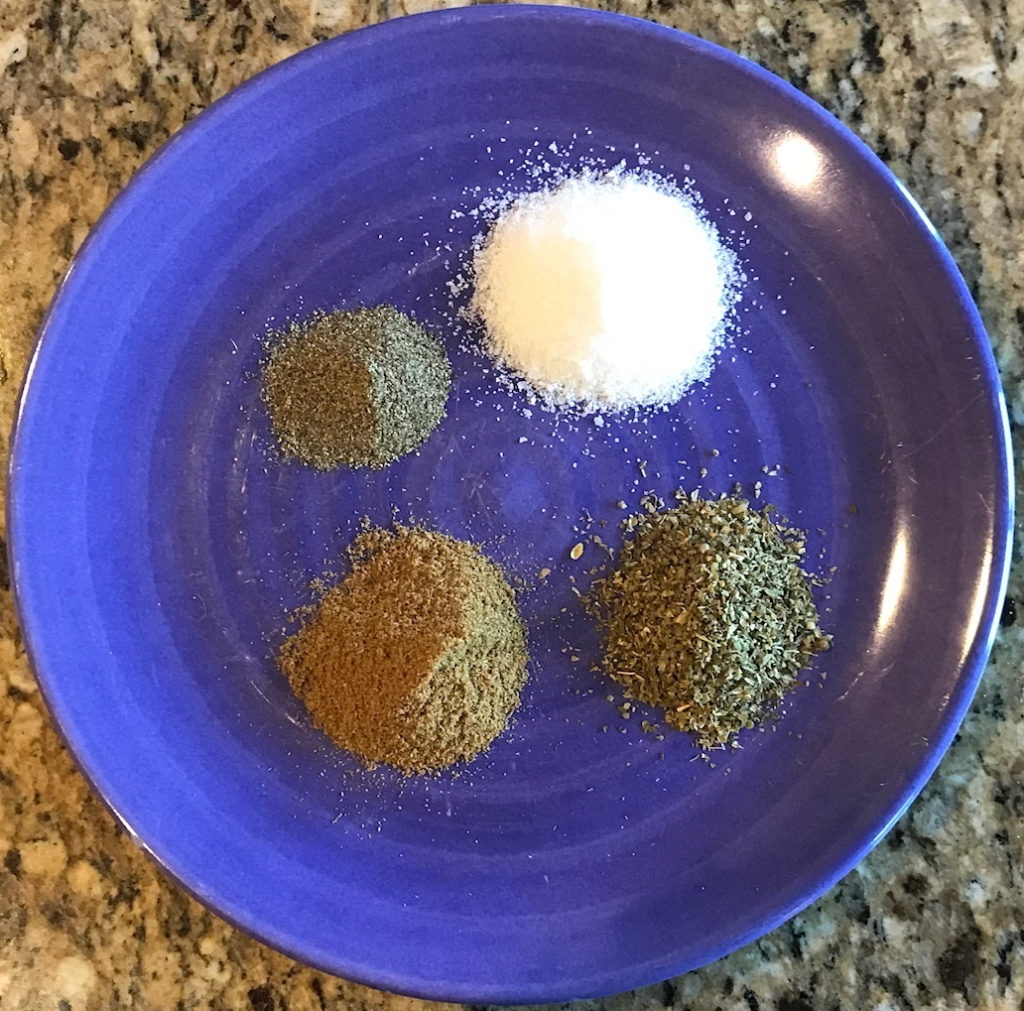
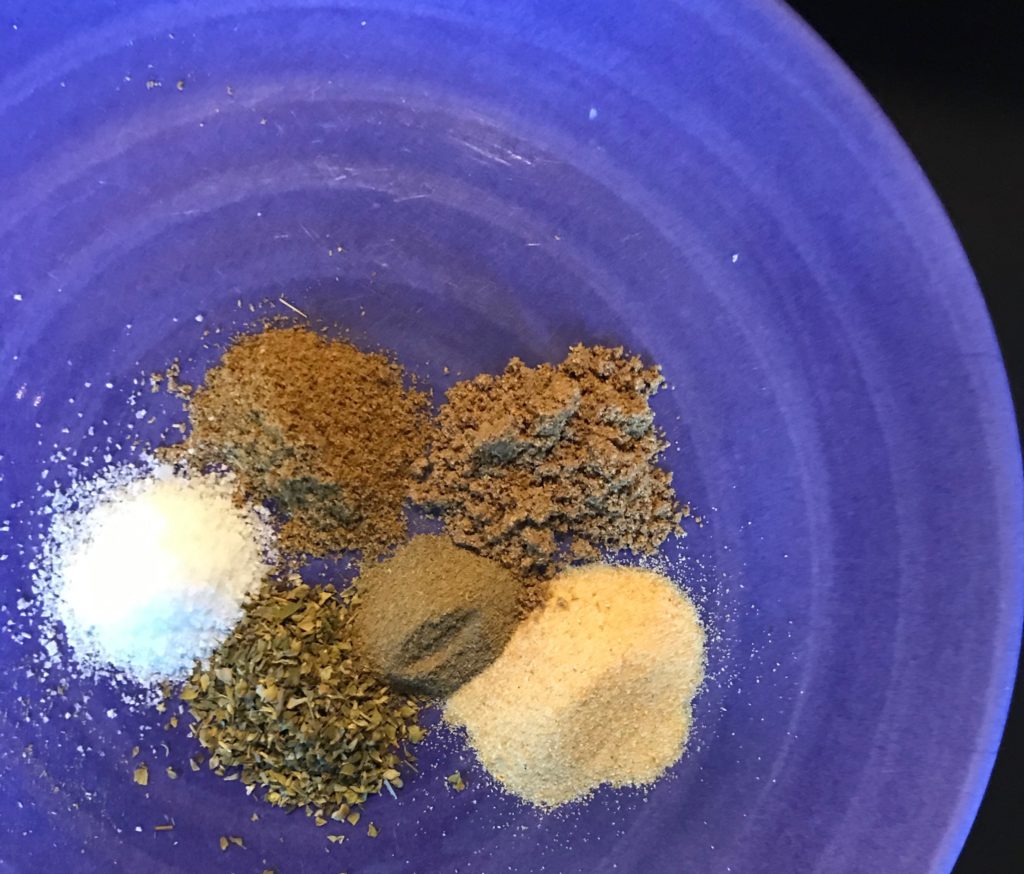
First, measure out your seasonings.
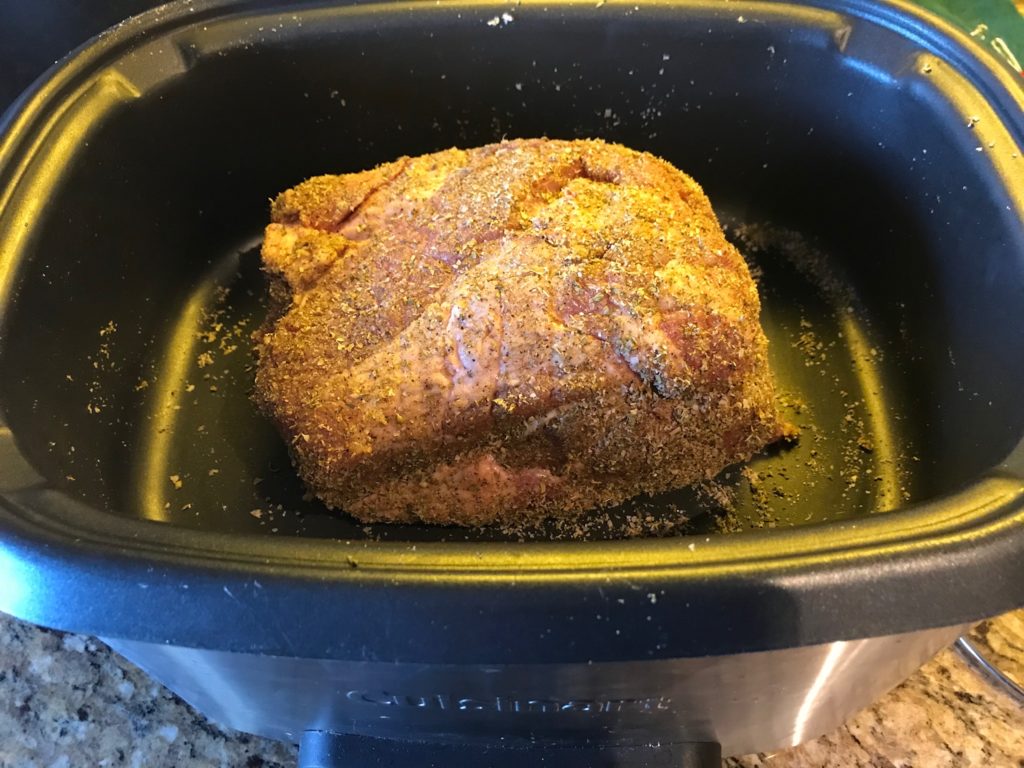
Mix the seasonings together and add them to the slow cooker. Roll your pork around in the slow cooker. This makes coating your pork so much easier and less messy. Everything is contained in the pot.
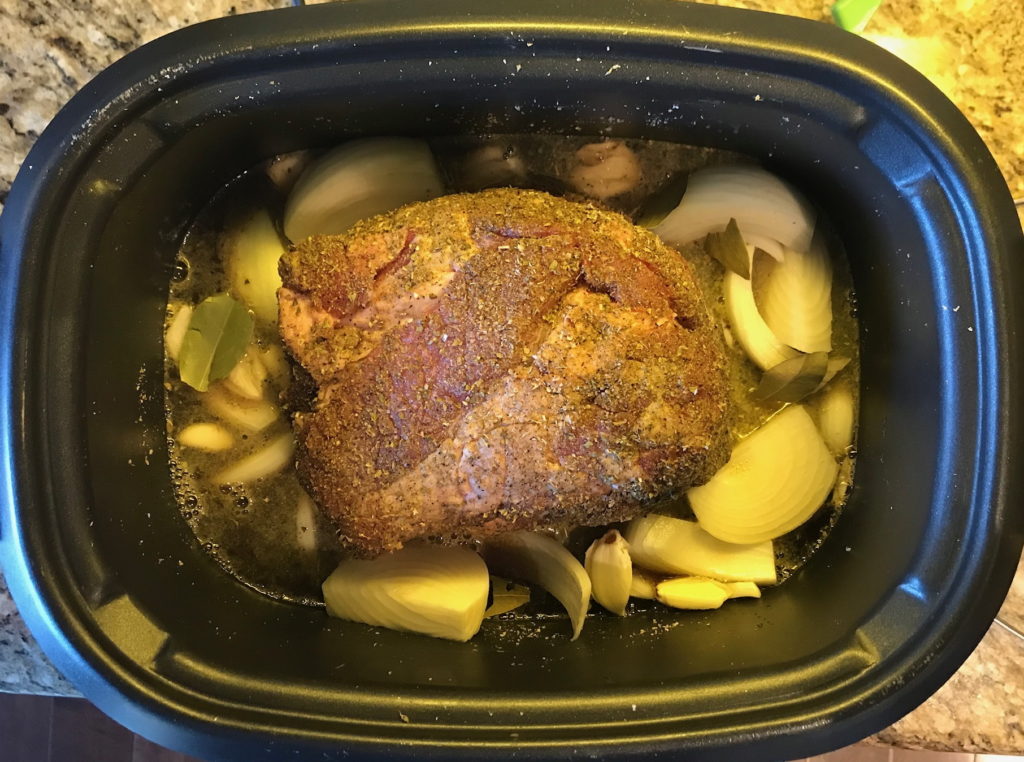
Add onion, garlic, juices, Coke, and bay leaves. Be sure to pour around the pork, not over the pork. You want to leave the seasonings on the meat.
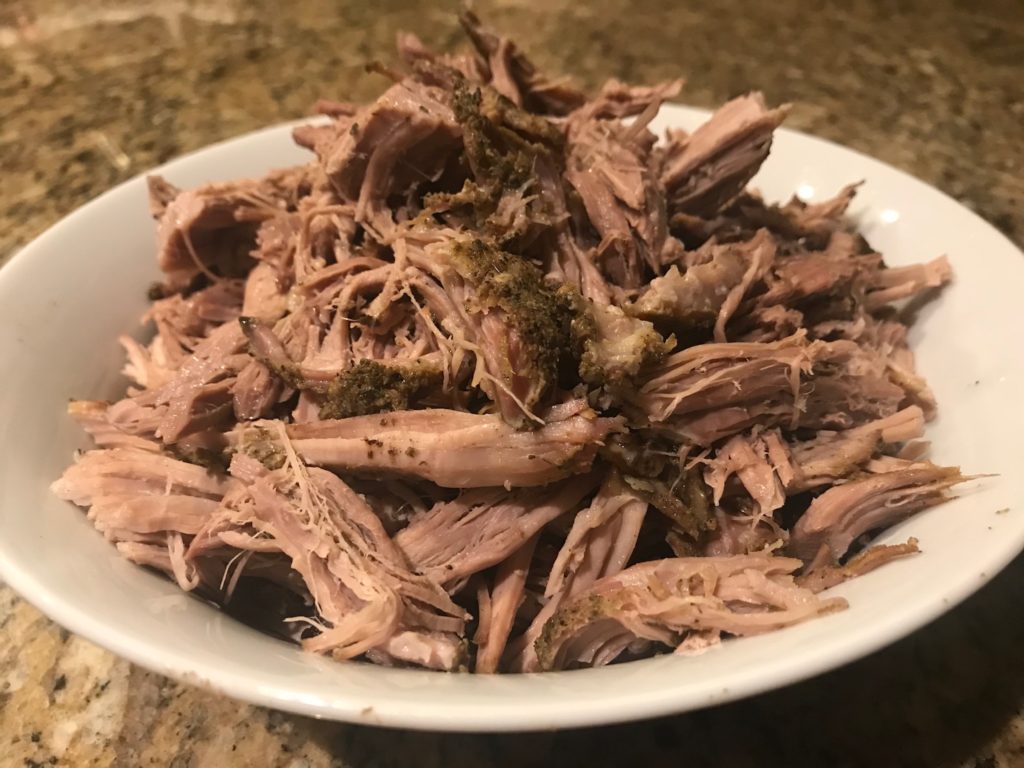
Cook it in the slow cooker. When it’s done, all you have left to do is shred it and crisp it up in a pan. Super easy.
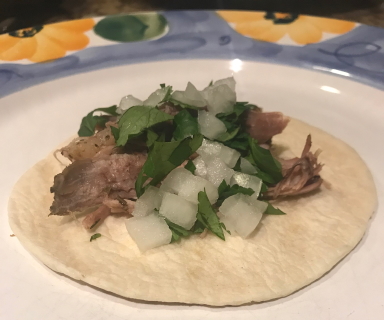
This makes a delicious taco with cilantro and chopped onion. Happy Taco Tuesday!
Combine salt, pepper, oregano, and cumin in the slow cooker pot. Roll pork in the seasonings until well coated.
In the slow cooker, add onion, garlic, juices, Coke, and bay leaves around the pork.
Cover and cook on low heat for 8-10 hours or on high for 5-6 hours. It's done when the meat falls apart.
Remove pork and shred with two forks. Save the liquid.
To crisp, heat 1 tablespoon of oil in a non-stick pan or cast-iron skillet over high heat. When the pan is hot, add pork shreds and sear until it starts to crisp. Add 1/2 cup of liquid from the slow cooker. Continue cooking until the juices begin to reduce down and the meat is crispy.
Originally, I wanted to give you recipes that I tweaked to make better. Apparently I have a knack of finding damn good recipes like this one from The Food Network. What I like about this is how easy it is. You hear about all these recipes where there’s all this chopping and mixing and watching that it’s not really quick and easy. Sometimes you just want to stick it in the oven and poof! Dinner.
This is that recipe.
Mix together your seasonings. To make it super easy, they are all dried so no chopping necessary.
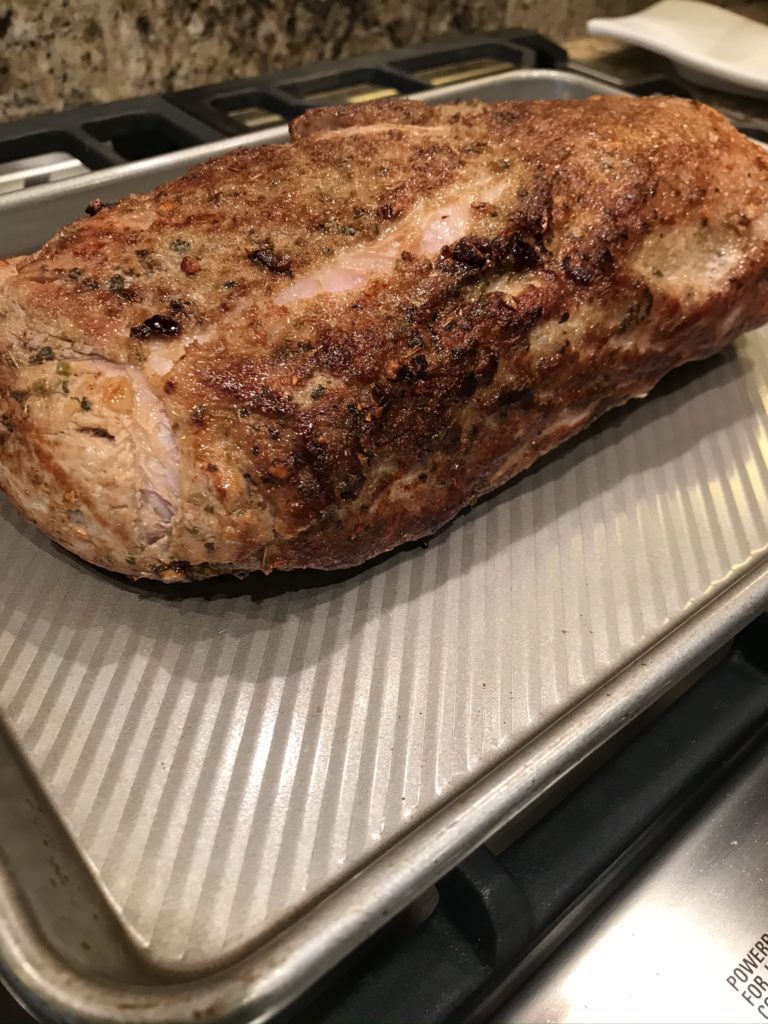
Rub the seasonings over the pork. Don’t worry if it’s not perfectly coated. Now comes the “hard” part. You could skip this, but I think you would miss that caramelized flavor you get from a seared piece of meat plus searing holds in the juices so you don’t end up with a dry pork. My advice is don’t be lazy and do it. You’ll get to relax soon enough. I promise.
Heat up some olive oil. Add in minced garlic. Okay, you do need to chop up the garlic. I suppose you could throw the garlic in whole, which I almost did. I was concerned that the garlic would burn while searing the meat and assumed that you are trying to flavor the olive oil. If you truly don’t want to chop garlic, don’t do it, but if you are a garlic fiend like me, you don’t want to skip this step. Why? Because the little bits of garlic end up on the meat and it’s yummy.
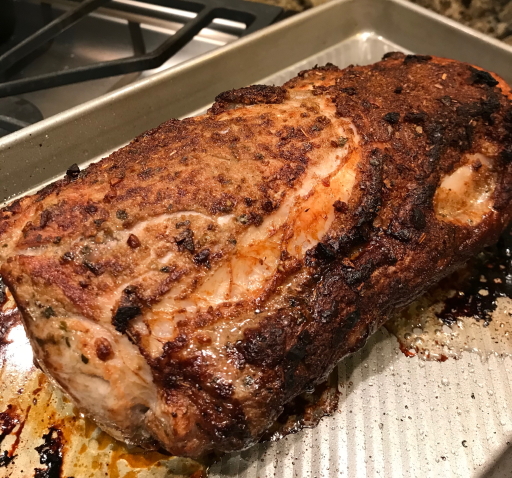
I used to be sort of scared of searing. How long will it take? It’s making a huge mess. Am I searing it enough? Am I searing it too much? Yada yada yada. Don’t freak out. Just sear it until it’s brownish and it’ll all be ok. It took a total of about 10 minutes so about 2-3 minutes, rotate a quarter turn. Another 2-3 minutes, rotate again. When you’re done, it’ll look golden brown and all impressive looking. If it looks pale, just sear it a little longer. You cannot mess it up unless you walk away and burn it to a crisp.
For the record, don’t ever walk away while you’re searing, frying, sauteing, or some other activity that requires your attention. It’s like a toddler. Walk away and weird things happen. Like you suddenly find all your cans stacked into a precarious 4-foot high tower and you wonder what’s possessed your house. So I’ve heard. Anyway, walking away is just a bad idea and that’s when mistakes happen.
But you can now walk away! Place it on a sheet pan, stick it in the oven, and bake for about 20-30 minutes. You have just enough time to make a salad or watch some TV. Or both at the same time. The recipe calls for 20 minutes, but mine was a little thicker than most so it turned out to be 30 minutes. This is where a meat thermometer is handy.
When it’s done… Let it rest a bit, slice, and enjoy.
On a cutting board, flat plate, or shallow baking dish, mix seasonings: garlic powder, oregano, cumin, coriander, thyme, and salt. Stir until all the ingredients are well combined and form a seasoning.
Roll the tenderloin around in the seasonings and sprinkle the rub over the tenderloin until it's well coated. Gently press the seasoning to adhere it to the tenderloin.
In a large skillet over medium-high heat, add the olive oil and heat for about 2 minutes. Add the minced garlic and saute, stirring, for 1 minute.
Put tenderloin in the pan and sear for 2-3 minutes. Using tongs, give it a quarter turn, and sear for another 2-3 minutes. Continue to sear until all sides are golden brown.
Transfer meat to a roasting pan and bake for 20-30 minutes. Use a meat thermometer to ensure the internal temperature is 145F. Let it rest for about 5 minutes, and then slice and serve.
I’m not good at making Asian food. There. I said it. Maybe it’s not that I’m terrible at it, but for example, take-out is so good. How can I compete? It’s tasty and inexpensive. But I’m determined to win and this time, I’m making a Japanese noodle dish. Here’s my attempt and while I still have a ways to go, this ended up being a really easy weeknight dinner with plenty of leftovers.
I found a promising recipe on Bon Appétit. In general, Bon Appétit has very good, reliable recipes so I trust them. I did change the recipe. I couldn’t find instant udon noodles and I ran out of fresh ginger so I had to adapt a little. I also made it less spicy because of the boys. I made a few other changes, like used more sesame oil and low-sodium soy sauce. If I had to do it over again, I would have used fresh ginger and your standard soy sauce.
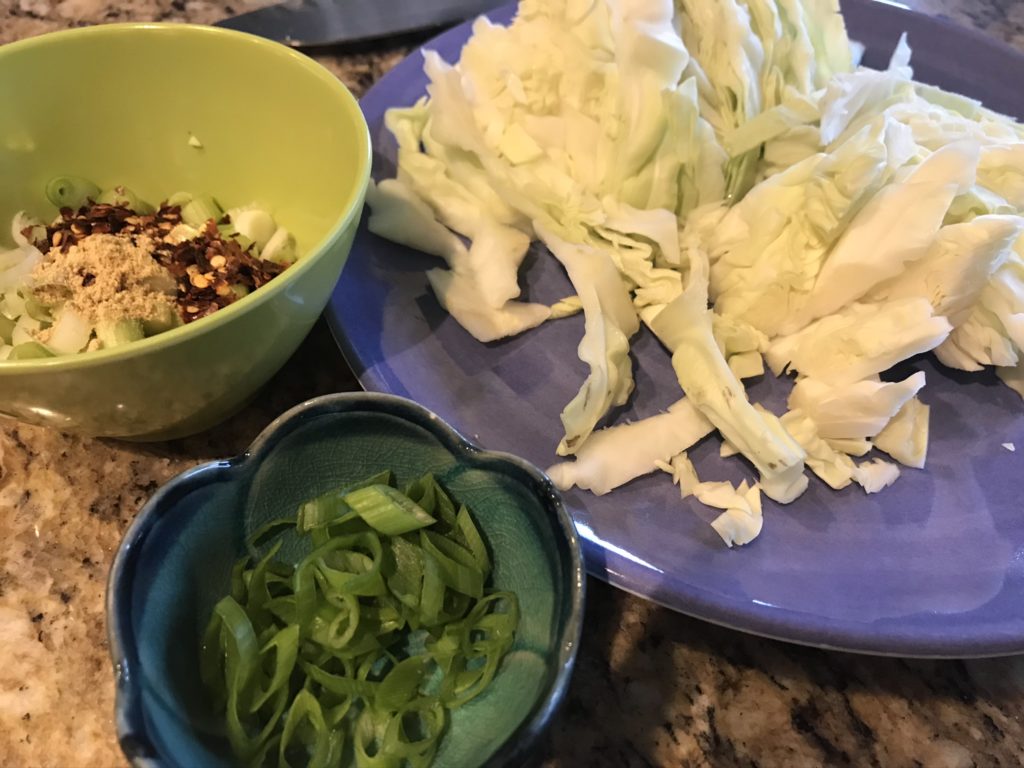
I like to prep everything beforehand so I can easily dump ingredients into the pan. For this recipe, slice up some cabbage and green onions. Be sure to separate out the pale and dark parts of the green onion. Stage your white/pale-green onion, ginger, and red pepper flakes in one bowl. Dark green onion parts go in another bowl.
One reason why I like Bon Appétit is that they give you advice in the directions. In this recipe they remind you not to touch the pork so it browns. “The pork will never brown if you’re fussing with it the whole time, so when we say ‘undisturbed,’ that means keep your paws off it and let the heat of the pan and the pork do their thing.” You can’t tell here, but the underside is browned. I swear. I should have taken a picture. Ok, it could have browned a little longer.
While the meat is browning, I boiled 9.5 ounces of udon noodles according to the package. The original recipe calls for 14 ounces so in my version you end up with a higher meat to noodle ratio, which is fine by me. I have no idea where to buy instant udon noodles. I found a surplus of ramen noodles, but not udon. The ones I chose cook in 4 minutes and I was happy with them.
I used mirin, which is an ingredient that I’m not entirely familiar with, and is often used in Japanese cooking. It’s a slightly sweet Japanese cooking wine made from rice and is similar to sake with a lot less alcohol. Bon Appétit has an informative article about what it is and what to do if you can’t find it.
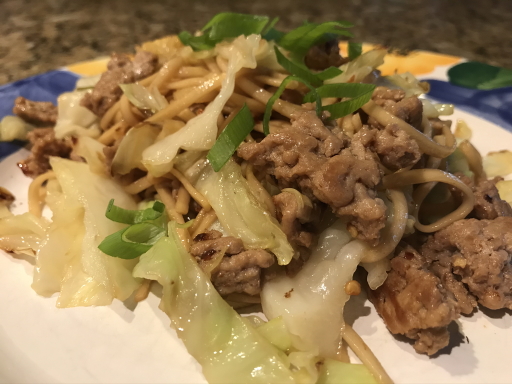
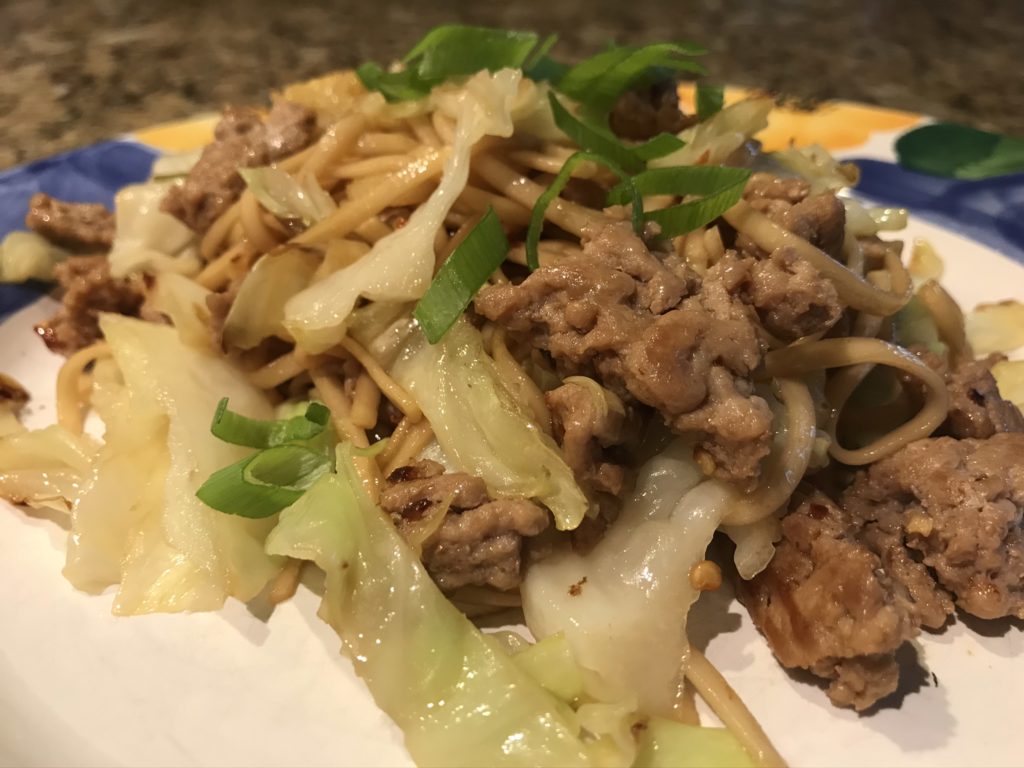
When you’re done, you end up with something like this. It was really simple to make and got two thumbs up.
Heat 1 tablespoon of vegetable oil in a large skillet over medium-high heat. Add cabbage and cook, tossing often, until edges are browned, about 4 minutes. Reduce heat to low and continue to cook, tossing often, until thickest parts of cabbage leaves are tender, about 4 minutes longer. Remove from pan and place on a separate plate. Set aside.
Heat remaining tablespoon of vegetable oil in same skillet over medium-high heat. Add pork, breaking up and spreading across surface of pan with a spatula or tongs. Cook pork, undisturbed, until underside is brown, about 3 minutes. When pork is browned, break up meat into small bits. Cook, tossing, just until there’s no more pink, about 1 minute.
While the meat is browning (and you're not touching it), boil udon noodles according to the package. Drain in a colander. Transfer noodles to a bowl and toss with sesame oil.
To your meat mixture, add the pale parts of the chopped green onions, ginger, and red pepper. Continue to cook, tossing often, until green onions are softened and the bottom of skillet is starting to brown, about 1 minute.
Add cabbage, udon noodles, mirin, and soy sauce. Cook, tossing constantly, until noodles are coated in sauce (be sure to scrape bottom of skillet to dissolve any browned bits), about 45 seconds.
Remove from heat. Top with dark-green parts of scallions and serve.
I love my Instant Pot. Seriously. Yes, I also love my KitchenAid mixer, my grill pan, my Crock-Pot, my apple peeler/slicer/corer, etc. but I REALLY love my Instant Pot. I would have never attempted pressure cooking without it. I wouldn’t say using it cuts cooking time in half, but between the way it tenderizes tough cuts of meat and that it’s such a cool gadget, what’s not to love? It’s sort of magical. In goes something and out comes something else. It just makes life easier in so many ways.
Like spaghetti and meatballs. I’ve seen Instant Pot pasta recipes and many swear by them, but I wasn’t all that impressed. Boiling over the stove is still faster. But throw in meatballs and that’s a game changer.
Meatballs are time consuming. Working with raw meat that is best mixed up with your hands, but not too much or your meatballs will end up hard like golf balls. Forming a few dozen of them into perfect shaped balls. I’d rather be making cookies, frankly. Frying them in batches in a pan…ok, I did find this awesome Roasted Italian Meatball recipe by The Barefoot Contessa that is out of this world and cuts out the frying part. But it’s still a lot of work and sometimes I wonder if it’s worth it. Making a beef sauce is so much easier.
But there’s something about spaghetti and meatballs that reminds me of a simpler time.
On top of spaghetti,
All covered with cheese,
I lost my poor meatball
When somebody sneezed.
It rolled off the table
And onto the floor,
And then my poor meatball
Rolled right out the door
But I digress. Back to the Instant Pot. I’ve made Instant Pot pasta. I’ve made Instant Pot meatballs. Now I make them together.
I couldn’t find a recipe so I made up my own.
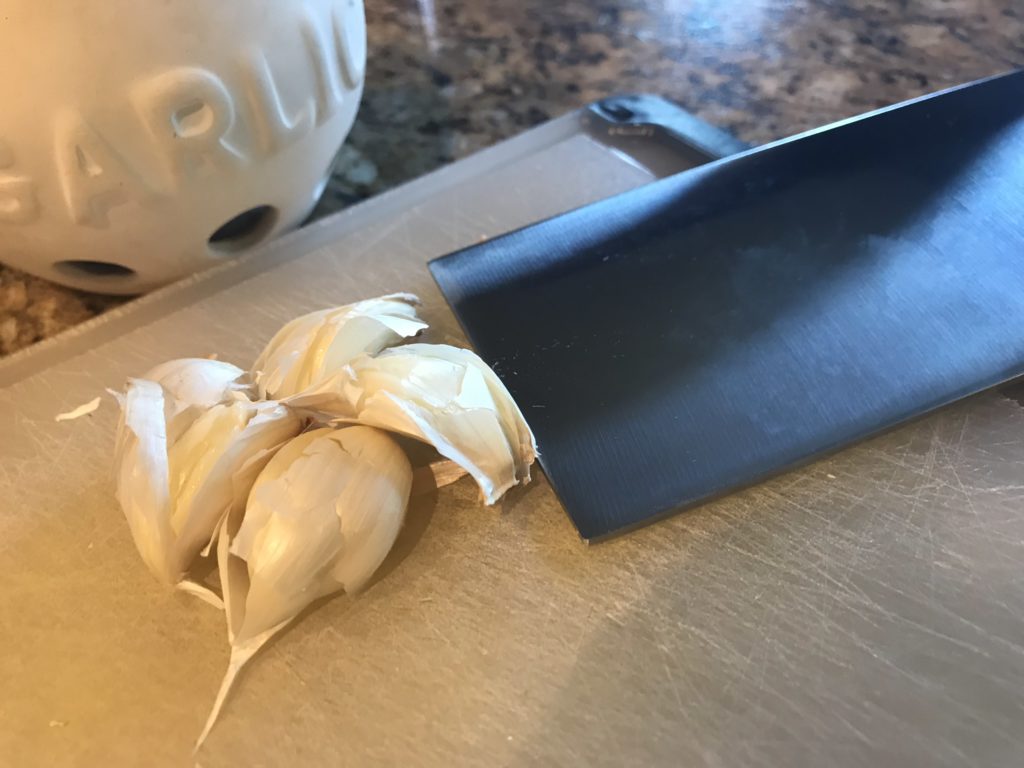
First, peel and mince your garlic. Let’s talk about peeling garlic. I know there are a million and one garlic peelers on the market, but you only need one. Your knife. I swear it’s true. I like using a cleaver, but any wide knife will do. Just vent your frustrations of the day by pressing down hard on each clove of garlic to smash it to smithereens. They’ll look like this and you’ll be able to easily peel the papery thin skins off the garlic with no trouble at all.
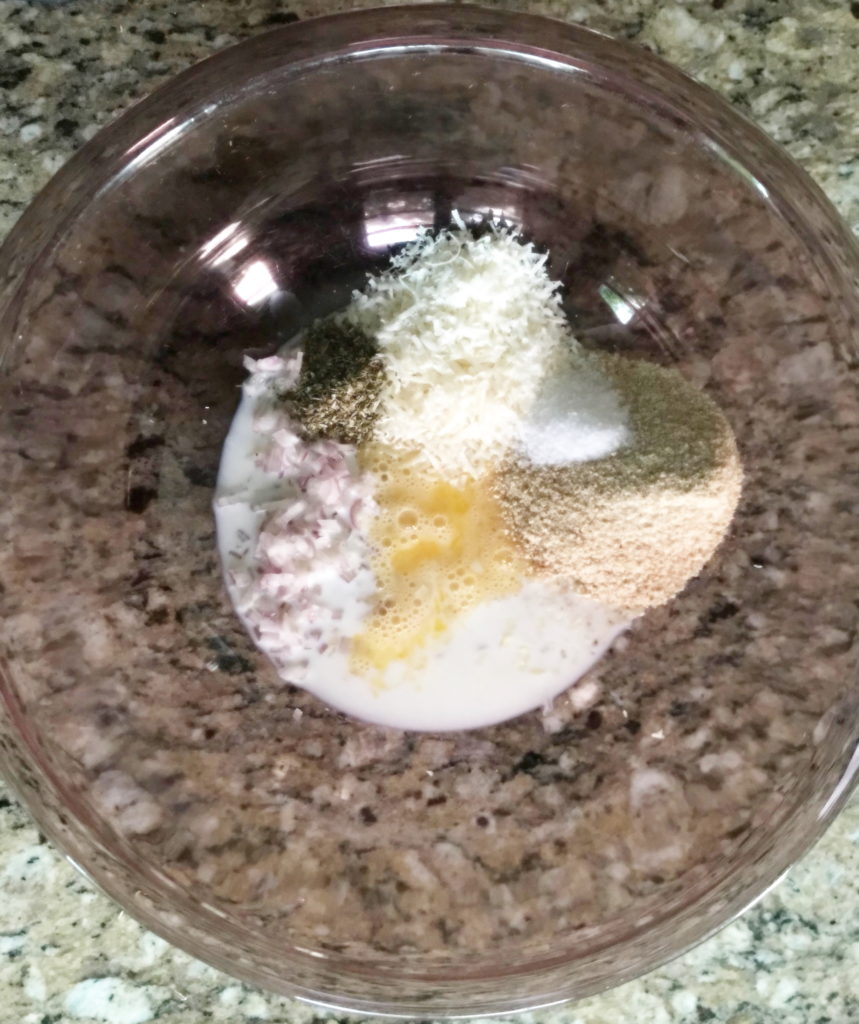
Add your minced garlic, shallots, egg, cheese, breadcrumbs, milk, and seasonings to a large bowl.
Let’s take a moment to talk about the shallot. I like shallots. In my opinion, they are underused. When you don’t want the sharpness of onions, use shallots, which are milder, sweeter, and are reminiscent of garlic. And one can never have too much garlic so shallots are a perfect compliment to garlic.
Add your ground meats (you’ll be using both ground beef and sausage). Mix it all up with your hands. No, you can’t get around that. All power to you if you use a cooking spoon or fork, but I never get the right results. Next, form into balls until you have about about a dozen. They might seem a little sticky, but that’s ok.
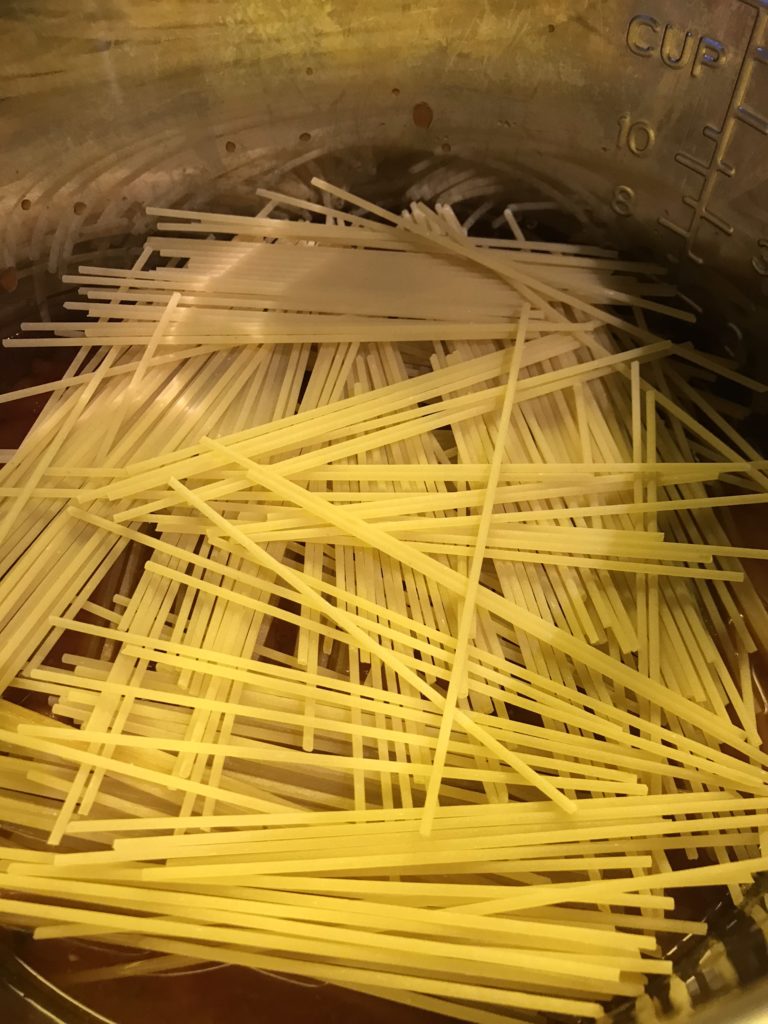
Pour the water and sauce in. If you like a thicker sauce, use more than a jar of sauce. Gently place your meatballs in your Instant Pot, without stacking them, but they can touch a little. The point is to make sure the meatballs are covered with liquid. Next, disregard the cardinal rule of making spaghetti: break the strands in half. I don’t know who made up this rule, but professional chefs on those cooking shows seem to frown on that. Whatever. Just listen to me. This won’t work unless the pasta is flat in the pot.
Add more water. And whatever you do, resist the temptation to stir! Seal the lid and cook. When it’s done, open it up and now you can stir.
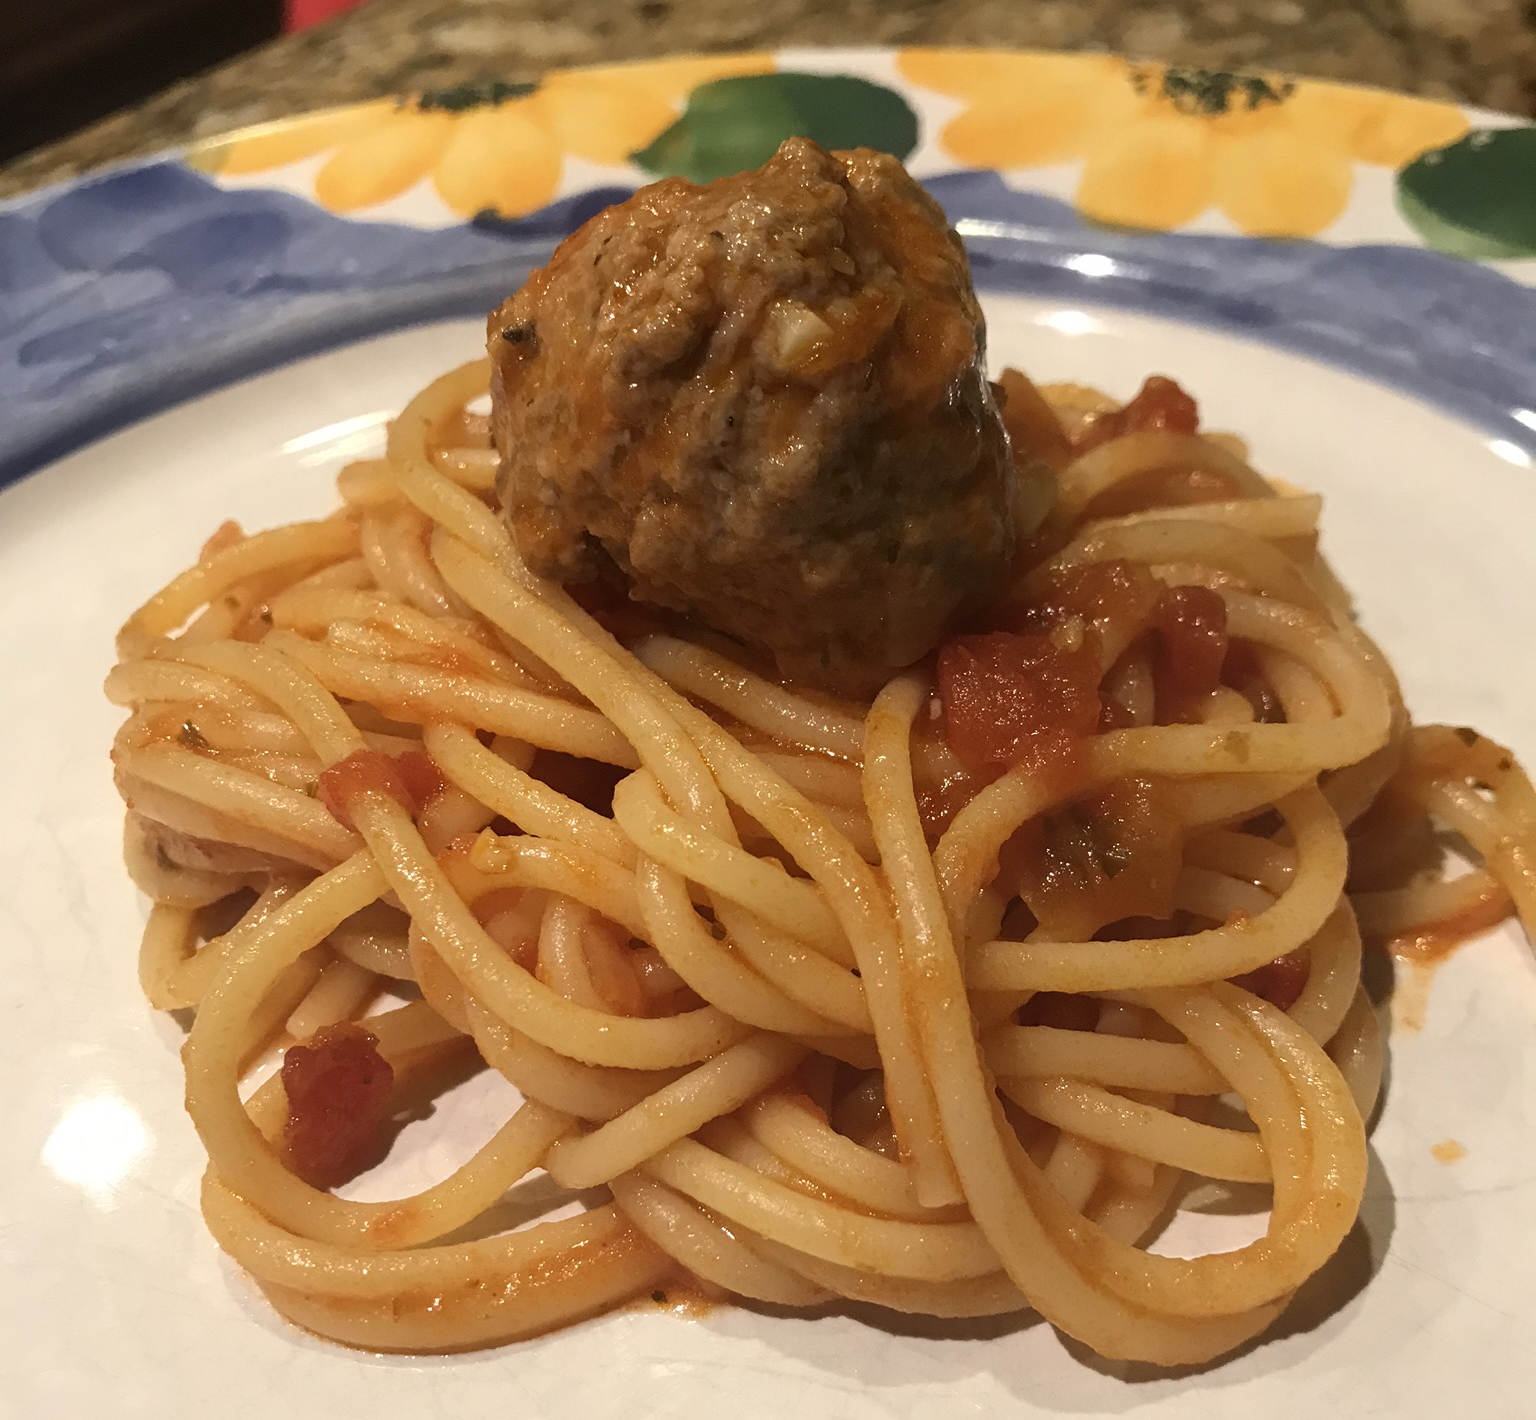
What I like best about this recipe is that the mess is contained to one pot and you don’t need to babysit sauce, meatballs, and pasta. Dinner is served!
Lightly beat an egg in a large bowl. Mince garlic cloves and grate Parmesan cheese. Add both to the bowl. Add breadcrumbs, milk, kosher salt, and Italian seasoning. Add the ground beef and sausage to the bowl.
Gently mix with your hands until well combined. Form and shape into 12 meatballs (about 2 tablespoons each). Set aside.
Add 1/2 cup of water and sauce to the pot. Stir to combine. Add meatballs to the bottom without stacking them and with minimal touching.
Break the spaghetti in half and spread them in two layers over the meatballs. Do not stir.
Pour the remaining 1 1/2 cups of water over the pasta. Remember not to stir.
Seal the Instant Pot. Set to cook on HIGH pressure for 8 minutes.
Open the pressure release valve (quick release) as soon as the 8 minutes are up. Open the pressure cooker and stir the spaghetti into the sauce. Serve with grated Parmesan cheese.
I love pork chops so when a good friend of mine passed on this recipe, I jumped at it. The recipe was super easy. You’ll find it on Favorite Family Recipes. I also found the recipe to be missing some key information so I’ll fill in the blanks for you.
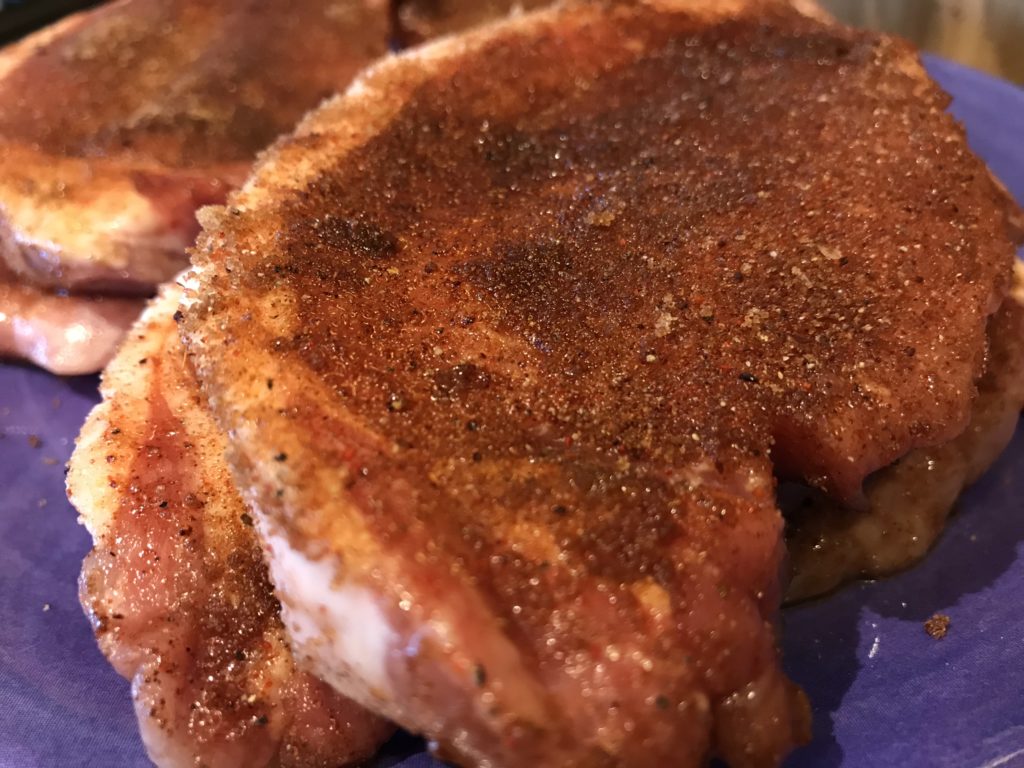
This recipe calls for a lot of seasonings, which make the chops very flavorful. Don’t skip out on any of them. After you mix them up, be sure to taste to make sure they are to your liking. Add more salt if you don’t think it’s salty enough. Add more chili powder for more spice.
Then rub them over 1/2-inch thick chops. I wasn’t in the mood to get my fingers tinged with red chili powder. Instead, I spooned a heaping teaspoon over each side and rubbed it in with the back of my spoon. My trick seemed to work pretty well.
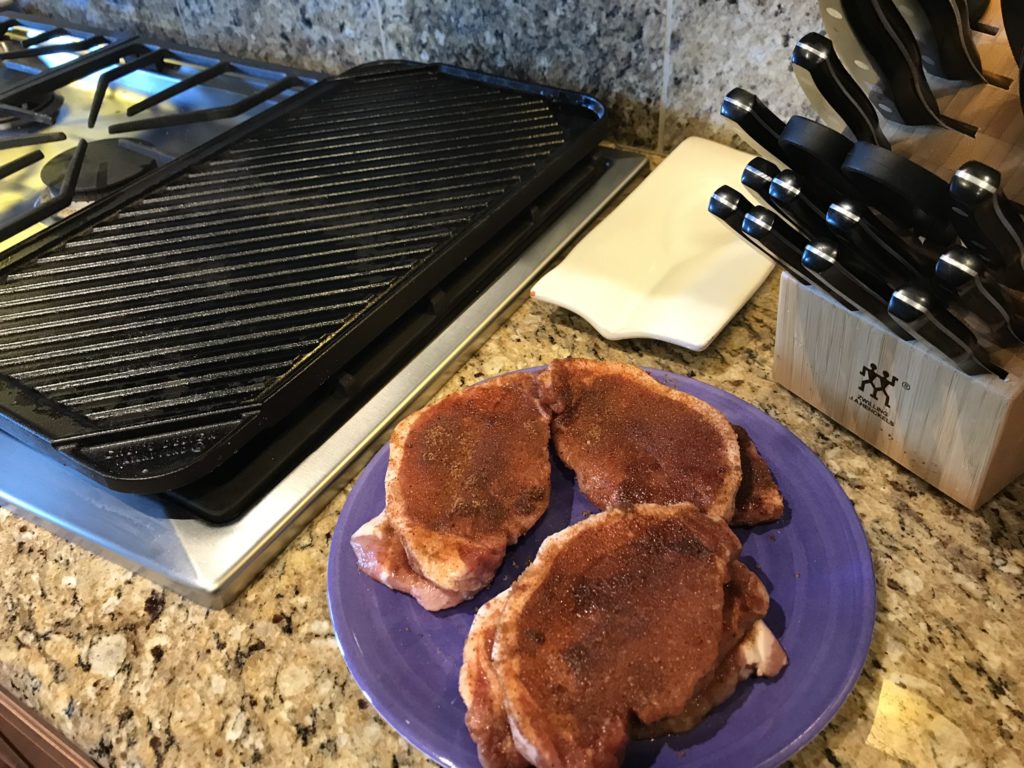
The original recipe called for grilling these outside, but once again, I was feeling lazy this particular evening so instead of running back and forth, or camping out over the hot BBQ, I used my nifty grill pan, which I love in every way possible. This was a present to myself and I don’t regret it for one single second. Except when I have to clean the damn thing. But that’s a story for another day.
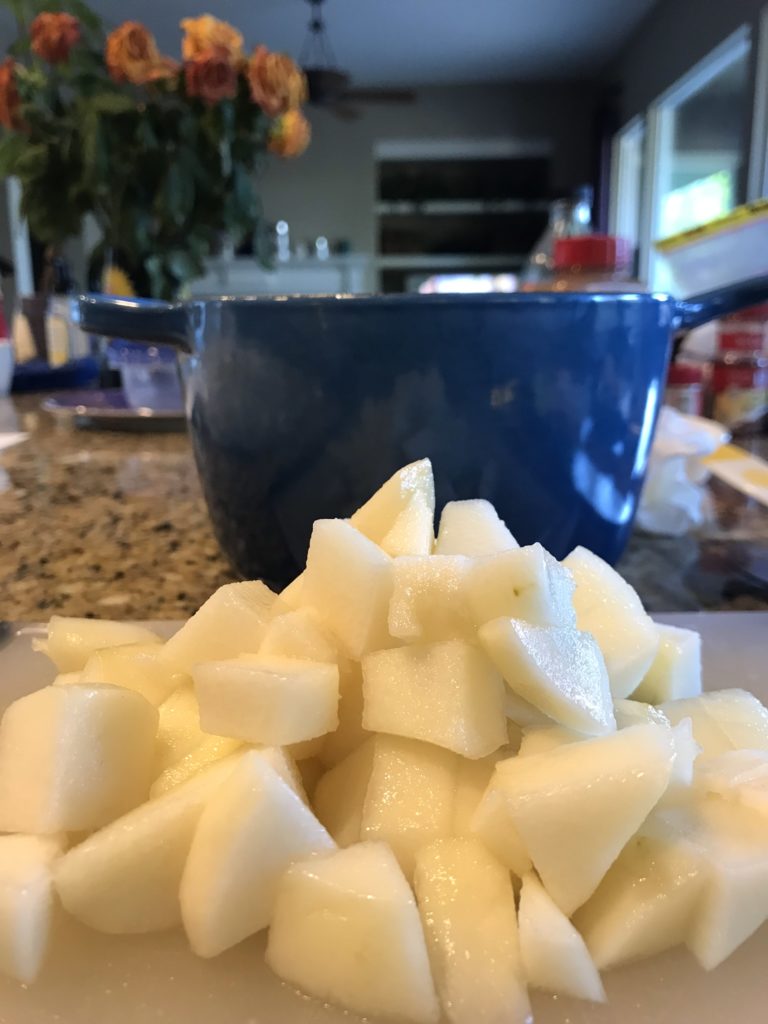
While the chops are grilling, dice up some pears. I chose ones that were slightly under ripe because I didn’t want mushy pear sauce.
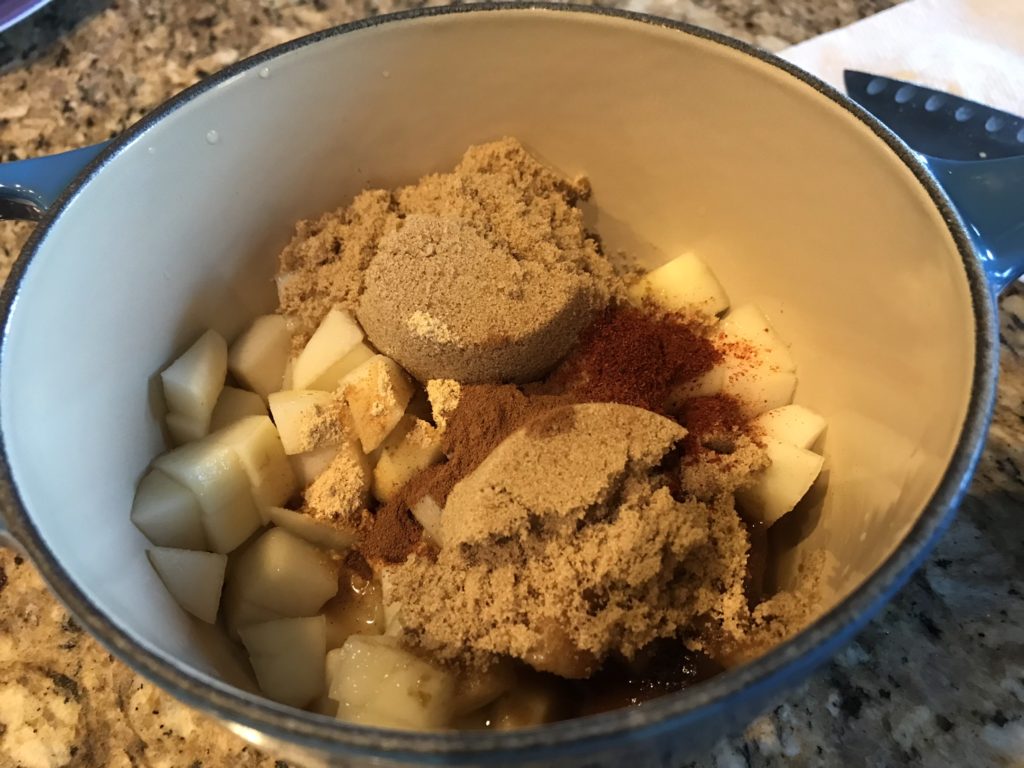
Add the pears to a saucepan, and add vinegar and spices. I found that this recipe makes an excessive amount of very tangy pear sauce. Just my opinion. Next time I’d use less vinegar and more brown sugar. Maybe a little less cinnamon too.
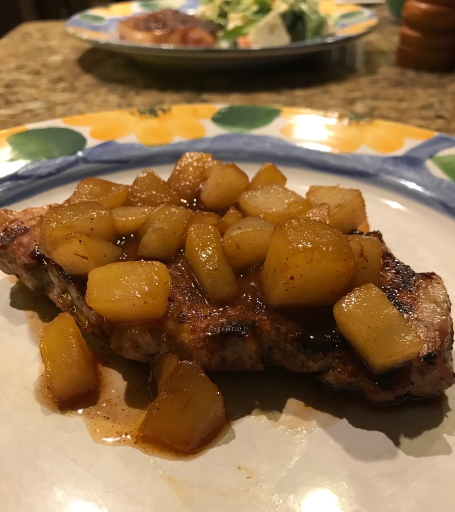
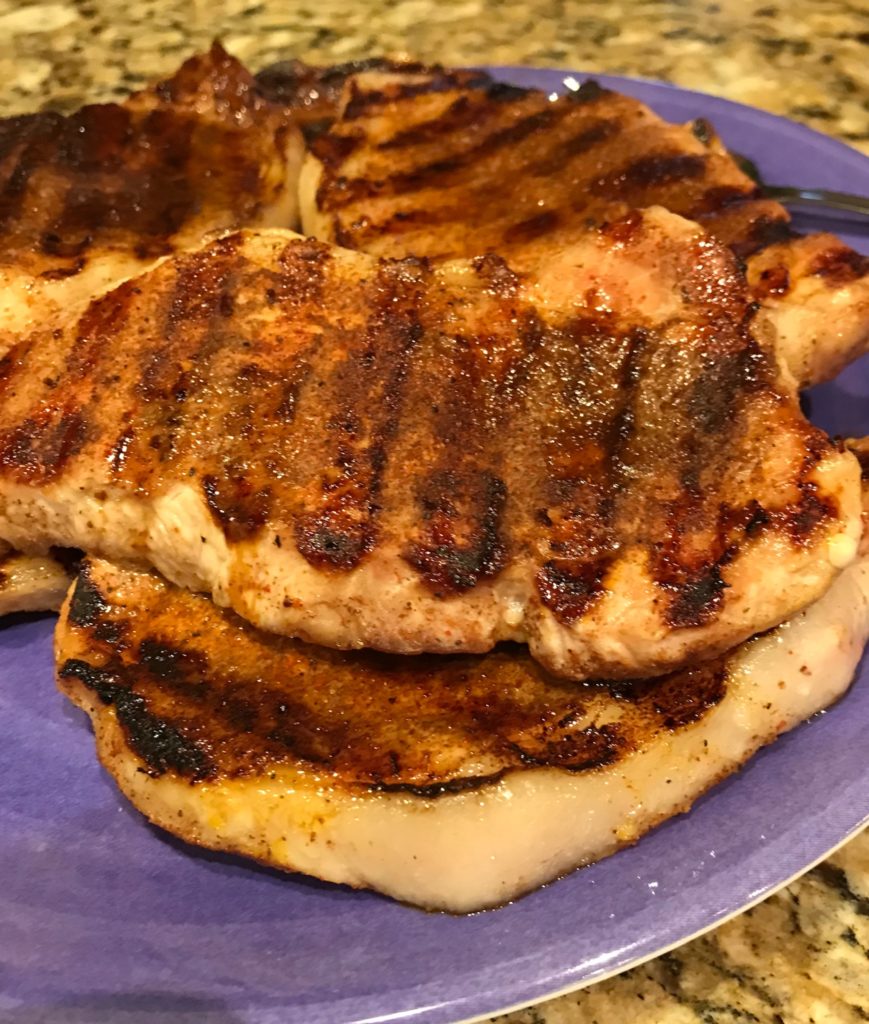
While all this pear saucing is going on, don’t forget about your chops. You need to flip them after 3 minutes and then 2 minutes on the other side. No one wants a tough, leathery pork chop. These turned out nicely with those grill marks I love to see. Yet another reason why the grill pan is a beautiful thing.
Spoon the pears sauce over your pork chop. The younger boy thought this was just wrong so feel to skip it if you aren’t into it.
Pretty easy for a weeknight dinner. The recipe below adds some crucial information about cook times and stuff.