Blog

Instant Pot Honey Garlic Chicken

Jump to Recipe

Yes, another Instant Pot recipe. I can’t help it. It makes cooking so much easier. You really need to run out and buy one if you haven’t. Amazon has them for under $100. You don’t need to get the fancy WiFi version either. Just break down and get one already. You’ll use it more than you think. But I digress…I’ve promised myself that from now on, I’ll try to share more traditional recipes that don’t require fancy gadgets. Next time.

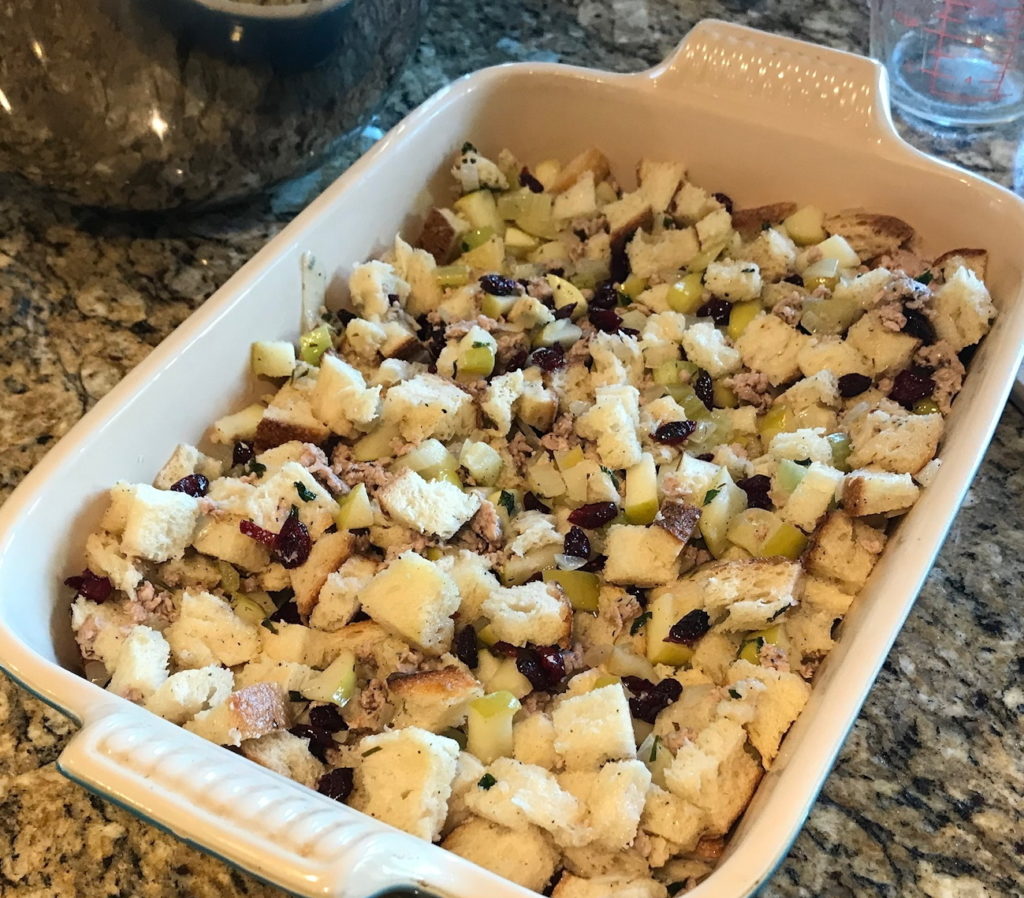
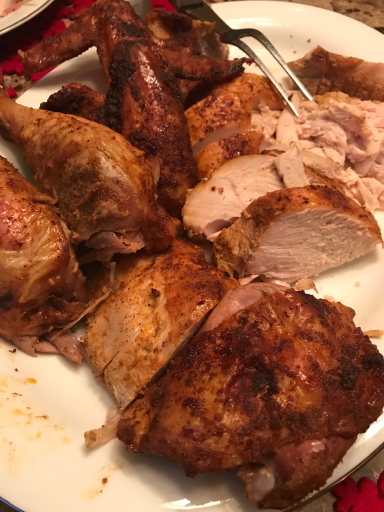
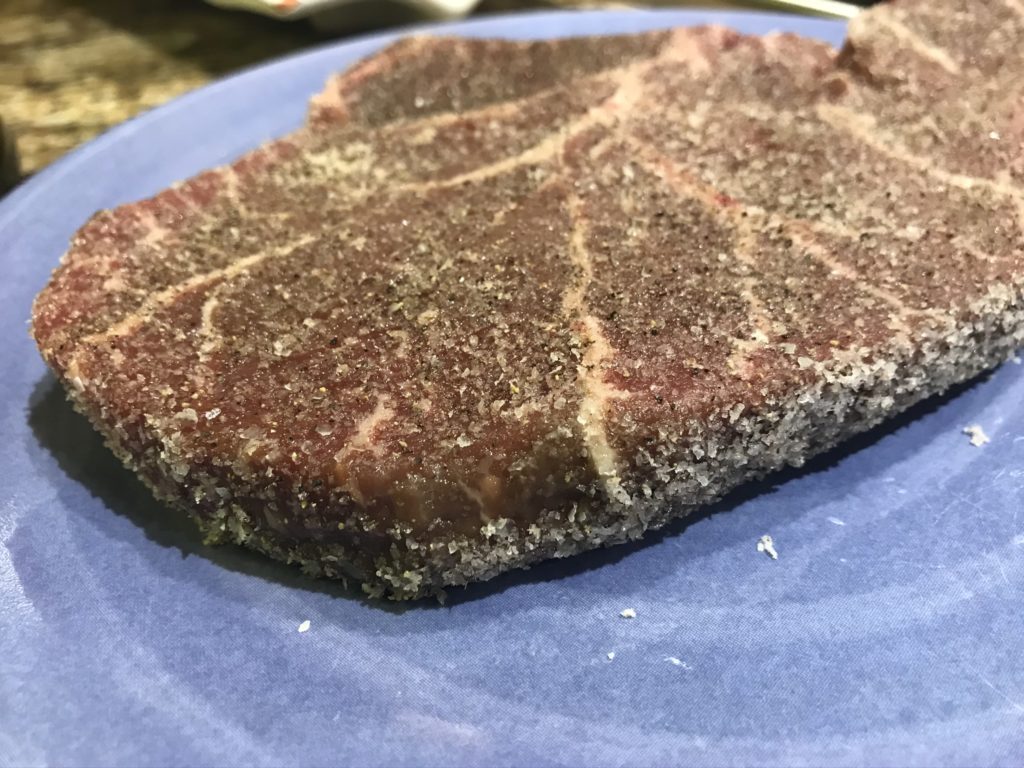
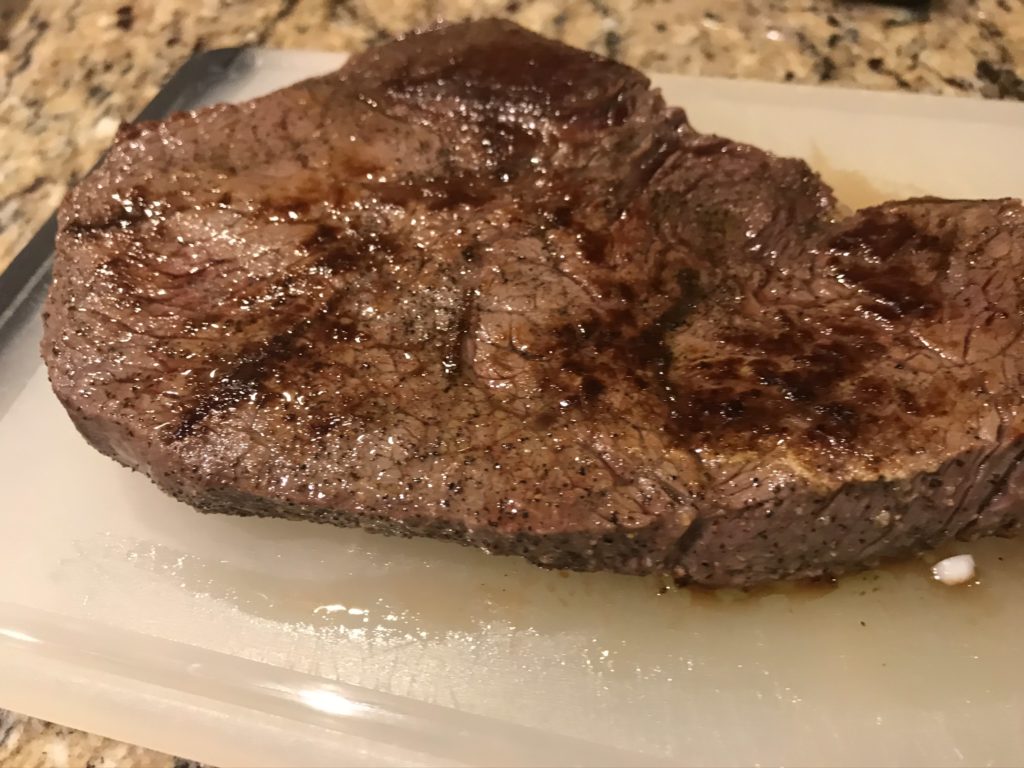
I’ve been on vacation for a couple of weeks and have been super lazy. After all the Christmas cooking, I needed a rest. We’ve all been living off leftovers like turkey and dressing. While this is all fine and good, it was starting to get a little old, even with the tri tip (and more leftovers) we made for New Year’s Eve.

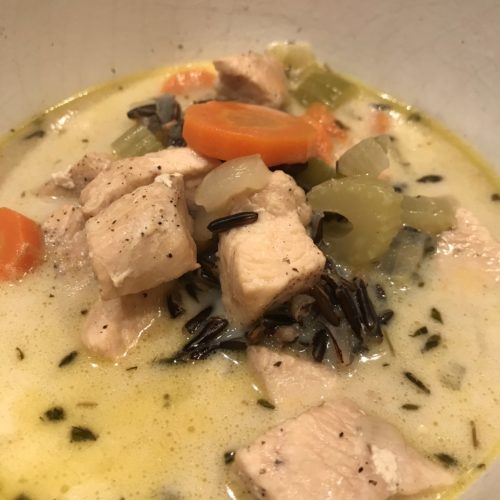
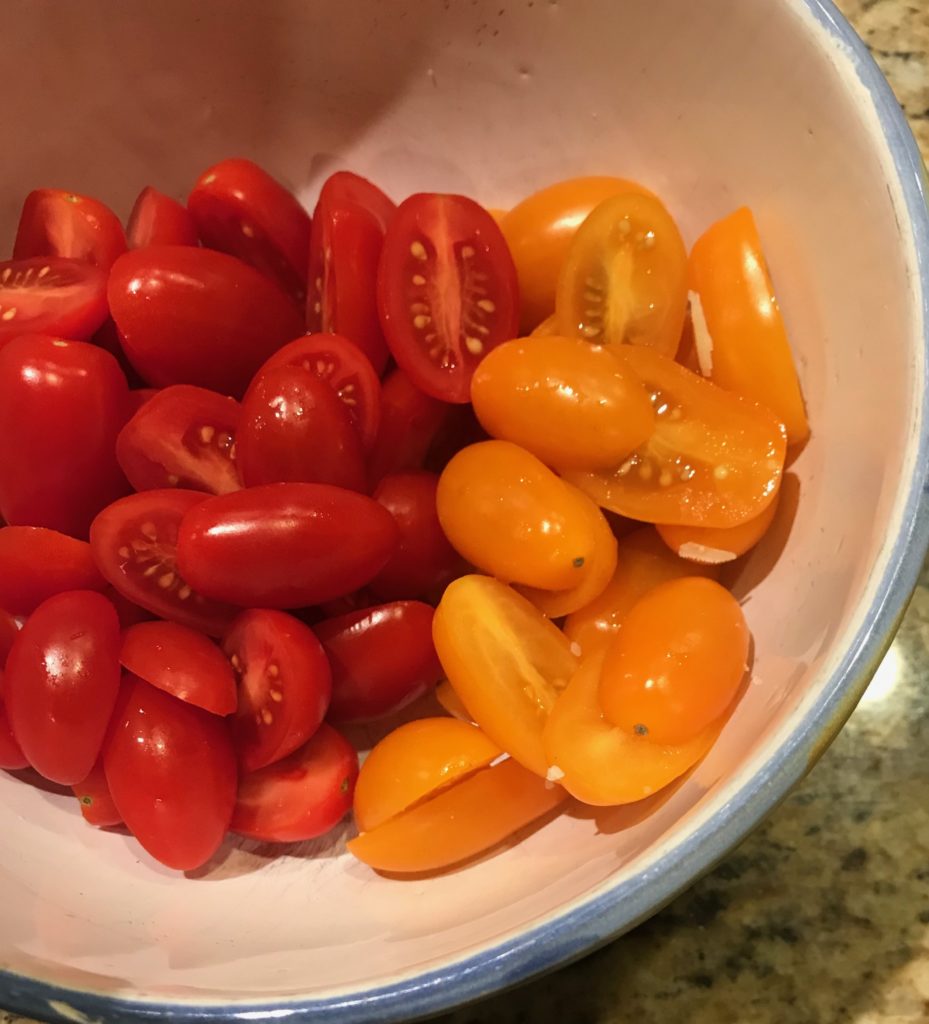
To break the cycle, I decided to ease back into cooking by making this delicious pressure cooker dish from Delish. For those of you who are trying to stick to your New Year resolution of healthier eating, this recipe is very accommodating. If you are watching carbs, serve it with a salad instead of rice. If you’re watching your sugar, skip the glaze.

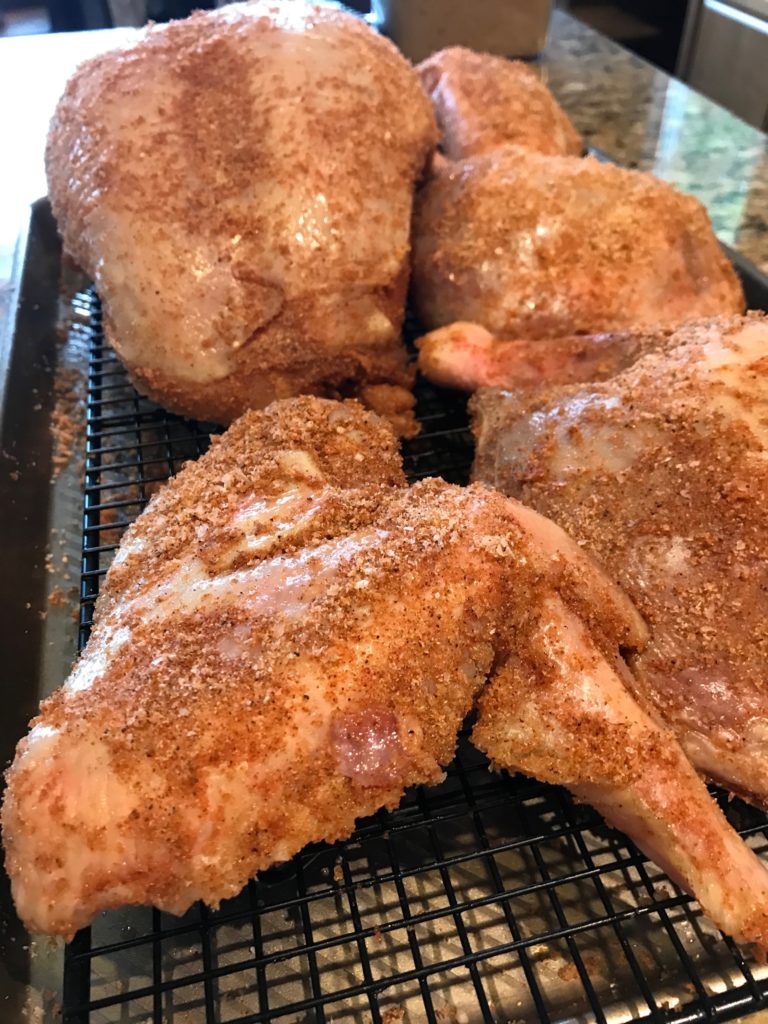
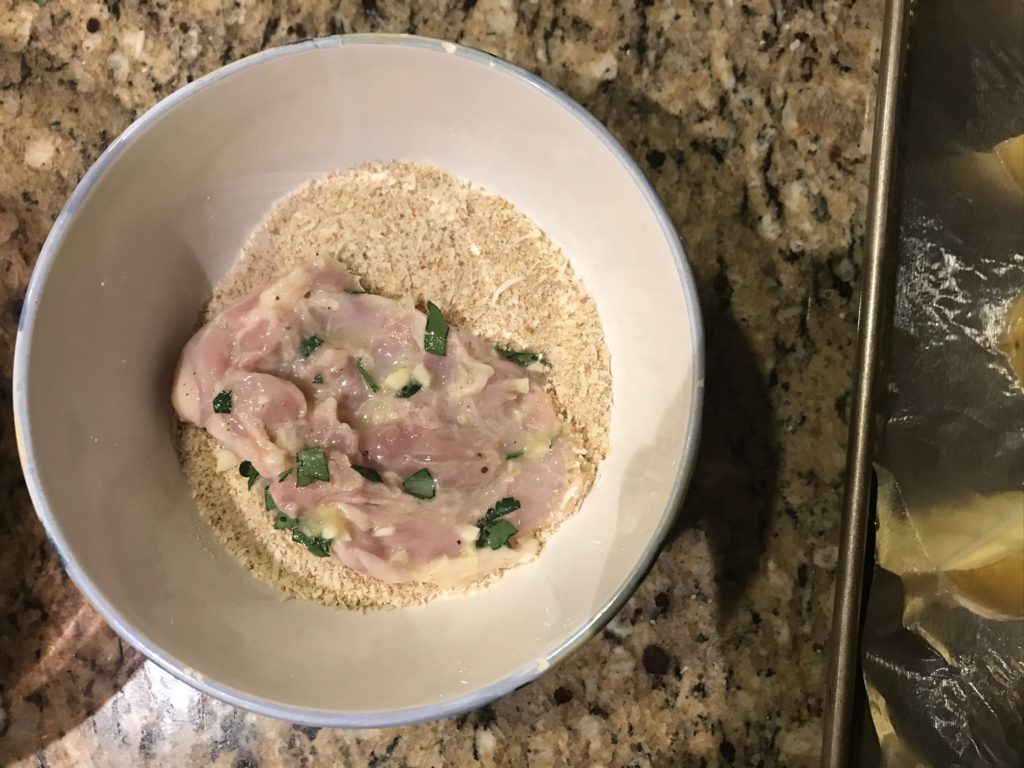
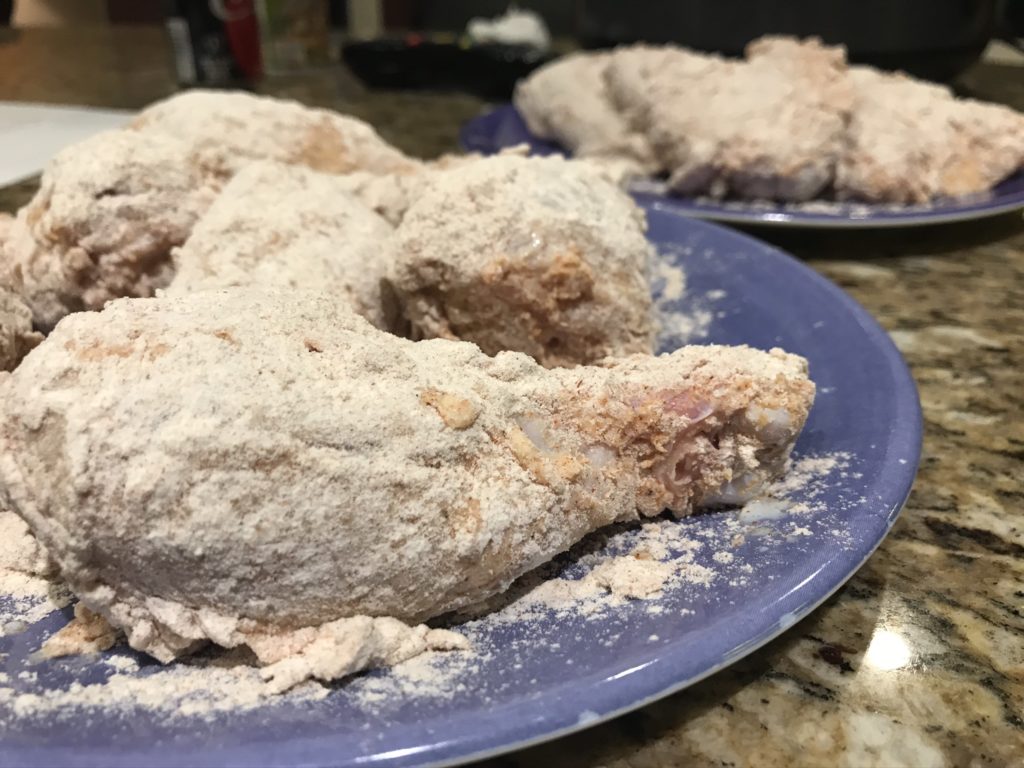
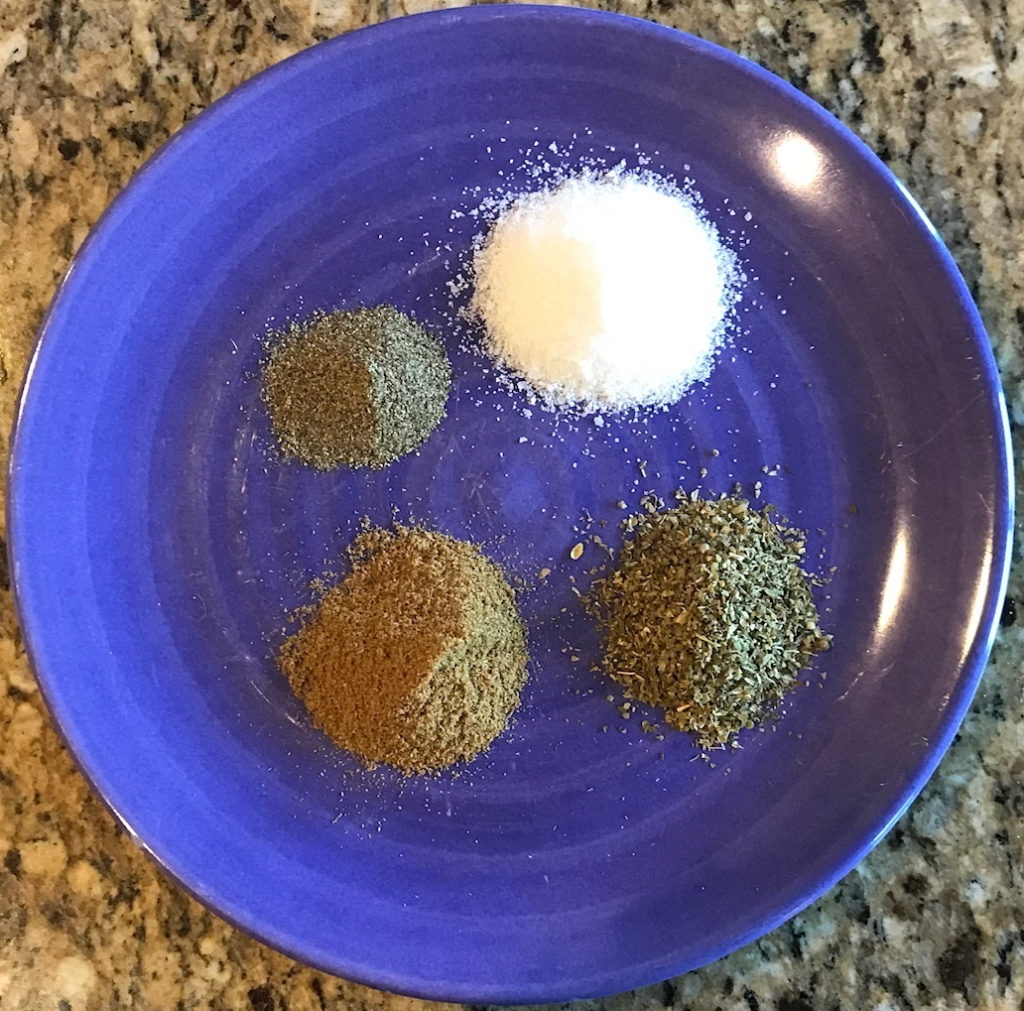
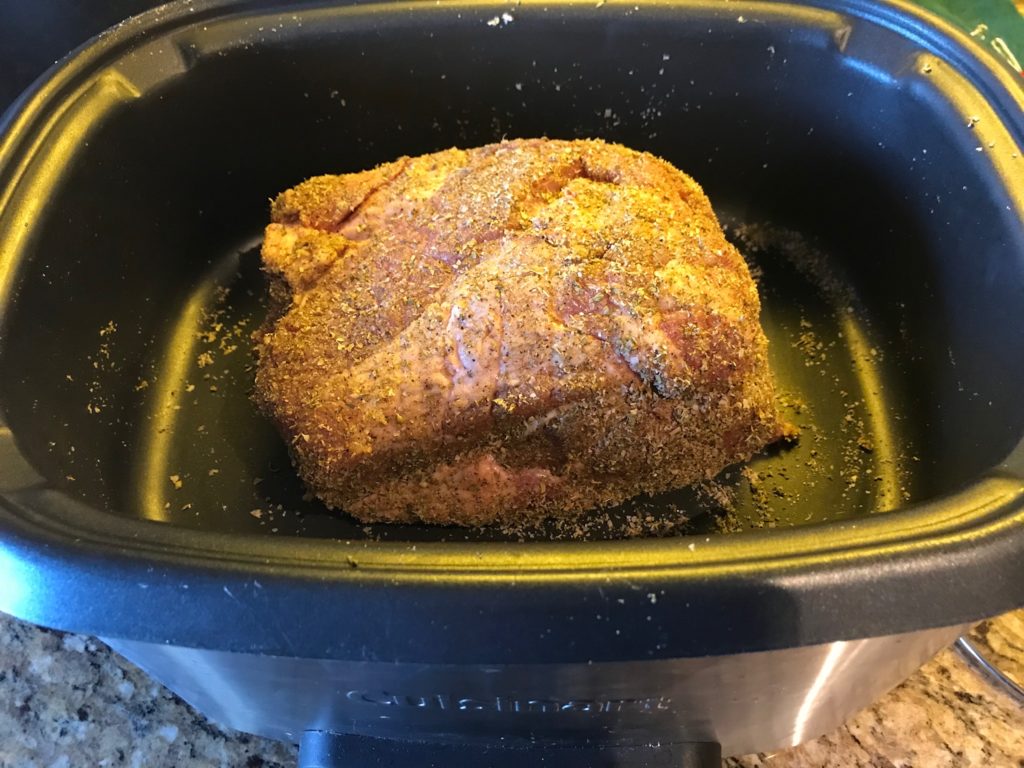
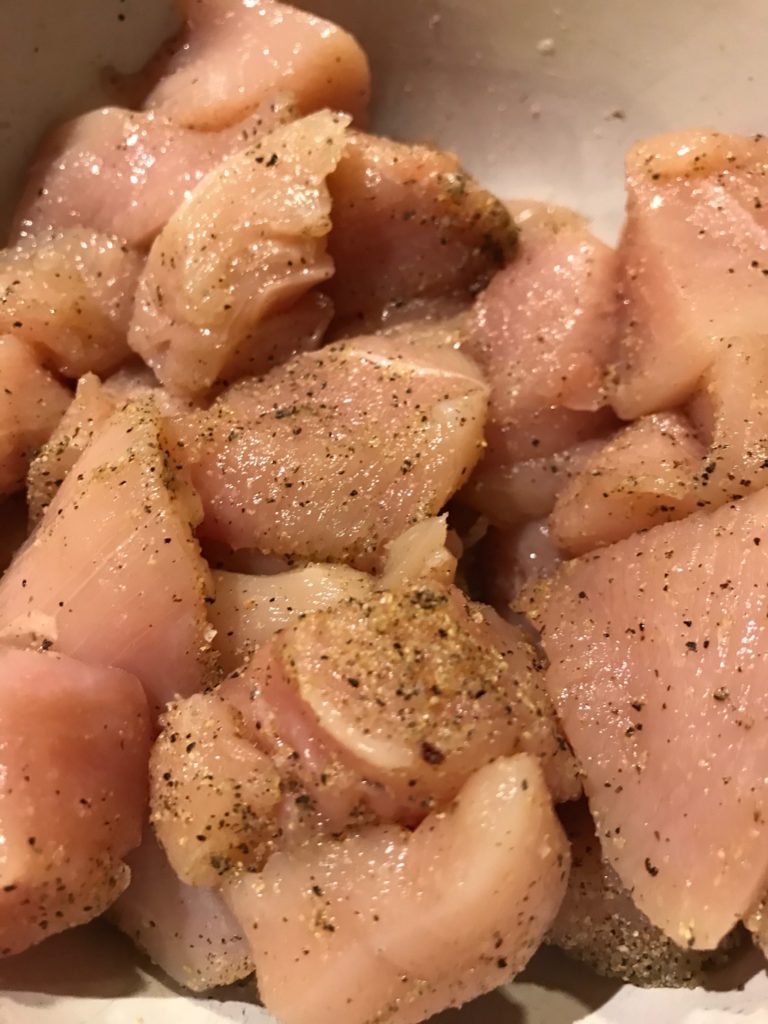
Season your chicken with salt and pepper. In general, you always want to season your meat, even if the recipe doesn’t call for it. It’ll make the meat taste better by adding the first layer of flavor. I’m usually generous with the ground pepper too.

I used boneless, skinless chicken because I like it better. I find it easier to work with, has a shorter cook time, and is just as tasty. I’m simply not a big fan of skin so when I remove the skin before eating the chicken, all those yummy seasonings disappear with it. Sadness. Granted bone-in, skin-on chicken might be juicer, it doesn’t matter for this recipe because the pressure cooker infuses so much liquid into the chicken.

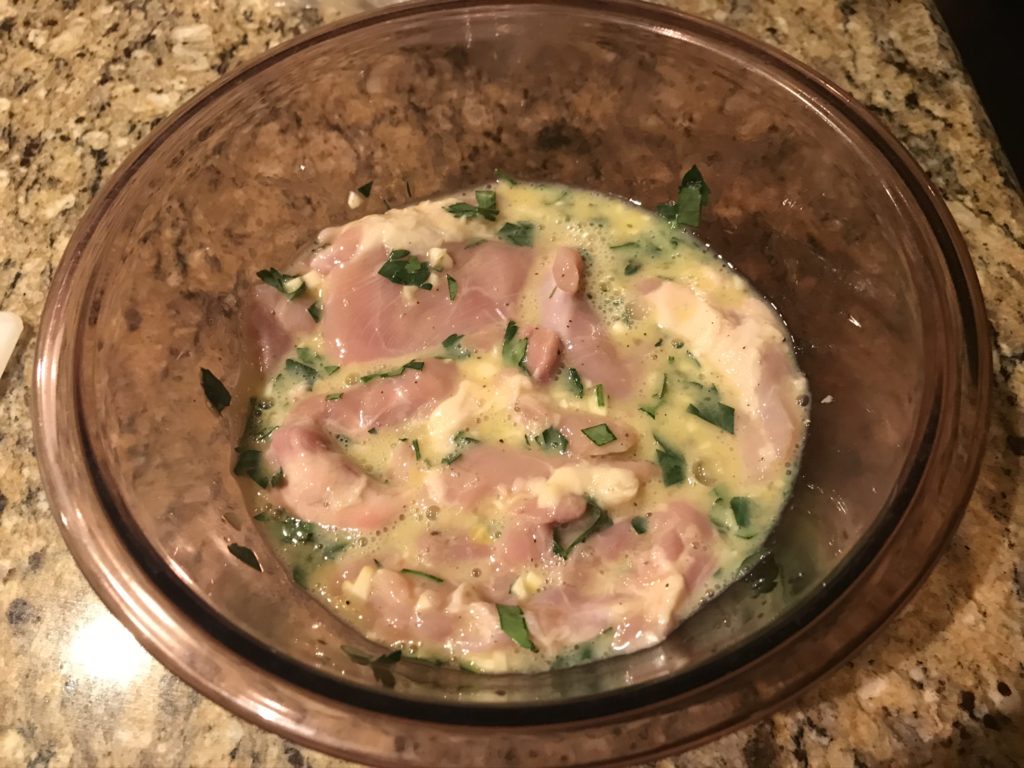
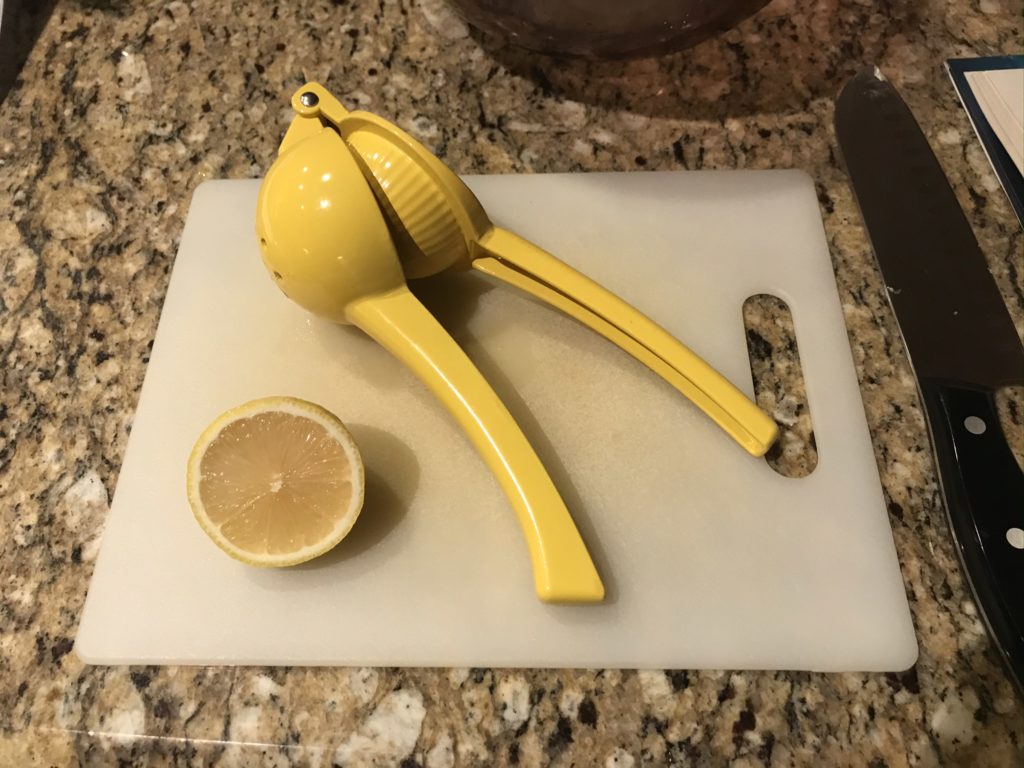
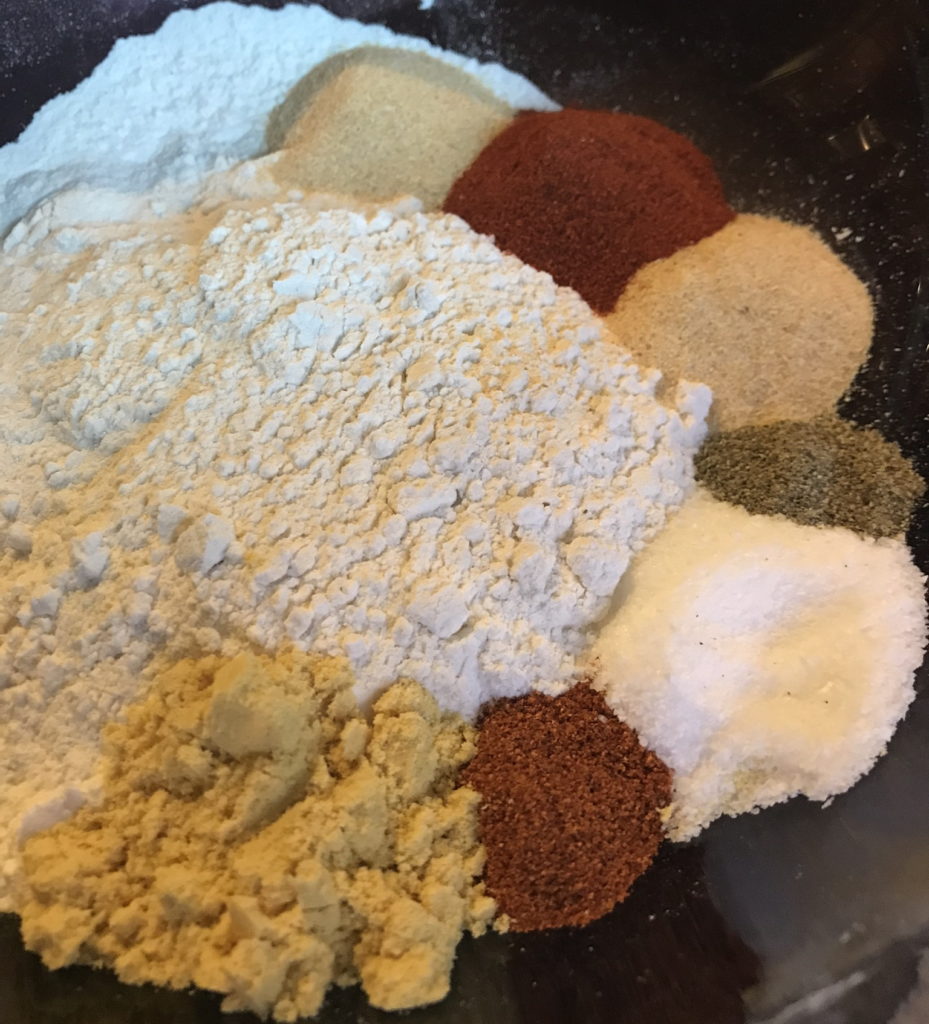
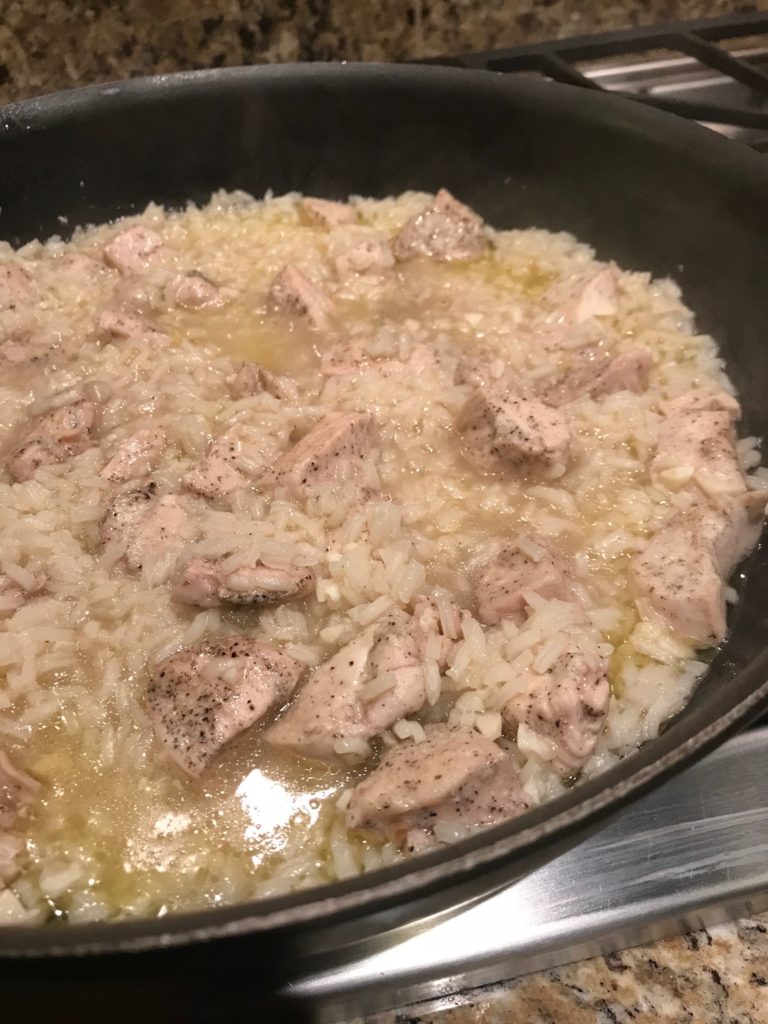
Sauté the chicken in olive oil. In the meantime, make the marinade: olive oil, soy sauce, honey, sesame oil (don’t skip this ingredient!), garlic, lime juice, green onions, and red pepper flakes (don’t skip this either!). Be sure to whisk it completely so the honey is fully incorporated. The sesame oil provides that nuttiness reminiscent of Asian flavors that this dish needs while the red pepper enhances the dish. I’m always cautious with anything spicy because of the rest of my family (not big fans of red pepper), but trust me when I say you won’t be able to taste it. In fact, I usually add a pinch to spaghetti sauce because it takes the sauce over the top good in a subtle not-sure-what-that-secret-ingredient-is way. It’s the same here.

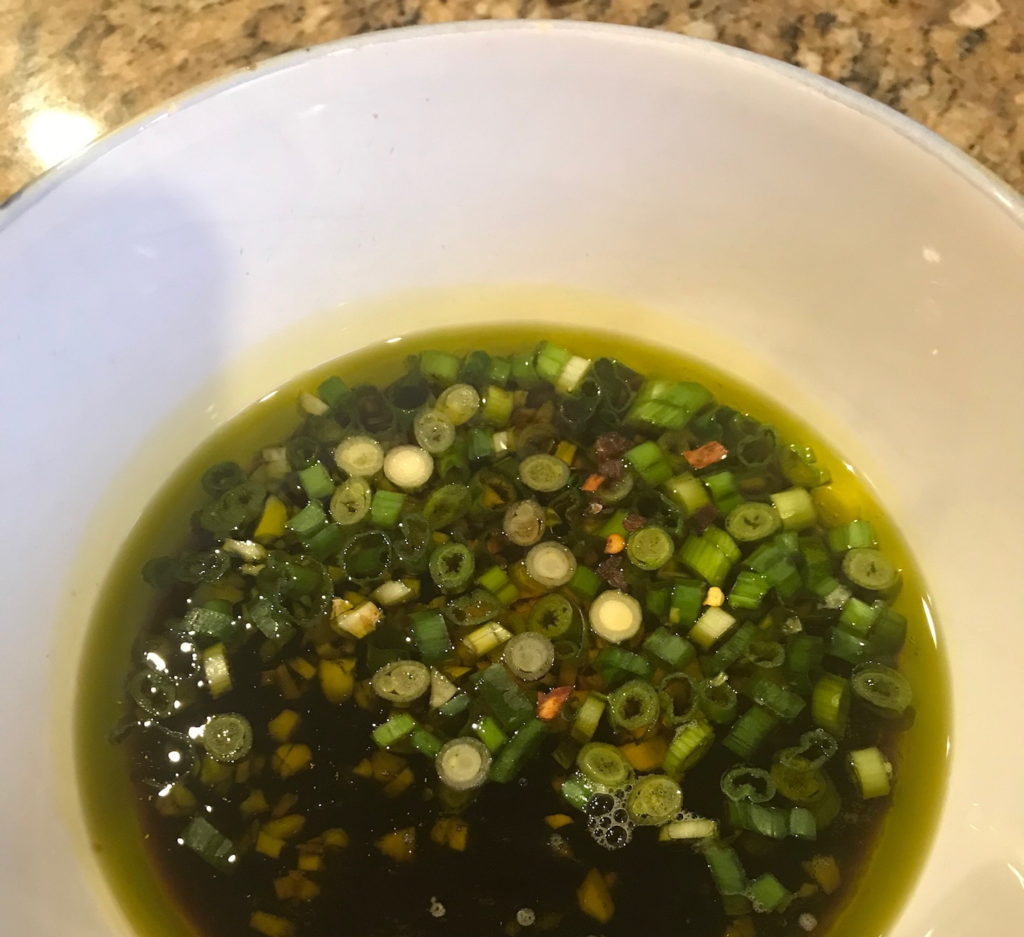
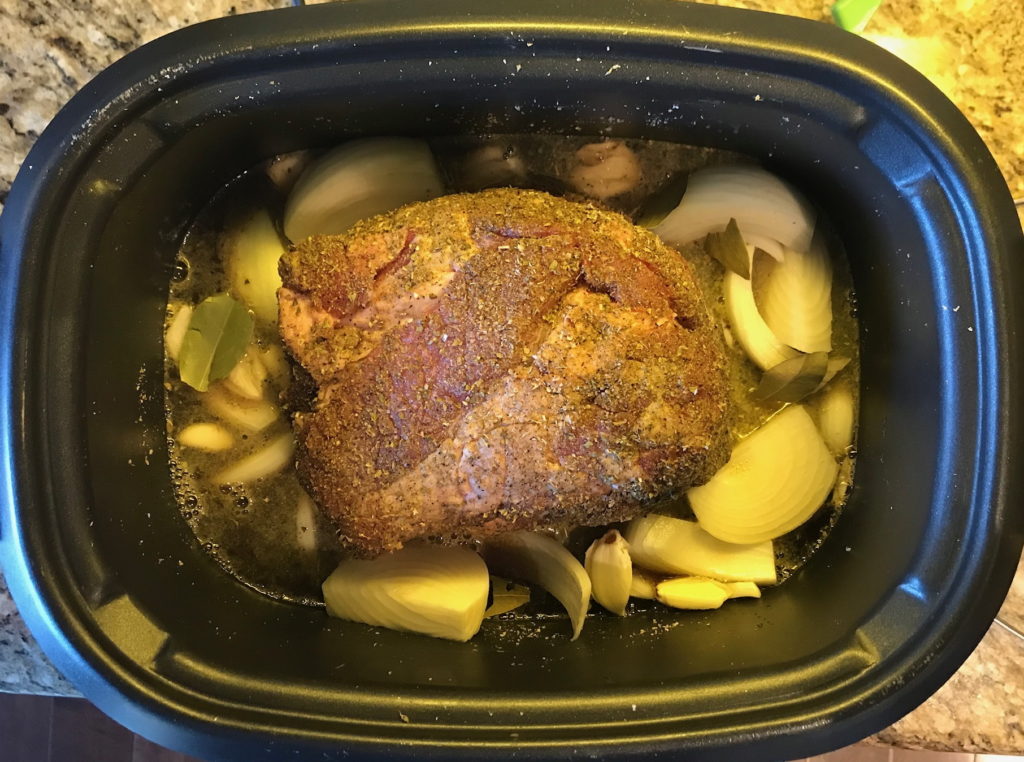
When the chicken is browned, add the marinade.

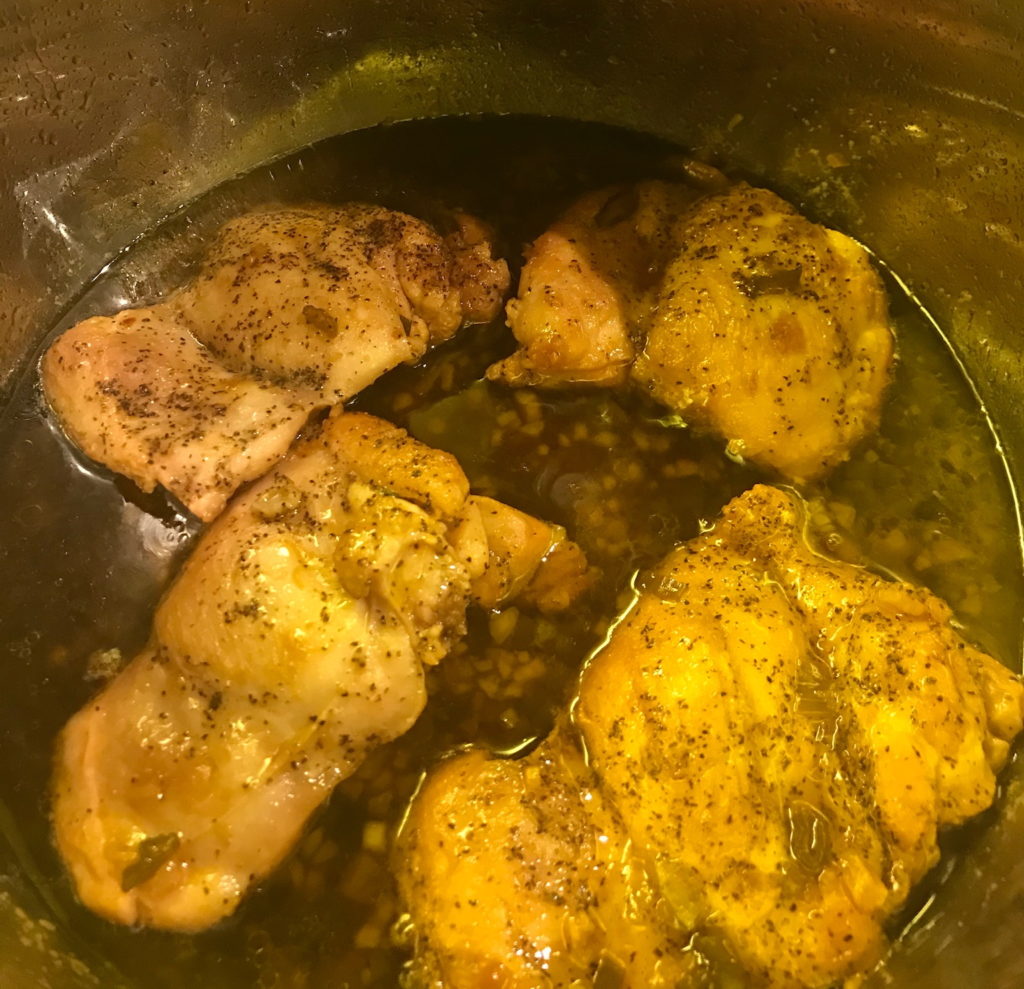
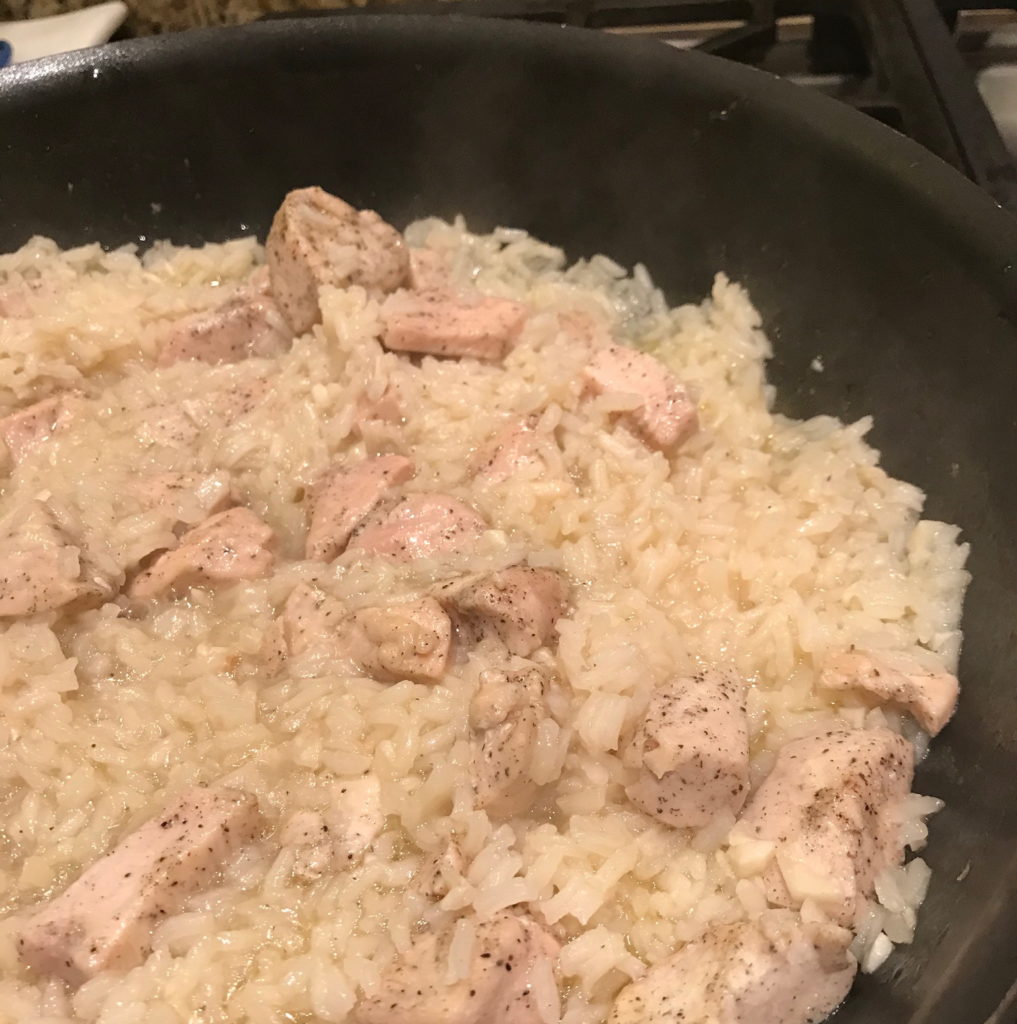
Lock it up and pressure cook on high for 10 minutes. Go make a salad or some rice.

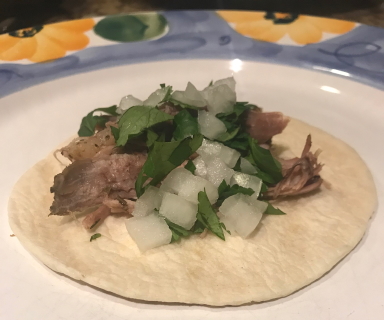
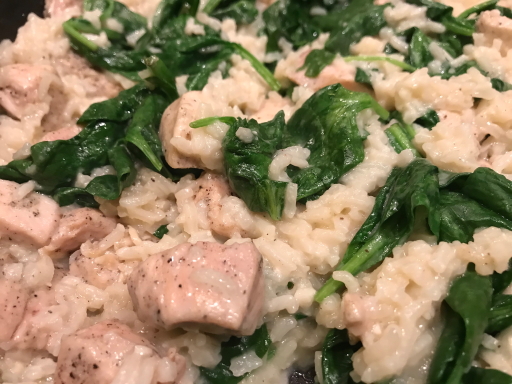
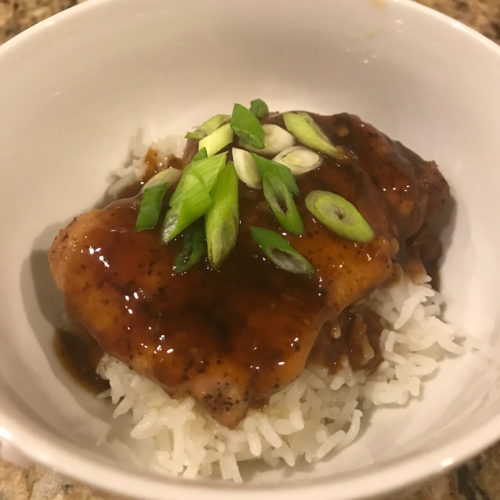
When it’s done, make the glaze. Take out the chicken. Then, remove 1/4 cup of the sauce and whisk in some cornstarch. Add that back to the pot and simmer until thickened. Serve over the chicken and rice, garnished with green onions.

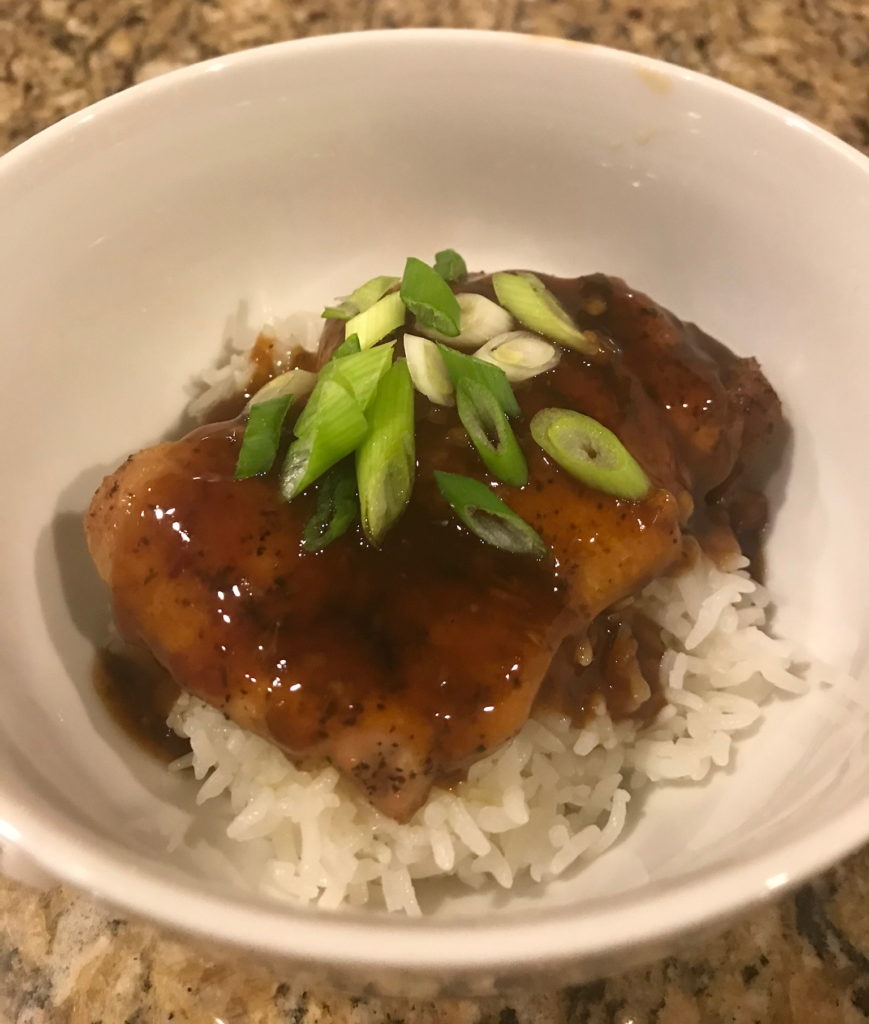
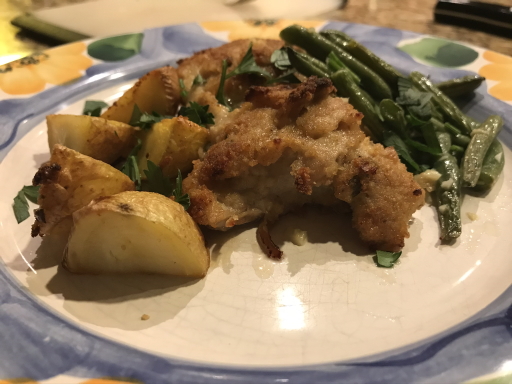
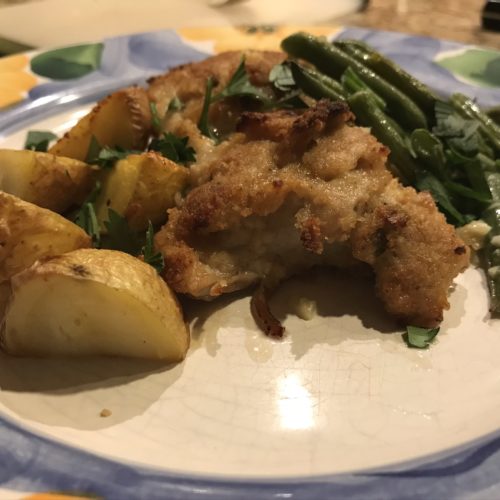
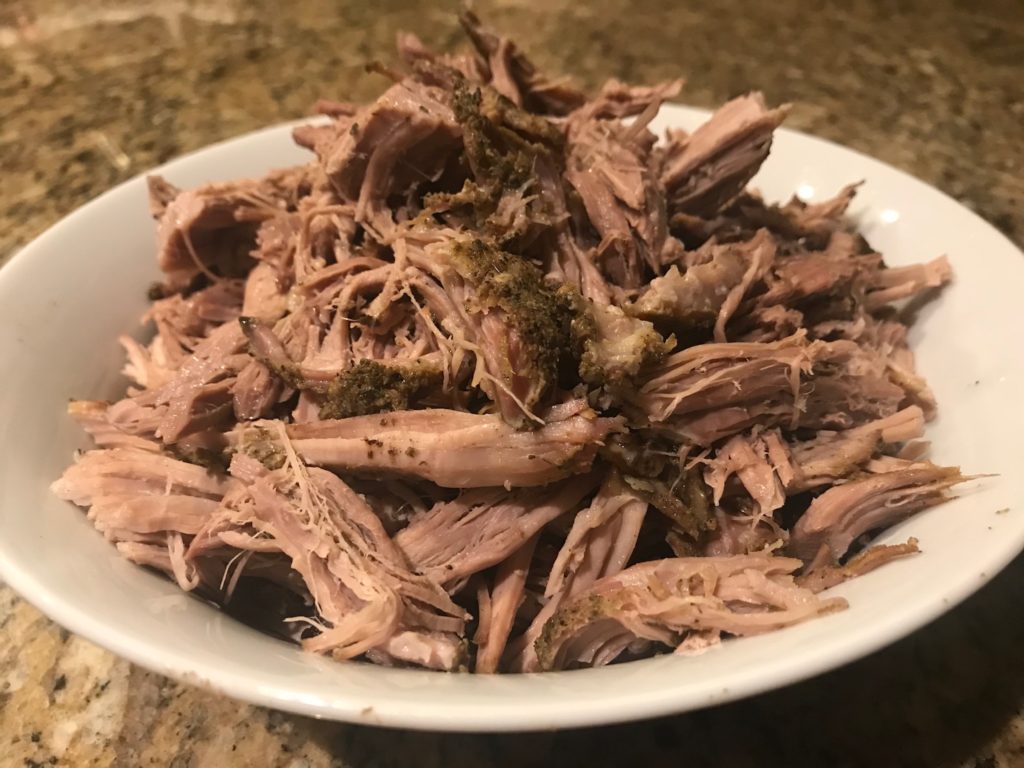
To be completely honest, everyone thought this glaze was completely unnecessary. Maybe we’re just not fancy people, but it’s just there to add a sauce to the rice. I ate the chicken without the glaze along with a salad, and found the chicken to be very flavorful and fall apart tender. My son wanted nothing to do with the glaze (and god forbid the chicken touched the rice, but that’s a different story for another day). My husband tried it with the glaze and said it wasn’t anything special. No glaze it is! Also, I found the glaze to be a bit oily. The sauce called for 1/4 cup of olive oil, which at the time I was blown away at the amount, but then again, it’s for a marinade so that’s a perfectly respectable amount. When converted over to a glaze, it’d hard to disguise. Regardless, this recipe got three thumbs up by all of us. Definitely a make again recipe.

Instant Pot Honey Garlic Chicken

Instant Pot Honey Garlic Chicken

Servings 4

Ingredients
  

  • 4 boneless, skinless chicken thighs
  • kosher salt
  • ground black pepper
  • 1/4 cup extra-virgin olive oil plus 2 tablespoons for browning the chicken
  • 1/4 cup low-sodium soy sauce
  • 2 tablespoons honey
  • 1 tablespoon sesame oil
  • 2 cloves garlic minced
  • 1 lime juiced
  • 2 green onions thinly sliced, plus more for garnish
  • pinch crushed red pepper flakes
  • 1 tablespoon cornstarch
  • cooked rice

Instructions
 

  • Season chicken with salt and pepper on both sides. Set Instant Pot to Sauté function and add 2 tablespoons olive oil. Add chicken and cook until golden, about 3 minutes. Then flip and cook for another 3 minutes more. Work in batches as necessary. Turn Instant Pot off of Sauté function.
  • In a medium bowl, whisk together remaining 1/4 cup olive oil, soy sauce, honey, sesame oil, garlic, lime juice, green onions, and pinch of red pepper flakes. Place chicken in Instant Pot and pour sauce over. Lock lid and set to Pressure Cook on High for 10 minutes.
  • Quick release, making sure to wait until cycle is completely before, unlocking and removing lid. Using tongs, remove chicken from Instant Pot and set on plate to keep warm.
  • Ladle out about 1/4 cup of sauce from Instant Pot and whisk in cornstarch. Pour liquid back into Instant Pot and set to Sauté function. Let sauce simmer until thickened slightly, about 5 minutes.
  • Pour sauce over chicken, and garnish with green onions, and serve over rice.
Blog

Christmas Dinner: The Sides

In my opinion, the sides make the Christmas dinner. I don’t dislike turkey, but I’m not its biggest fan (except this Expertly Spiced and Glazed Roast Turkey might have changed my mind) so I like to focus on the side dishes. There are too many delicious sides I like so the problem turns out to be which ones to make. The list starts out long, is cut, grows again when I ask the family if I’m missing anything (why do I ask them?!), and then finally reduced to something manageable and not too gluttonous.

I make all the sides the day before and heat them up on Christmas. I used to make them the day off, but that’s just insane. Nothing was ready on time and I would end up running around like a crazy woman with my family telling me to sit down. Sit down? This food doesn’t make itself! Do you want dinner or not?! See the tension I’m talking about? Ahhhh! No, thank you.

This year I trimmed the list down to cranberry sauce, dressing, mashed potatoes, mac and cheese, and a salad. There’s only five of us this year so this was plenty. We also had gravy (from a jar doctored with turkey drippings), brioche rolls (from the store), and my MIL’s famous Frozen Cranberry Salad. Five days later, we’re still eating leftovers.

I’ve made these recipes a few years in a row because I’ve found they are the best of the best. I really don’t need to go any further and they are not complicated to make.

Let’s start out with the cranberry sauce. It sounds fancy, but it’s the easiest thing to make. You just need fresh cranberries, juice, and honey. It’s also so much better than store bought cranberry sauce. You won’t go back.

Simmer it down. Cranberry sauce.

Told you it was easy.

Get the recipe: Alton Brown’s Cranberry Sauce. BTW, I’ve never found a recipe of his that I didn’t like. He’s goofy, but smart, backing up his mad methods with science.

Speaking of Alton and his mad methods, he taught me how to make the best mashed potatoes. I used to cringe when people said that mashed potatoes are so easy. If they’re so simple, why do mine come out so gluey? Science. I was using the wrong potato and the wrong mashing method. Yes, you can use russet potatoes, especially if you like fluffy mashed potatoes, but if you like creamy mashed potatoes like I do, go with Yukon gold potatoes. It has to do with the amount of starch in the potatoes. Russets have more starch than Yukon gold potatoes. Using Yukons makes for a creamier, less fluffy mashed potatoes. Like I said, science.

A potato masher works, but you know what works better? My new best friend, the potato ricer.

With these two tools in my back pocket, my mashed potatoes are now amazing. Creamy, buttery, with a hint of pepper…everything mashed potatoes should be.

Get the recipe: Alton Brown’s Creamy Mashed Potatoes.

While I do love mashed potatoes, I love love LOVE mac and cheese. I rarely eat pasta (carbs) so this is a decadent treat for me that is worth every calorie. This recipe requires a little extra work, but it’s well worth it. It has both Gruyere and cheddar cheeses. This turns out to be the perfect marriage of cheeses. Cheddar is gooey and buttery, but needs another cheese to melt properly. Meet Gruyere, which is mild, nutty, tangy, AND melts easily. Mmmmm…cheese.

The recipe calls for 12 ounces of Gruyere to 8 ounces of cheddar, but you can use any amounts of each that you happen to have as long as it adds up to 20 ounces of cheese. I discovered this when this year, I might have accidentally nibbled on too much Gruyere and noticed I bought a little less than I should have. Doh. So there was more cheddar than Gruyere this year. It’s all good.

This recipe also makes a lot of mac and cheese so I split the recipe and we still have leftovers. Feel free to make the whole recipe if you have a ton of guests. All this cheesy goodness will disappear quickly.

Get the recipe here: Macaroni and Cheese. It’s another good recipe from Ina Garten. I prefer it without the tomato breadcrumb topping, but I encourage you to try it either ways. I think the Gruyere is the secret, but give credit to the nutmeg that brings it all together. This is not your Kraft mac and cheese.

Now speaking of Ina Garten, she makes the best turkey dressing. I’m super picky about my dressing. I’ve tried a million different ones: store bought (ugh), cornbread (too crumbly), sage (not exciting enough), whole wheat (too healthy), cauliflower (not authentic)…you get the idea. Although I adore her (who doesn’t?) and think her recipes are spot on, I had been disappointed so many times that I had low expectations when I tried her recipe. Wrong. This dressing is amazing and gets rave reviews by everyone at home. It doesn’t have any unusual ingredients. I just think it’s the right mixture of everything you’d expect, but using toasted sourdough bread cubes and dried cranberries puts it over the top.

Along with your standard ingredients of celery and onion, use apples, which adds sweetness and prevents a dry dressing.

Using a VERY generous amount of butter (let’s not talk about how many sticks of butter today), saute the veggies and apples in a pan.

Ten minutes later, every will be soft and yummy. I could probably eat this straight out of the pan, but I used some self-control, unlike the Gruyere cheese incident.

In a very large bowl with the bread cubes, add this mixture along with browned crumbled sausage, broth (homemade if you want to show off), and dried cranberries. The cranberries add another dimension of sweetness against the onions and a chewy texture that complements the toasted bread. Plus cranberries scream turkey so you gotta have them.

Mix well and plop it into a baking dish.

Because I bake it the next day, I add additional broth right before it goes into the oven to ensure it won’t dry out.

Get the recipe: Sausage and Herb Stuffing. As Ina would say, “How easy is that?”

With all these heavy side dishes, I wanted to make a salad to balance it off. Well, this salad wasn’t exactly as light as I originally planned, but it turned out to be clever. You see, I love cute food. My crazy smooshed looking Spooky Peppers is evidence of my insanity. I came across the cutest idea for a caprese salad so I decided to make my own Caprese Christmas Wreath Salad.

Caprese Salad Wreath

Caprese Christmas Wreath Salad

Ingredients
  

  • fresh basil
  • cherry tomatoes
  • small mozzarella balls marniated in herbs and olive oil

Instructions
 

  • Remove the basil leaves from the steams. Use the larger leaves to create a ring around the plate.
  • Using a toothpick, skewer a tomato, a basil leaf, and a mozzarella ball.
  • Arrange in a circle on the basil leaves. Continue until you've created enough circles to fill the wreath. Add small basil leaves to fill in the wreath as needed.

Merry Christmas! I hope I made your dinner a little easier with these dependable side dish recipes.

Blog

Christmas Dinner: The Turkey

On Thanksgiving, I made a turkey for dinner. Now, this is a daring feat for me. Turkey is my nemesis. It’s never done according to plan. I’ve followed recipes. Doesn’t matter. The white meat cooks faster than the dark meat. In fact, the thighs are usually raw while the breast meat is perfectly done. I’ve tried tenting the breast and continue roasting, but I just end up with dry meat. One year was so bad that I ended up hacking up the turkey after the breasts were done and finished off the legs and thighs separately. Ugliest. Turkey. Ever.

I’m a faithful reader of Bon Appétit. When they published this year’s turkey recipe, Expertly Spiced and Glazed Roast Turkey, not only did I trust them, I saw the brilliance in their method. It was similar to my hacked up turkey, but done in a much smarter, less critical way. You ask the butcher to cut it up for you into five pieces that not only solves when the turkey is done problem, but also the carving issue (which I haven’t even delved into). Each piece cooks at the same rate because the meat is properly distributed. Wow. Why didn’t I think of that?

So when I made it for Thanksgiving, everyone agreed that this non-traditional turkey was amazing and should be repeated on Christmas. I was a bit worried that my Thanksgiving success was a fluke, but I put on my big girl pants and decided to try it again. I was so brave that I didn’t even buy a backup ham. Fortunately, I didn’t need it.

It uses a dry brine instead of the messy wet brine that requires you to soak your turkey in a bucket for a couple of days (what a mess that was…never again).

Let me interject that you need to have a meat thermometer, preferably an instant read one. If you are roasting a turkey without one, you are very confident. Me…not so much.

This recipe suggests that you preorder your turkey and nicely ask your butcher to cut it up into five pieces plus remove the backbone. You can purchase a frozen turkey, thaw it, and cut it up at home. Alas, I’m not that patient or talented. Therefore, I used the humorous script Bon Appétit prepared for me, “Hello, talented and smart and underappreciated butcher [pause for uncomfortable laughter], I’d like to purchase a 10-to-12-pound turkey, cut into five pieces: the legs, wings, keep the breast whole, backbone removed. Yes, I’m doing that ridiculous Bon Appétit recipe. Yes, it better not suck.” I love Bon Appétit. My butcher thought I was a little weird.

Back safely at home, away from the deadpan eyes of my quizzical butcher, I made the rub for the brine: pepper, kosher salt, garlic powder, onion powder, smoked paprika, and brown sugar. I don’t have a spice mill or mortar/pestle so I used ground pepper, and it turned out fine. I used a 10-12 pound turkey and had plenty of rub, but I used it all. Can one have too much rub? Don’t answer that.

Sit your turkey on a cookie rack on a baking sheet. This helps circulate the air to the bottom of your turkey and later, you’ll use the same set-up to roast it. Rub the seasonings on the turkey. I know. This can be unpleasant, but (and I mean this in the best way possible) get over it. It’s better than if it was a whole turkey where you have to dig around for those mysterious parts you won’t be using. Ick. Did I mention turkeys are my nemesis?

Now the fun part. Shove everything to the corners of your fridge to make way for this bird to habitat your fridge for the next two days. Don’t cover it either. I was less than thrilled of the smell it left behind, but it will go away. After two days, the rub will be absorbed and the skin will be dry. This is a good thing because dry skin will make the skin crispy and beautifully brown.

Pull it out of the fridge. Let it sit for 2-3 hours. Don’t worry. Bacteria will not grow and give your guests food poisoning. The turkey should not go from a cold refrigerator to a hot oven. It’ll freak out and not cook evenly. You need to bring the bird up to room temperature first. I recommend putting your dog outside if you have one.

The turkey will roast in two phases, first at a high heat to brown it and then at a lower heat for longer to cook it through. During the first phase, make the glaze, which you’ll baste on the turkey every 20 minutes during the second phase. I have to admit that got distracted while eating the Brie appetizer and only basted once. It turned out delicious anyway.

The glaze is essential and gives it that sweet, Christmas-spiced taste, which is pretty amazing considering there are no spices in the glaze. I attribute this to the brown sugar and garlic, with some help of the sage.

Combine all the glaze ingredients and simmer for 10-15 minutes until it’s slightly thickened. After I removed it from the heat, I found that it continued to thicken so take this into account when you are determining if it’s thick enough. I made a double batch because I didn’t want to run out, which I did the first time. Then again, the first time I remembered to baste it every 20 minutes. Doh!

The recipe also calls for adding water to the baking pan. This helps it cook and keep it moist. Sorry. I had to use that word. There’s no other way to describe it. Let’s move on.

Using an instant-read thermometer (but any meat thermometer will do…just have one…trust me on this one), start checking on the turkey at the 50 minute mark. Make sure that the thickest part of the breast is 150F and the thigh is 170F. If it’s not, glaze it again, and check every 5-10 minutes.

When it’s done, tent (aka cover) it with foil to keep it warm and let it sit for 30-60 minutes. I like to take this time to heat up the sides I made the day before. When everything is ready, slice up the white meat and separate the leg from the thigh. The easiest way to cut the leg and thigh is to find the joint by bending it a couple times and cut there.

The turkey was so good that I nearly forgot to take a picture of the final product. Everyone was already digging in.

Get the recipe: Expertly Spiced and Glazed Roast Turkey. You won’t be disappointed.

Blog

Sheet Pan Lemon Parmesan Chicken and Veggies

Jump to Recipe

I’ve been sharing a lot of recipes that use my favorite kitchen toys. I know not everyone has a slow cooker, pressure cooker, and air fryer so it’s time for something more conventional. Sit down for this one. The oven. I know. Scandalous.

I really like sheet pan recipes when they work, like those Sheet Pan Chicken Fajitas I posted. Here’s another one that you need to try. It’s a super easy week night meal with everything you need: chicken, potatoes, and green beans. It’s perfect. Its lemony, cheesy, garlicky goodness is sure to please everyone. Did I mention it’s easy to make?

If you don’t like potatoes or green beans, skip the one you don’t like. You can also try using other veggies, such as carrots, bell peppers, sweet potatoes, etc. Just be aware that the cooking times might vary.

In a bowl, mix an egg, lemon juice, garlic, parsley, and seasonings. This will be your marinade and the liquid to help your dredge stick to your chicken. Marinade the chicken for 30-60 minutes. Try not to skip this part, but don’t marinade longer than this (like overnight) or your chicken might end up tough.

By the way, I know I wasn’t going to talk about kitchen toys, but I really like this lemon squeezer so here’s a picture of it. It doesn’t take up a lot of space and it keeps the seeds out of your food. You should buy one. No pressure.

While you wait, it’s time for the veggies.

Let’s pause to express my opinion about dealing with green beans. Hate it. It takes soooooo long to string, trim, and cut them into thirds. But I love green beans. What’s a girl to do? You can reduce the prep time by buying bagged trimmed green beans. This is a good short-cut. Alas, I never find the beans to be as good as the fresh ones, but I will resort to trimmed green beans if the fresh ones are stringy. There’s no shame in this. This time I decided to use fresh beans and do all the work myself. Yes, sometimes I’m a show-off.

Toss your potatoes in half of the butter/garlic mixture and the green beans in the other half.

When your chicken is done marinading, combine breadcrumbs and Parmesan, and then dredge the chicken in the mixture.

Don’t be like me and forget to spray your foil-lined baking sheet with cooking spray. Generously spray the sheet. Then place your chicken on the sheet and surround them with potatoes. Bake!

After 15 minutes, flip your chicken and add your green beans. Be sure to embrace the amazing aroma of lemon and garlic wafting through your house. Also enjoy the fact that your entire dinner is in the oven and you don’t have to lift a finger to make a side dish.

Cook for another 10-15 minutes on broil until the chicken is golden and the veggies are cooked through.

Sit back and watch as your family is impressed with your ninja like cooking skills.

Sheet Pan Lemon Parmesan Chicken and Veggies

Sheet Pan Lemon Parmesan Chicken and Veggies

Servings 4

Ingredients
  

For the chicken

  • 1 large egg
  • 1 1/2 lemons juiced
  • 3 teaspoons minced garlic
  • 1/2 tablespoon fresh parsley chopped
  • 1/2 teaspoon salt
  • 1/2 teaspoon pepper
  • 1/2 cup breadcrumbs
  • 1/3 cup grated Parmesan cheese
  • 4 skinless, boneless chicken thighs

For the veggies

  • 1/2 pound potatoes quartered
  • 1/3 cup butter melted
  • 3 teaspoons minced garlic
  • salt to taste
  • 3/4 pound green beans trimmed and cut into thirds

Instructions
 

  • Preheat the oven to 400F. Grease a baking sheet with cooking spray and set aside.
  • In a bowl, whisk together an egg, lemon juice, garlic, and salt. Place the chicken in the egg mixture and marinade in the refrigerator for 30-60 minutes. You can skip this step, if necessary.
  • Wash and quarter the potatoes. Wash, trim, and cut fresh green beans into thirds. Pour half of the butter mixture over the potatoes and the other half over the green beans. Toss to coat.
  • In a bowl, mix breadcrumbs and Parmesan cheese. Dredge the marinaded chicken in the breadcrumb mixture, making sure the crumbs stick to the chicken, pressing if needed.
  • Place chicken and potatoes on a cooking sheet, arranging the potatoes around the chicken in a single layer.
  • Bake in the oven for 15 minutes.
  • Remove the baking sheet from the oven and flip chicken. Move the potatoes to one side and place the green beans around the chicken.
  • Turn the oven to broil. Return the baking sheet to the oven and broil for 10-15 minutes. The chicken should be cooked to 165F, golden, and crispy. The potatoes and green beans should be cooked though.
  • Sprinkle with fresh chopped parsley and serve.
Blog

Air Fryer Fried Chicken

Jump to Recipe

Welcome to the world of air frying! It seems to be very popular suddenly, which is good because I finally broke down and bought the small Ninja air fryer. It’s my latest fun toy and I love it. So far, I’ve made french fries and this fried chicken, which was pretty amazing. I plan to try out fried pickles, donuts, and plenty of other goodies in the near future.

What I like about this recipe: No greasy mess. Healthier than fried chicken. Crispy on the inside, juicy on the inside. Better than oven-baked fried chicken. Period. I don’t see why to make fried chicken any other way.

Kudos to the Kitchn for this recipe! You can really use any of your favorite seasonings, but because this was my first attempt, I decided to follow a recipe…mostly. I did stray a little. Sorry people, but I’m not buying a whole chicken and cutting it up into 10 pieces. I took a knife skills class and learned how to do it, but frankly, I suck at it. My hacked up chicken looked pretty pitiful and my revolted stomach wanted nothing to do with it. I’m sure I’d get better with practice (and kudos to you if you rock the whole carving thing), but it’s not for me. Furthermore, I only wanted to use thighs and legs. Sort of wasteful to use a whole chicken.

First, you want to marinate your chicken in buttermilk for an hour or more. Don’t skip this part. Marinating in buttermilk makes the chicken super tender. I’m not sure about you, but I don’t like buying buttermilk because I never use it all so if you’re like me, make your own buttermilk with milk and vinegar. It’s a no brainer.

While the chicken is soaking up all that buttermilk, measure out a zillion seasonings and flour. This is the hardest part. 🙂

Mix it all up and when your chicken is ready, dredge it using a pair of tongs to avoid a sticky floury mess on your fingers.

Be sure to shake off any excess flour. Like I mentioned earlier, the recipe calls for a 3-4 pound whole chicken, but I used about 2 pounds of thighs and legs. I have PLENTY of flour leftover. Feel free to use more chicken if you want.

(Air) fry it up! I sprayed the racks with cooking spray, but I also sprayed the chicken so the coating would cook through. Twenty minutes later, you have fried chicken!

Air Fryer Fried Chicken

Air Fryer Fried Chicken

Servings 6

Ingredients
  

  • 3-4 pounds chicken cut-up into pieces
  • 1 teaspoon kosher salt
  • 1 teaspoon black pepper divided
  • 2 cups buttermilk
  • 1 tablespoon kosher salt
  • 2 cups all-purpose flour
  • 1 tablespoon garlic powder
  • 2 tablespoons paprika
  • 1 teaspoon cayenne pepper
  • 1 tablespoon onion powder
  • 1 tablespoon ground mustard
  • cooking spray

Instructions
 

  • Place chicken in a large bowl and season with 1 teaspoon of kosher salt and 1/2 teaspoon of black pepper. Add 2 cups buttermilk and marinate for at least 1 hour in the refrigerator. Overnight is better.
  • Meanwhile, whisk 1 tablespoon kosher salt, remaining 1/2 teaspoon black pepper, all-purpose flour, garlic powder, paprika, cayenne pepper, onion powder, and ground mustard together in a large bowl.
  • Preheat an air fryer to 390F. Coat the air fryer racks with cooking spray.
  • Remove the chicken from the buttermilk, allowing any excess to drip off. Dredge in the flour mixture, shaking any excess off. Place a single layer of chicken in the basket, with space in between the pieces.
  • Air fry, flipping the chicken hallway through, until crispy and an instant-read thermometer registers 165F in the thickest piece, 15 to 20 minutes total. Repeat with the remaining chicken.
Blog

Slow Cooker Pork Carnitas

Jump to Recipe

As I mentioned before, I love a good taco. Time to share another taco recipe…my favorite carnitas.

There are a lot of carnitas recipes out there. I took the best out of a few recipes and created this one, which I like because of the fruit juices and real Coke. You get that orange and lime flavor with the sweetness of the cola. Be sure to use Mexican Coke with sugar, not the stuff with corn syrup or sugar substitute.

This recipe takes all day because you make it in the slow cooker, but doesn’t have the lard so it’s healthier for you. It makes a lot so I usually split it into 3 meals and freeze it. When you are ready to use it, defrost and then crisp it up on the stove.

First, measure out your seasonings.

Mix the seasonings together and add them to the slow cooker. Roll your pork around in the slow cooker. This makes coating your pork so much easier and less messy. Everything is contained in the pot.

Add onion, garlic, juices, Coke, and bay leaves. Be sure to pour around the pork, not over the pork. You want to leave the seasonings on the meat.

Cook it in the slow cooker. When it’s done, all you have left to do is shred it and crisp it up in a pan. Super easy.

This makes a delicious taco with cilantro and chopped onion. Happy Taco Tuesday!

Pork Carnitas

Slow Cooker Pork Carnitas

Servings 12

Ingredients
  

  • 4 pounds skinless, boneless pork butt or shoulder
  • 4 teaspoons salt
  • 1 teaspoon pepper
  • 1 tablespoon dried oregano
  • 1 tablespoon ground cumin
  • 1 large onion cut into wedges
  • 8 cloves garlic
  • 2 limes juiced
  • 2 large oranges juiced, or 3/4 cup of orange juice
  • 3/4 cup Mexican Coke cola made with real sugar
  • 2 bay leaves
  • 1 tablespoon oil

Instructions
 

  • Combine salt, pepper, oregano, and cumin in the slow cooker pot. Roll pork in the seasonings until well coated.
  • In the slow cooker, add onion, garlic, juices, Coke, and bay leaves around the pork.
  • Cover and cook on low heat for 8-10 hours or on high for 5-6 hours. It's done when the meat falls apart.
  • Remove pork and shred with two forks. Save the liquid.
  • To crisp, heat 1 tablespoon of oil in a non-stick pan or cast-iron skillet over high heat. When the pan is hot, add pork shreds and sear until it starts to crisp. Add 1/2 cup of liquid from the slow cooker. Continue cooking until the juices begin to reduce down and the meat is crispy.
Blog

Orzo Salad

Jump to Recipe

Every year, the extended family gets together for Christmas. We catch up on our lives, steal gifts during the no-so white elephant exchange (I ended up with olive oils…love it! My husband walked away with a Starbucks gift card, which I immediately stole.), and eat lots of yummy food. My nephew (my husband’s cousin’s son?) made these amazing appetizers with crostini, whipped cream cheese (I think), and smoked trout. Oh my god…they were awesome. I really want the recipe, but he probably just threw it all together because he’s that type of guy.

My dish wasn’t anywhere near as fancy, but I think it was respectable, reliable, and recommended. At least, I recommend it! The beauty of this recipe is that you can adjust it to suit your needs. If you want to add more goodies, don’t hold back. If you don’t like garbanzo beans, leave them out and use your favorite bean instead. Don’t like cucumber? Use zucchini. You get the idea.

Thank you to the Food Network for sharing this recipe. I followed the recipe closely, but next time, I’m going to try adding more goodies. The secret ingredient has to be the chopped walnuts. Completely unexpected, but memorable, giving the salad an extra crunch. In second place, the salty feta cheese closely followed by the fresh mint.

The dressing is pretty easy and is your basic vinaigrette. You can really use this dressing in any pasta or green salad. Instead of vinegar, you use lemon, which gives an extra boost of freshness.

There’s a lot of chopping involved, but it’s a good excuse to nibble on some veggies. Dice up red pepper and English cucumber, taking care to make equal, bite-sized pieces.

Finely chop red onion. Combine with garbanzo beans (aka chickpeas), which really adds a good texture to the salad so if you don’t like them, please use another type of bean. Cut some Kalamata olives in half, which along with the feta that you’ll add at the end, gives a saltiness that balances out the tangy salad dressing. Add walnuts, fresh mint, and fresh parsley. I questioned the walnuts, but as I mentioned earlier, they are surprisingly magical. I would say that you could use dried parsley if you want, but don’t skip the fresh mint. Dried mint isn’t the same.

Except for the feta, mix everything together while the orzo is still hot so that it absorbs the dressing. Add a little more olive oil if it’s too dry for you, but I found the mixture to be perfect. Make sure to sample it and add salt to taste. I also added some freshly ground pepper although the recipe didn’t call for it. Chill and add the feta when you know it won’t melt, which would be a bad thing.

What I like about this salad is that it’s perfect for both a side dish for dinner and potlucks: makes a lot, travels well, is good at room temperature, and doesn’t go bad from sitting out. It’s also relatively easy to make while still being impressive. The colors make it look attractive and fresh. Even better…you can make this salad the day before and it will taste even better than the day of.

Orzo Salad

Orzo Salad

Servings 8 cups

Ingredients
  

For dressing:

  • 2 teaspoons lemon zest
  • 6 tablespoons lemon juice freshly squeezed
  • 1 clove garlic grated
  • 1/2 cup extra-virgin olive oil
  • 2 teaspoons kosher salt
  • 1 teaspoon black pepper

For salad:

  • 1 large red bell pepper diced
  • 1 1/2 cups English cucumber pulp scooped out and discarded, diced
  • 3/4 cup red onion finely chopped
  • 15.5 ounces garbanzo beans (chickpeas) drained and rinsed
  • 1 cup pitted Kalamata olives halved
  • 1 cup walnuts roughly chopped
  • 1/4 cup fresh mint finely chopped
  • 3 tablespoons fresh Italian flat-leaf parsley finely chopped
  • kosher salt and freshly ground black pepper to taste
  • 1 pound dried orzo
  • 6 ounces Greek feta crumbled

Instructions
 

  • In a small mixing bowl, whisk together the lemon zest and juice, garlic, olive oil, salt and pepper. Set the dressing aside.
  • Combine the red bell pepper, cucumber, onion, chickpeas, olives, walnuts, mint, and parsley in a large mixing bowl.
  • Meanwhile, bring a large pot of water to a boil. Stir in 3 tablespoons of salt and a small splash of olive oil. Add the orzo and cook for 7 to 9 minutes, or according to the directions on the package. Drain the orzo in a colander, then add it to the vegetable mixture while the orzo is still hot. Immediately pour the dressing onto the orzo and vegetables, and stir to combine. The hot orzo will readily absorb the dressing.
  • Season with salt and pepper to taste. Add a splash more olive oil if the salad seems too dry. Allow the salad to cool to room temperature, and then add the feta. Cover and refrigerate for 1 to 2 hours. You can also make this the day before.
Blog

Chicken and Wild Rice Soup

Jump to Recipe

After reading an article about wild rice, my husband asked me if I could cook some wild rice for dinner. I completely jumped on the opportunity. You see, as much as I adore my husband, he’s not a foodie. He likes his steak. He likes tasty food. But he would be just as satisfied if he could skip the whole eating process. It takes away from his (gaming) hobbies whereas eating and making food is my hobby. So when he asked for wild rice, I was pretty excited.

I searched high and low for a tasty wild rice recipe. I was inspired by the weather. It’s been rainy and cold so therefore, soup weather. I decided on a soup recipe from Food and Wine. I stuck to the recipe, but if I had to do it over again, I’d leave out the cream. Don’t get me wrong, the cream makes it…creamy (duh). But apparently some of us do not like creamy soups except for clam chowder. And maybe potato and leek. Whatever. Let’s just leave it at that.

First, let’s talk about wild rice. What the heck is it exactly? Wild rice is a grain and distant cousin to white and brown rice. Like other rices, wild rice is the seed from a type of grass grown in Asian and the US, but not the same grass of other rices. It’s more common in the US and pretty healthy for you. High in fiber and protein. Full of antioxidants. That sort of thing. It’s nutty and chewy so seriously, it does feel like you’re eating a superfood.

To make this recipe, I needed 4 cups of cooked chicken. You can use a rotisserie chicken or any leftover chicken, but I didn’t have any so I cubed two large chicken breasts, seasoned them with salt and pepper, and cooked them until they were no longer opaque. I didn’t want to cook it beyond that because I knew they’d continue to cook in the soup and my family is adverse to dried out chicken. So picky.

While the chicken is cooking, I chopped my veggies. It’s important that your carrots and celery are the same thickness, about a 1/2 inch.

In a dutch oven, I melted butter and then added the veggies and seasonings.

Stir it until everything’s starting to soften, but not too much. You want the carrots to be barely tender or they’ll end up mushy at the end. Note that you will be cooking this soup for another 45 minutes. Add flour and cook for another 3 minutes. Add rice and stock. After boiling, bring it down to a simmer and let it do its thing for 30 minutes.

Your veggies will continue to soften and your rice will begin to cook. Add chicken and let it simmer for 15 minutes until the wild rice is tender. If you’ve never had wild rice before, here’s a tip. It won’t be as tender as other rice, but chewy and you can bite through it. At the very end (or not), stir in the cream. Add some salt and pepper, and then serve. This is a really hearty soup that will fill you up and not leave you hungry.

Chicken and Wild Rice Soup

Chicken and Wild Rice Soup

Servings 8

Ingredients
  

  • 4 tablespoons butter
  • 3 celery stalks cut into 1/2-inch pieces
  • 2 carrots cut into 1/2-inch pieces
  • 1 medium onion chopped
  • 2 cloves garlic minced
  • 1 1/2 teaspoons thyme finely chopped
  • salt and pepper
  • 1/4 cup all-purpose flour
  • 5 ounces wild rice about 1 cup
  • 2 quarts chicken stock
  • 2 cups water
  • 4 cups cooked chicken cut into bite-size pieces
  • 1 cup heavy cream optional

Instructions
 

  • In a dutch oven (or large saucepan), melt the butter. Add the celery, carrots, onion, garlic, thyme and a generous pinch of salt and pepper. Cook over moderate heat, stirring occasionally, until the vegetables just start to soften, about 10 minutes. Sprinkle the flour over the vegetables and cook, stirring, until evenly coated and lightly browned, about 3 minutes.
  • Add the wild rice to the saucepan and gradually stir in the stock and water. Bring to a boil, and then simmer over moderately low heat, stirring occasionally, until the vegetables are tender, about 30 minutes.
  • Add the chicken and simmer, stirring occasionally, until the wild rice is tender, 10 to 15 minutes longer. Stir in the cream (optional – if you want a creamy soup) and season with salt and pepper. Ladle the soup into bowls and serve.
Blog

Creamy Steak Fettuccine

Jump to Recipe

The method to my madness is to blog the recipes I’ve tried that have had relative success. Some do flop. I haven’t any of those lately, thank god. Some are loved by one, but not the other. But this one got two thumbs up. I suspect it’s because steak is always a welcomed favorite in this household, especially after soooo many chicken dishes. What can I say? I like chicken.

I didn’t change up the recipe too much so let’s give credit to Delish. They have reliable recipes and great videos so I like their recipes a lot.

First, boil a pot of water. Add salt like it’s the sea. Do not add oil to prevent the noodles from sticking. This also prevents your sauce from sticking, which is not a good thing. Throw your pasta in and let it do its thing.

While this is going on, work on your sirloin steak. Season it well with salt and pepper. Don’t be afraid to use plenty of salt. I know…between the pasta water and the steak, you would think you’re going to do some serious damage, but unless you’re on a salt-restrictive diet, you can handle this. Mine practically has a crust on it and you’ll notice the payoff. It takes steak up a notch. If you are really uncomfortable with this much salt, skip it.

Cook the steak for about 4 minutes on each side for medium rare. You can cook it longer if you want it completely dead, but I’m sort of opinionated about the doneness of my steak. It should be somewhere between mooing and pink. I would have sliced this to show you, but the steak was still resting (it was exhausted!), which is really important. Never slice into a steak for at least 5-10 minutes after you’re done cooking it. Some magical science happens here. Letting it sit allows it to continue to cook slightly and prevents the steak from oozing every where. Don’t I have a way with words? But that’s really the truth of it. If you complain of bloody steaks, it’s because it didn’t rest before you cut into it.

While the steak is resting, work on your sauce. The seasonings are pretty simple: Parmesan cheese, parsley, salt, and pepper. I used fresh parsley, but dried works too. The recipe calls for freshly grated cheese, which is always best, but you can use the pre-grated stuff form the store.

Half your cherry tomatoes. I used both red and yellow, but it’s up to you.

I have to be honest. I’m a little intimated by sauces. I’ve never made an alfredo sauce from scratch. I like my trusty friend, Rao’s alfredo sauce from a jar. But for purposes of this recipe, we’re going to be brave. Take charge. Melt your butter, add some garlic, whisk in some flour, pour in the milk, and tell it who’s boss. Simmer for about 5 minutes. It will thicken. Add your plate of seasonings, and then add the halved tomatoes.

It’s sort of hard to gauge by the picture, but I tried to show how thick your sauce should be. The tomatoes don’t sink to the bottom. There’s substance. Not to thin, not too thick.

Add your cooked pasta and then spinach. Toss until the spinach is wilted. To be honest, with the spinach and tomatoes, it’s practically a salad, right?

Don’t get too frustrated with the spinach. Four cups seems like a lot, but it’s just the right amount. It took longer to wilt than I liked so this was really testing my patience. Putting a lid on it will help a lot.

Pile it on a plate, top with sliced steak (note doneness), and drizzle a little balsamic vinegar if you have some. It makes for a colorful plate that will impress your family, causing them to think you are some sort of gourmet chef. I’m ok with that.

Creamy Steak Fettuccine

Creamy Steak Fettuccine

Servings 6

Ingredients
  

  • 12 ounces fettuccine
  • 1 pound sirloin steak
  • 2 tablespoons extra virgin olive oil
  • Kosher salt and pepper to season steak
  • 2 tablespoon butter
  • 2 cloves garlic minced
  • 2 tablespoon all-purpose flour
  • 2 cups milk
  • 1 tablespoon freshly chopped parsley
  • 1/2 cup freshly grated Parmesan cheese
  • 1 teaspoon Kosher salt
  • 1/2 teaspoon pepper
  • 1 1/2 cups cherry tomatoes halved
  • 4 cups baby spinach
  • Balsamic vinegar

Instructions
 

  • In a large pot of salted boiling water, cook pasta according to package directions until al dente. Drain and set aside.
  • Coat both sides of steak with oil and season generously with salt and pepper. In a large skillet over medium-high heat, cook steak until your desired doneness, 4 minutes per side for medium rare. Transfer to a plate to let rest, 10 minutes, and then thinly slice.
  • Meanwhile, make alfredo sauce: Add butter to skillet and let melt. Add garlic and cook until fragrant, 1 minute. Whisk in flour and cook 1 minute more. Add milk and simmer until thickened, 5 minutes. Add parsley, Parmesan, salt, and pepper. Add tomatoes and cook down 2 minutes.
  • Add cooked pasta to sauce and toss until coated. Then, add spinach and toss until wilted.
  • Top with sliced steak and drizzle with balsamic vinegar.
Blog

Creamy Garlic Chicken and Rice

Jump to Recipe

If you are looking for a one-pan, easy weeknight dinner, look no further. This is the one. It comes from Tbps., but with a couple minor adjustments.

So first off, I was skeptical. How would the rice cook in time without overcooking the chicken? It all works, but I would try a few things differently in the future. Keep reading.

The recipe calls for chicken breasts. While this works fine, 33% of this household (1 out of 3 people…ha ha!) thought the chicken was dried out. 66% disagreed. Just to test the difference, I’d like to make this again using skinless, boneless chicken thighs, my current favorite cut of chicken. Regardless of what you use, you need a pound of chicken cut into chunks seasoned well with garlic powder, salt, and pepper.

The recipe calls for cooking it until browned. I cooked it just under that in the hopes the chicken would not be overcooked in the end.

Throw in your rice and broth. After reaching to a boil, simmer for 20 minutes. Mine wasn’t ready. Too much liquid.

So I cooked it for another 5 minutes. The liquid should be mostly gone and the rice should be tender. The rice will continue to absorb the liquid so aim for what’s shown below.

Next, add the spinach. Make sure you’ve turned off the heat and removed the pan from the burner. You just want the spinach to wilt slightly. Don’t worry if you barely have enough room. In fact, I think it could use more spinach!

Mix it all up and stir in some cream. If you’re like me and never have cream around, milk works fine too. Dinner is served!

Creamy Garlic Chicken and Rice

Creamy Garlic Chicken and Rice

Servings 4

Ingredients
  

  • 1 pound boneless, skinless chicken breasts or thighs cut into chunks
  • 1 teaspoon garlic powder
  • 1/2 teaspoon salt
  • 1/2 teaspoon black pepper
  • 1 tablespoon olive oil
  • 1 clove garlic minced
  • 3/4 cup white rice
  • 2 1/2 cups chicken broth
  • 2 cups baby spinach
  • 2 tablespoons heavy cream or milk

Instructions
 

  • Toss the chicken with garlic powder, salt, and pepper. Heat olive oil in a 10-inch skillet over medium heat. Add chicken breast and cook for about 3 minutes until it's no longer pink on all sides. Add garlic to skillet and cook for 30 seconds more.
  • Stir in rice and chicken broth. Bring to a boil, reduce to a simmer, and cover. Cook for 20-25 minutes, stirring occasionally, until liquid is absorbed.
  • Remove pan from heat and place baby spinach on top of the rice. Cover and let sit for 5 minutes.
  • Remove lid and stir well. Stir in cream or milk, and serve.