Blog

Pork Udon Noodles

Jump to Recipe

I’m not good at making Asian food. There. I said it. Maybe it’s not that I’m terrible at it, but for example, take-out is so good. How can I compete? It’s tasty and inexpensive. But I’m determined to win and this time, I’m making a Japanese noodle dish. Here’s my attempt and while I still have a ways to go, this ended up being a really easy weeknight dinner with plenty of leftovers.

I found a promising recipe on Bon Appétit. In general, Bon Appétit has very good, reliable recipes so I trust them. I did change the recipe. I couldn’t find instant udon noodles and I ran out of fresh ginger so I had to adapt a little. I also made it less spicy because of the boys. I made a few other changes, like used more sesame oil and low-sodium soy sauce. If I had to do it over again, I would have used fresh ginger and your standard soy sauce.

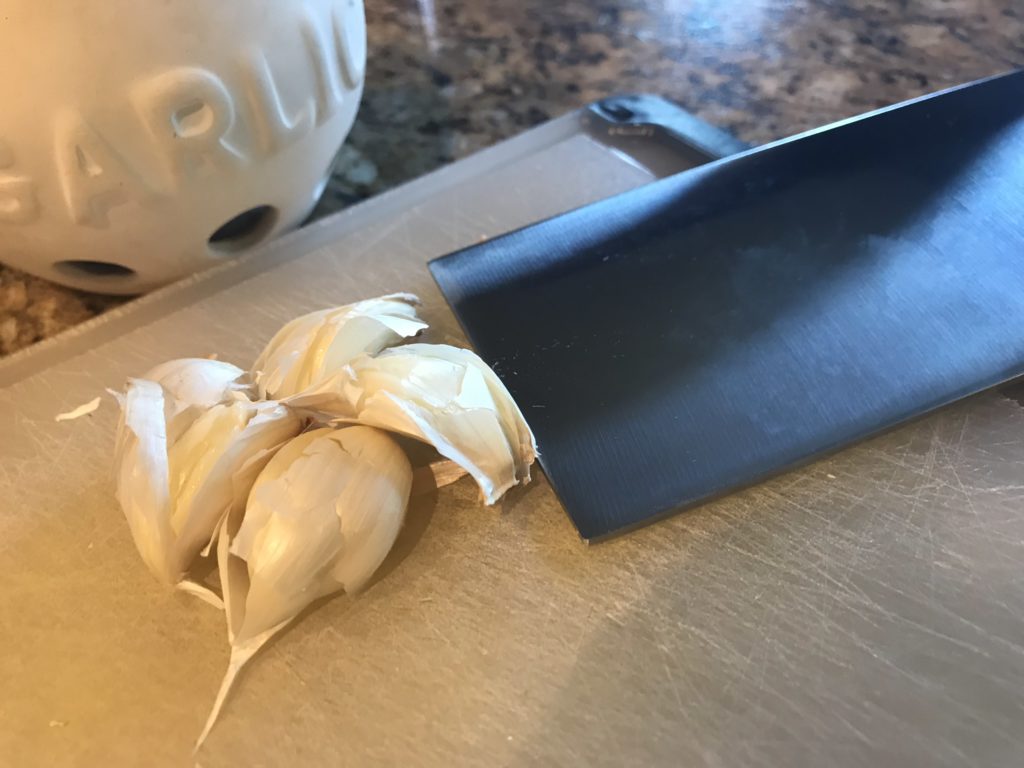
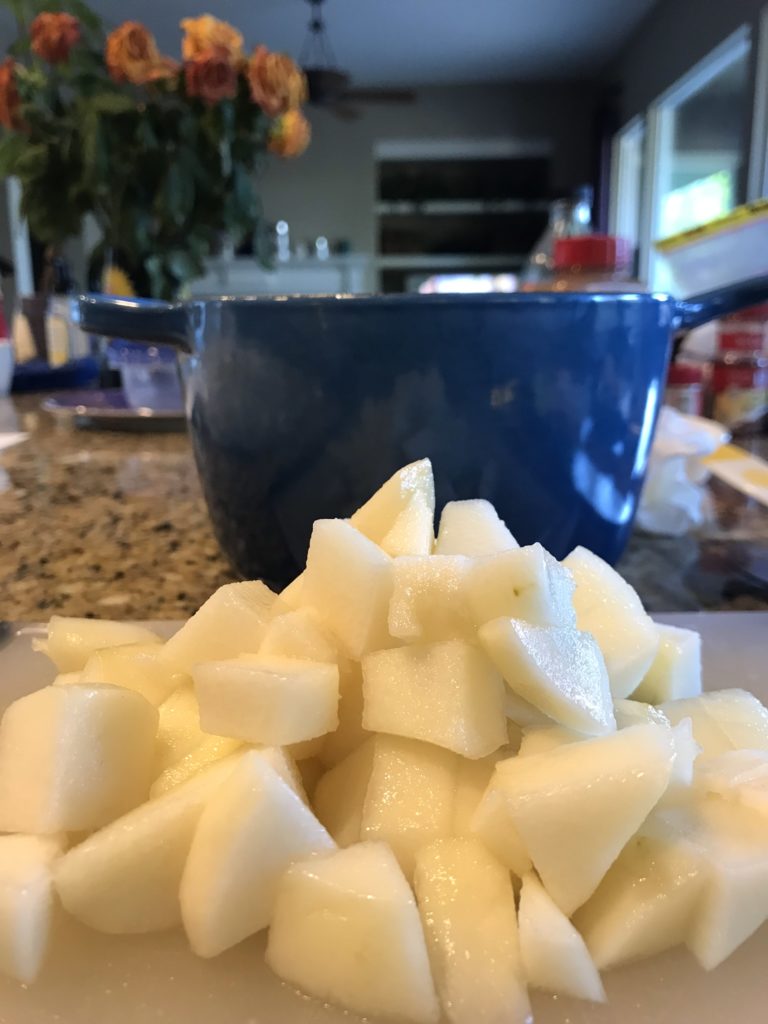
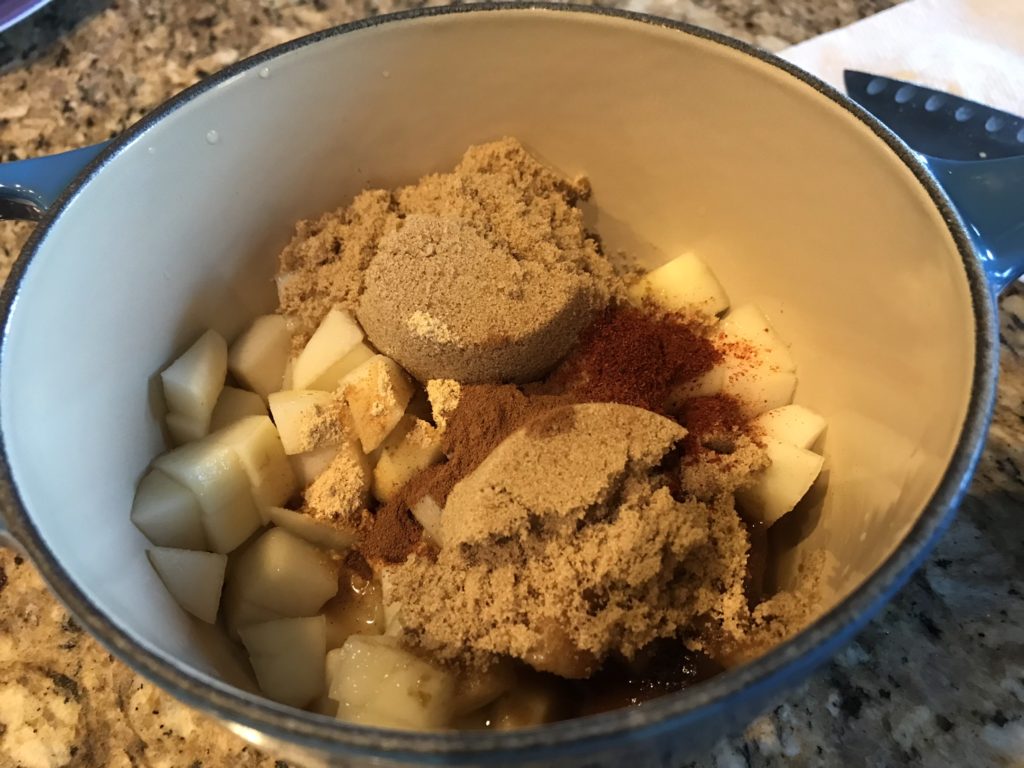
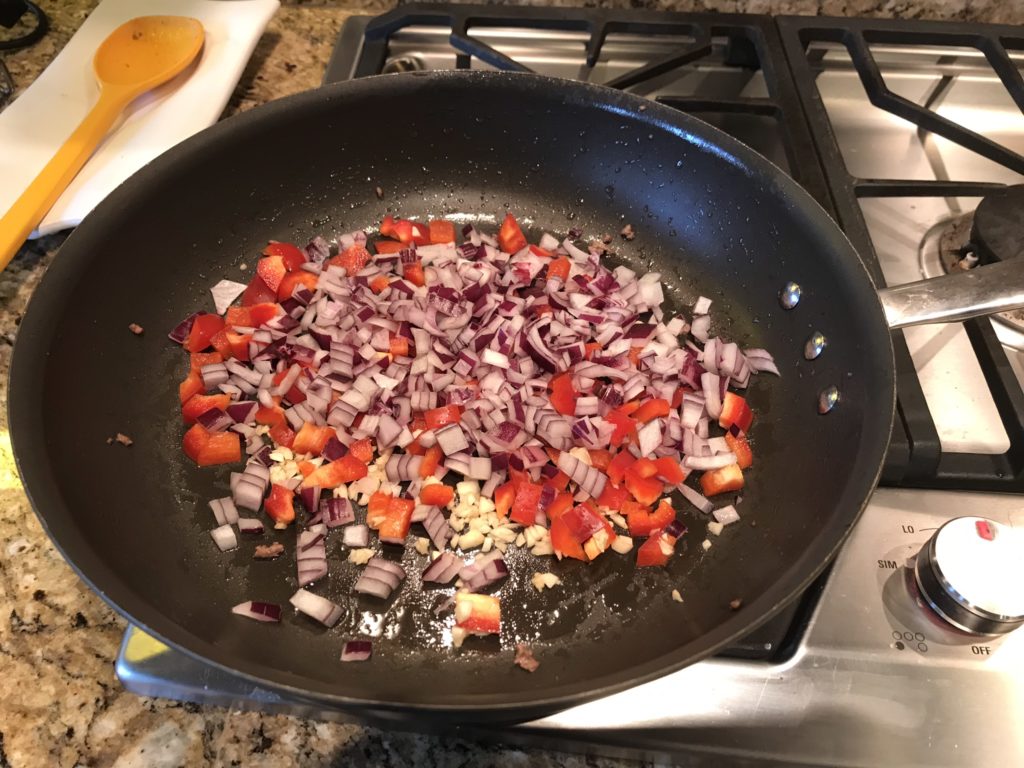
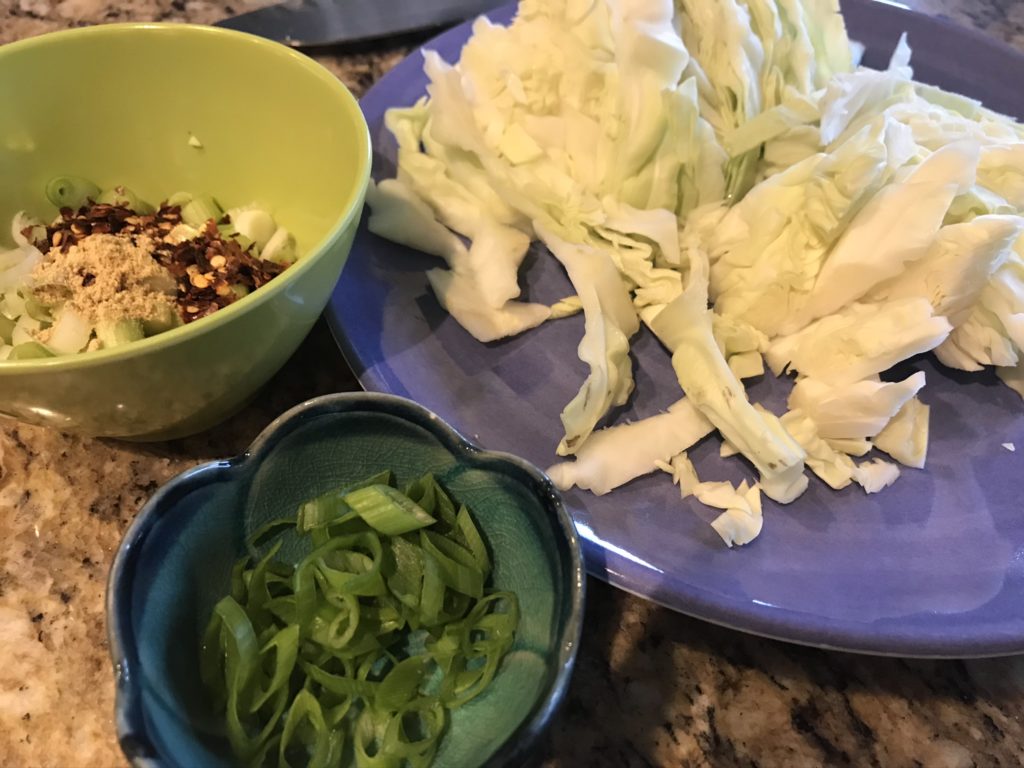
I like to prep everything beforehand so I can easily dump ingredients into the pan. For this recipe, slice up some cabbage and green onions. Be sure to separate out the pale and dark parts of the green onion. Stage your white/pale-green onion, ginger, and red pepper flakes in one bowl. Dark green onion parts go in another bowl.

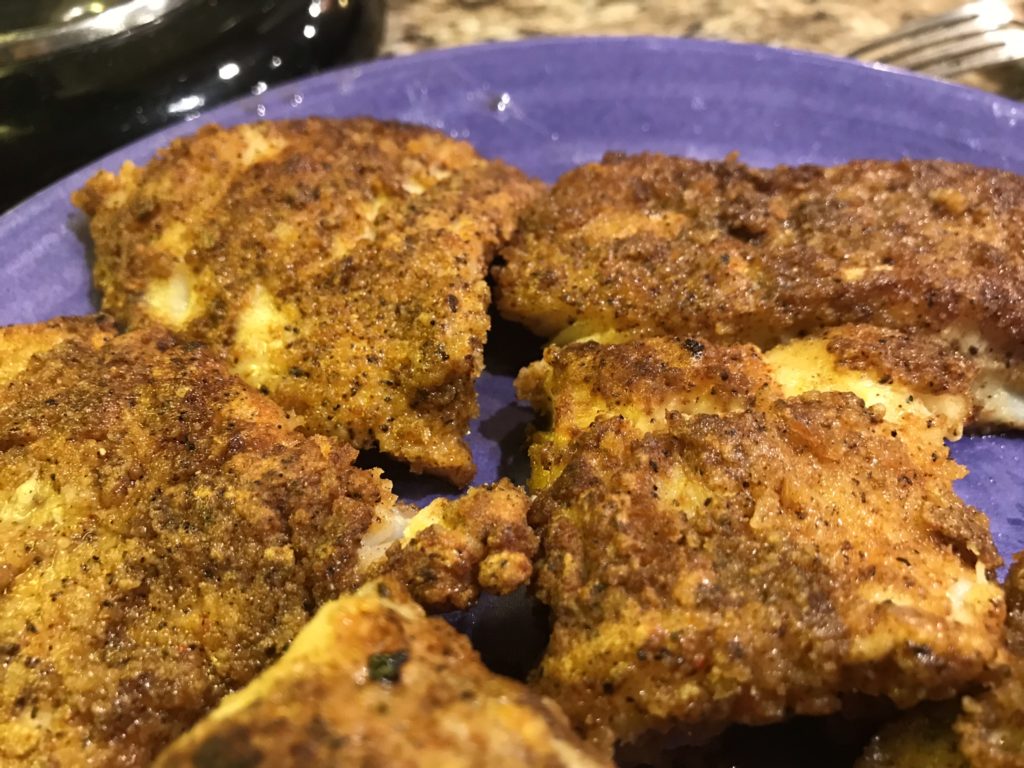
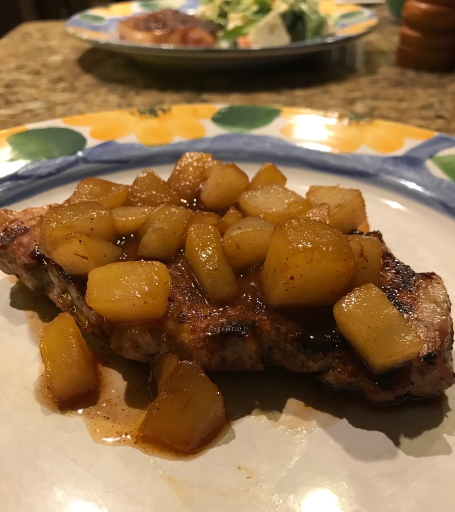
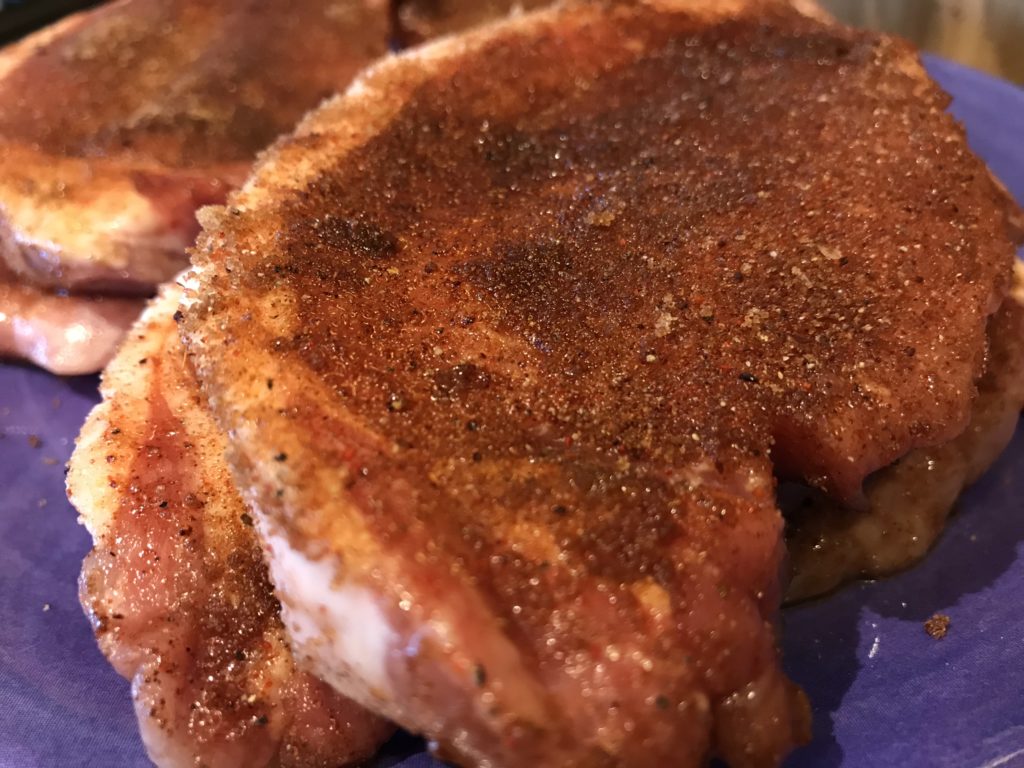
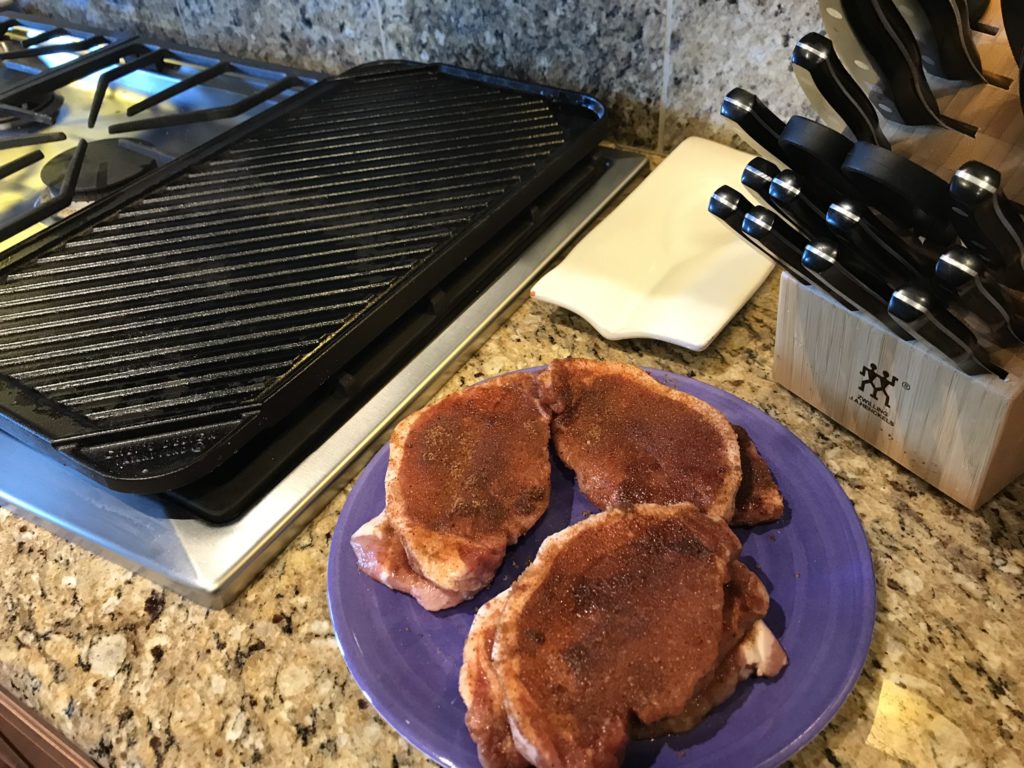
One reason why I like Bon Appétit is that they give you advice in the directions. In this recipe they remind you not to touch the pork so it browns. “The pork will never brown if you’re fussing with it the whole time, so when we say ‘undisturbed,’ that means keep your paws off it and let the heat of the pan and the pork do their thing.” You can’t tell here, but the underside is browned. I swear. I should have taken a picture. Ok, it could have browned a little longer.

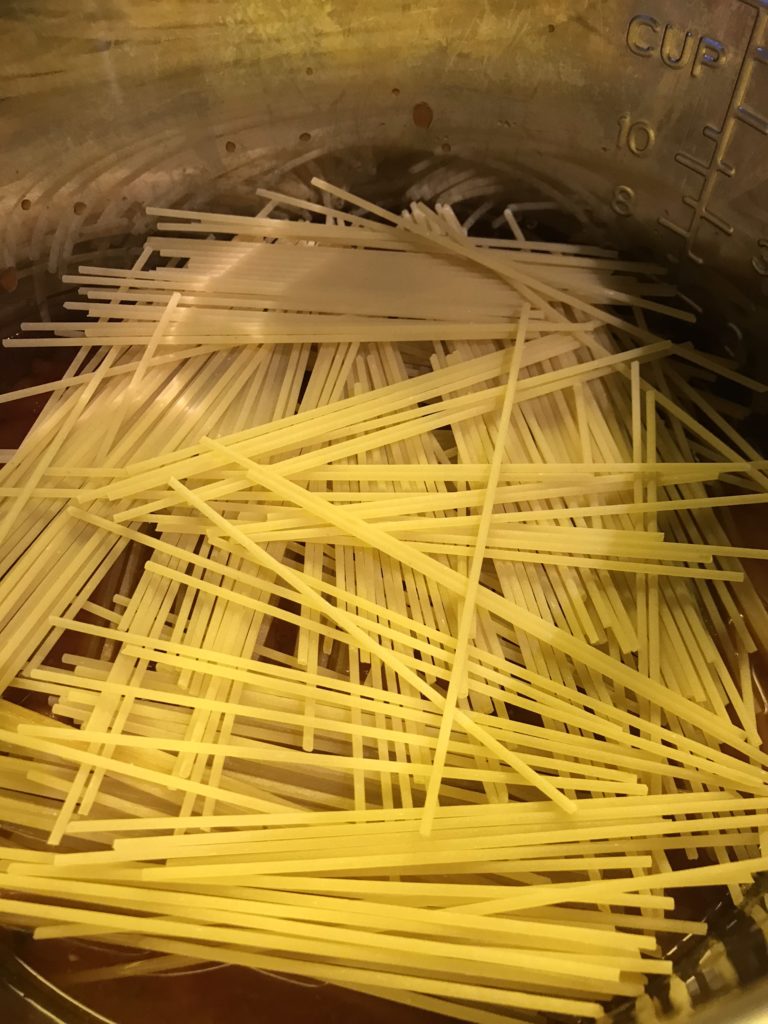
While the meat is browning, I boiled 9.5 ounces of udon noodles according to the package. The original recipe calls for 14 ounces so in my version you end up with a higher meat to noodle ratio, which is fine by me. I have no idea where to buy instant udon noodles. I found a surplus of ramen noodles, but not udon. The ones I chose cook in 4 minutes and I was happy with them.

I used mirin, which is an ingredient that I’m not entirely familiar with, and is often used in Japanese cooking. It’s a slightly sweet Japanese cooking wine made from rice and is similar to sake with a lot less alcohol. Bon Appétit has an informative article about what it is and what to do if you can’t find it.

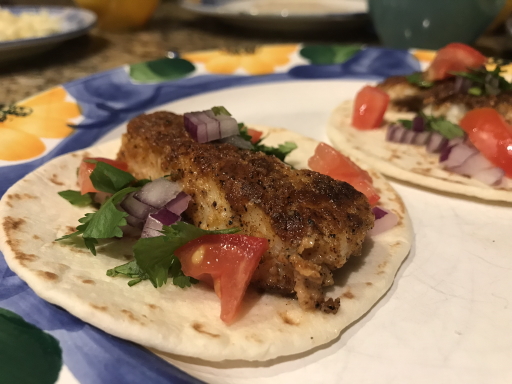
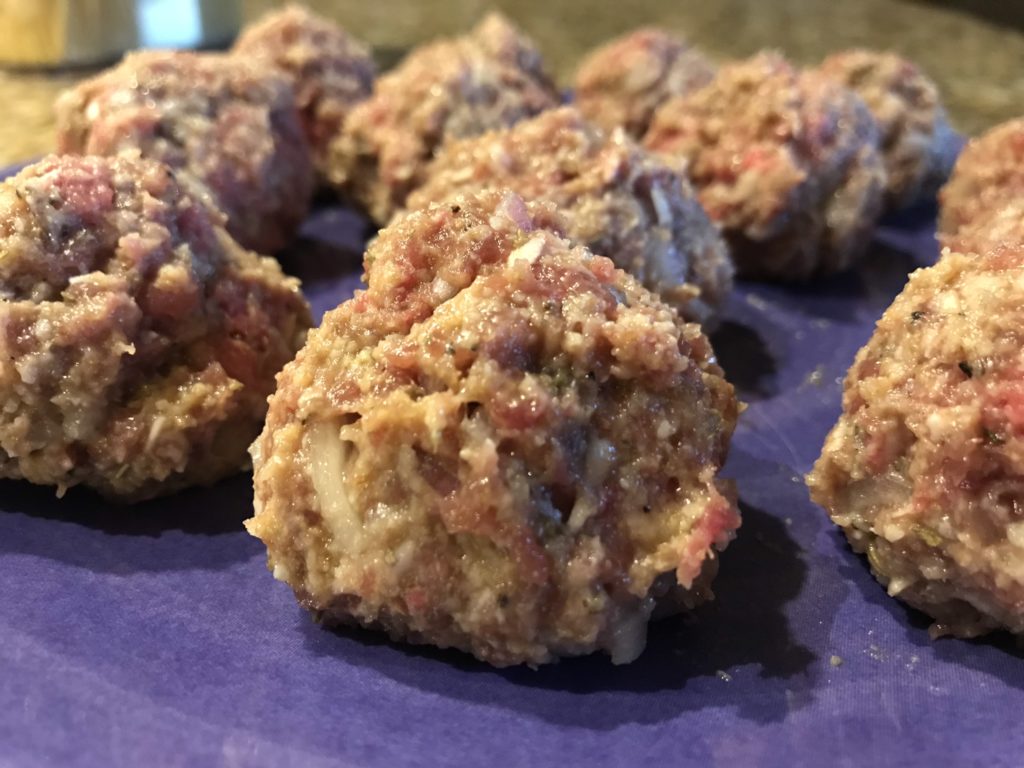
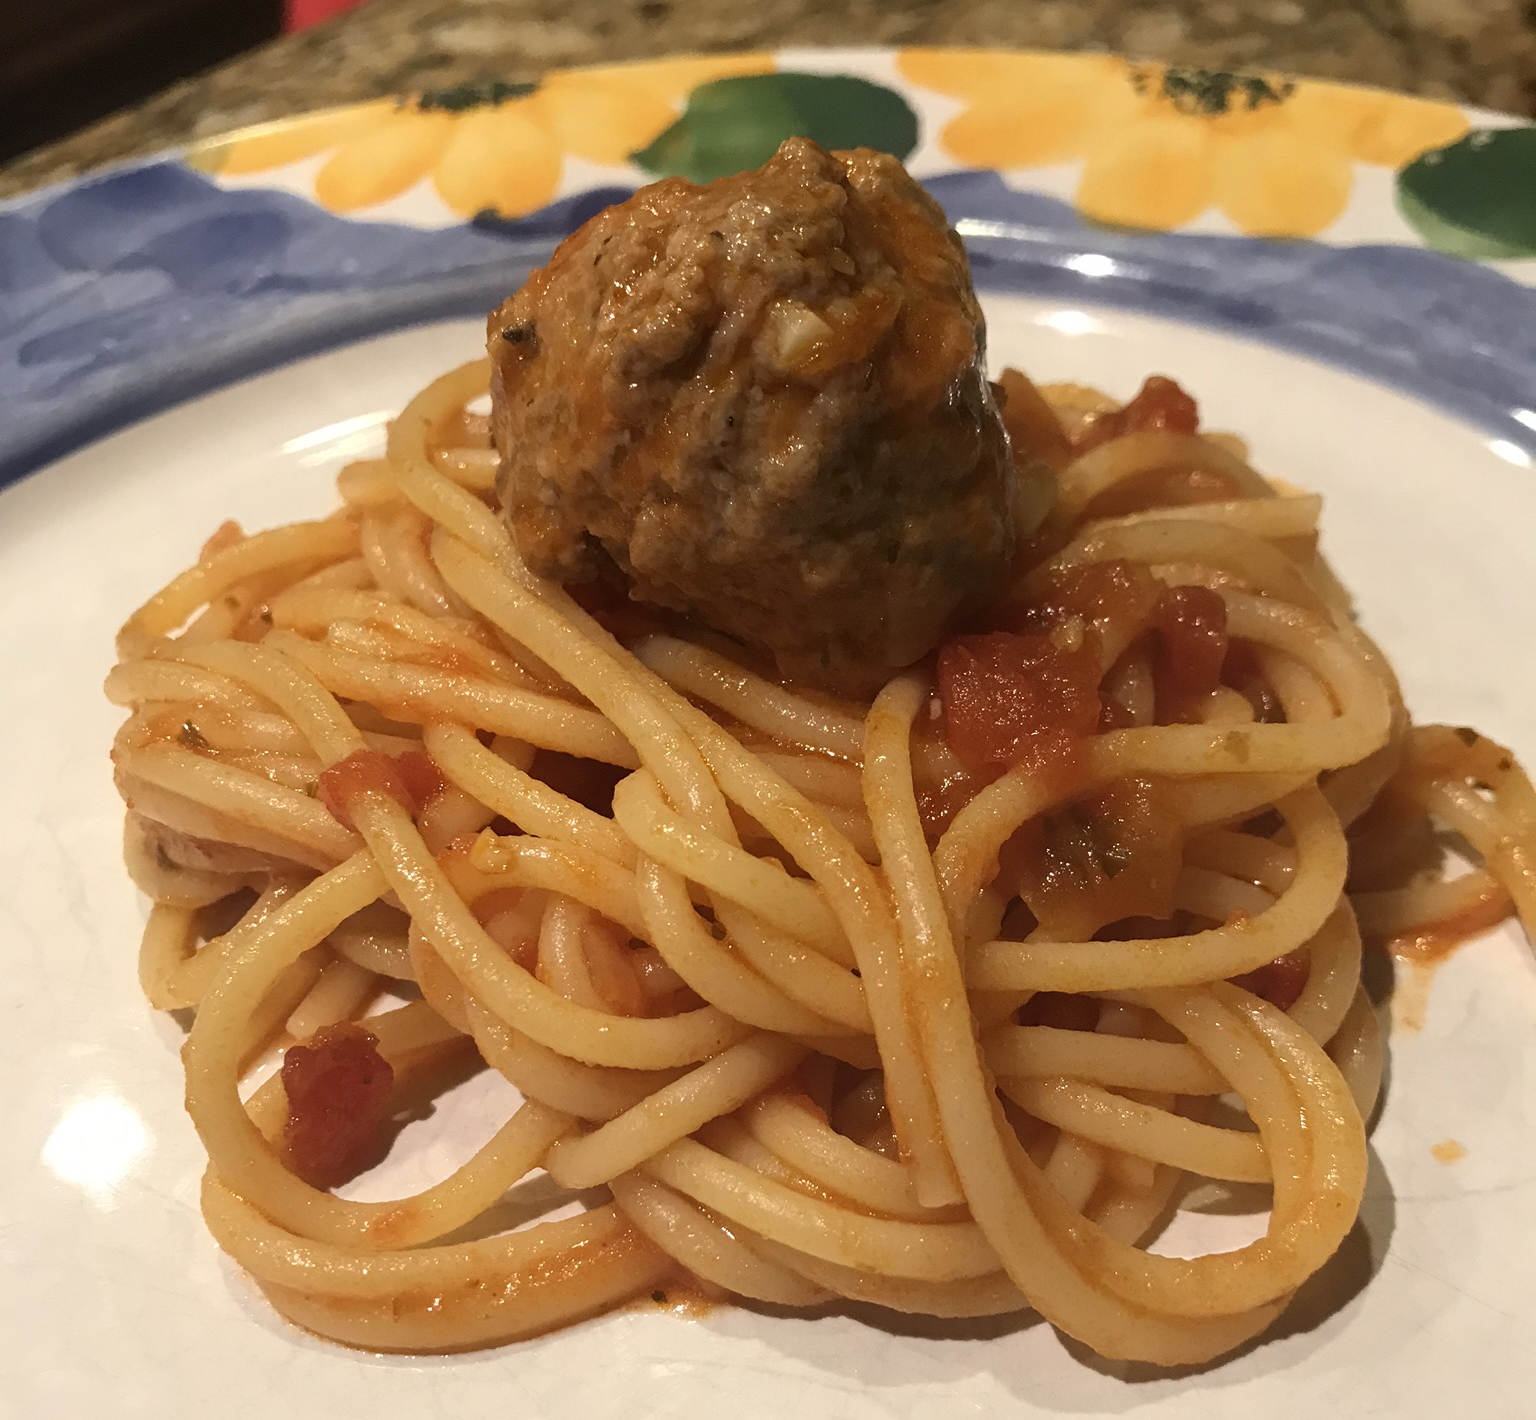
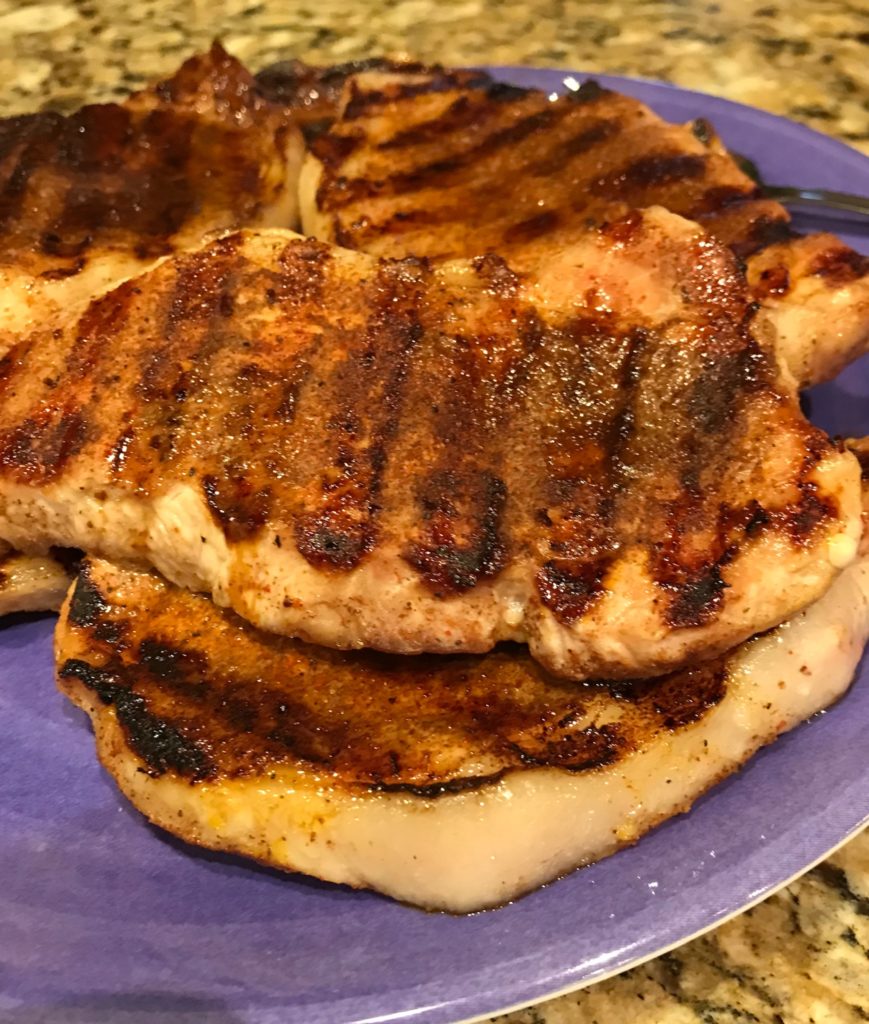
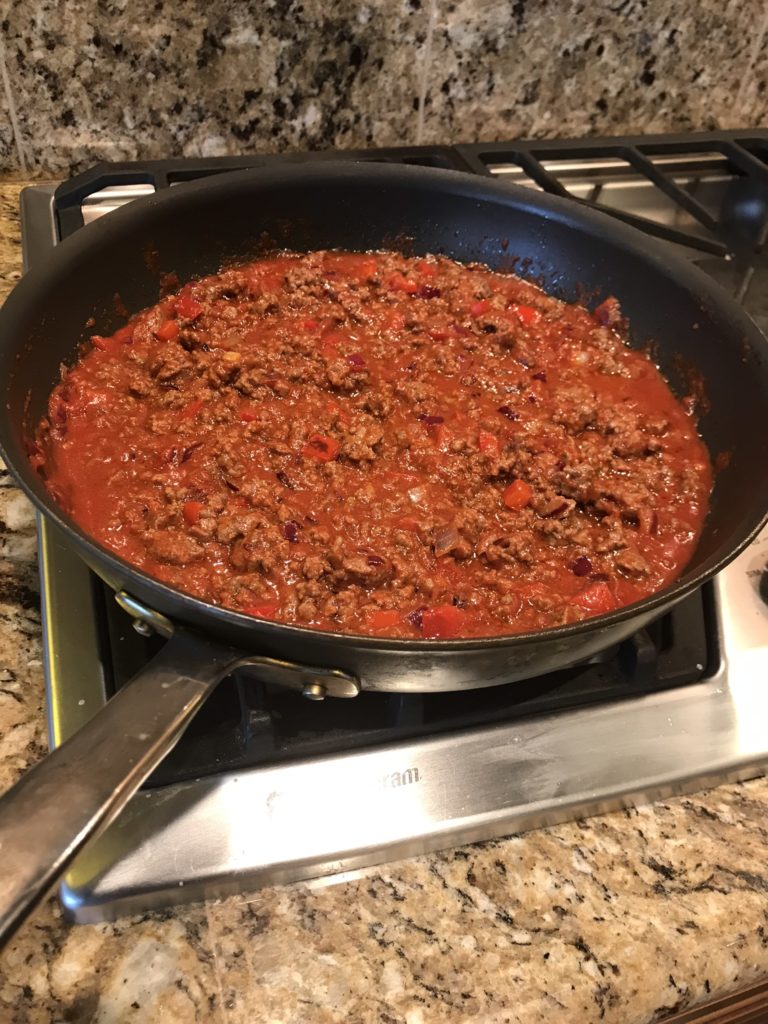
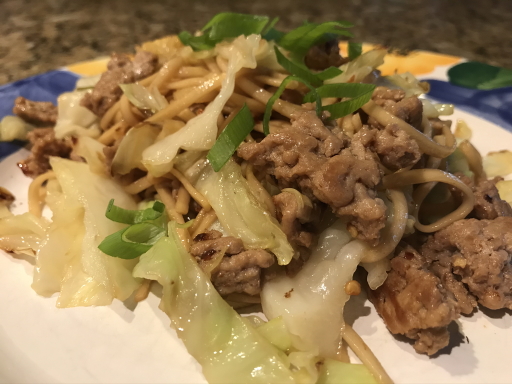
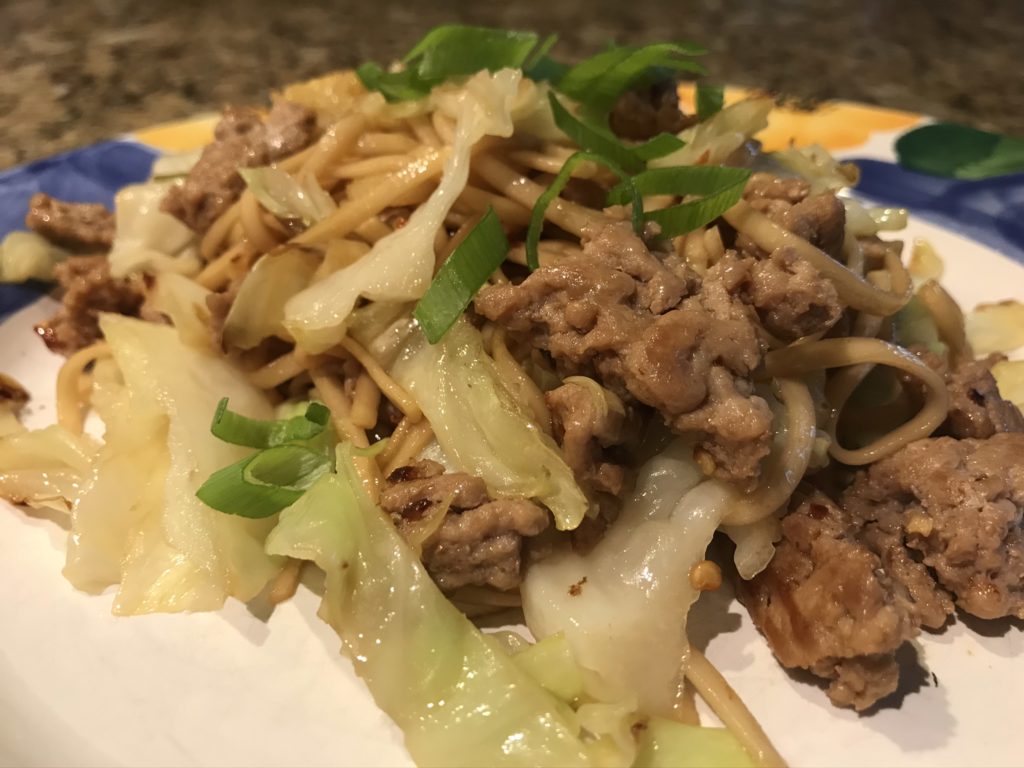
When you’re done, you end up with something like this. It was really simple to make and got two thumbs up.

Pork Udon Noodles

Pork Udon Noodles

Servings 4

Ingredients
  

  • 2 tablespoons vegetable oil divided
  • 4 cups green cabbage coarsely chopped
  • 9.5 ounces udon noodles
  • 3 teaspoons sesame oil
  • 10 ounces ground pork
  • 5 green onions green and pale parts separated
  • 1/2 teaspoon ground ginger
  • 1/2 teaspoon red pepper flakes
  • 1/3 cup mirin
  • 1/3 cup soy sauce low sodium

Instructions
 

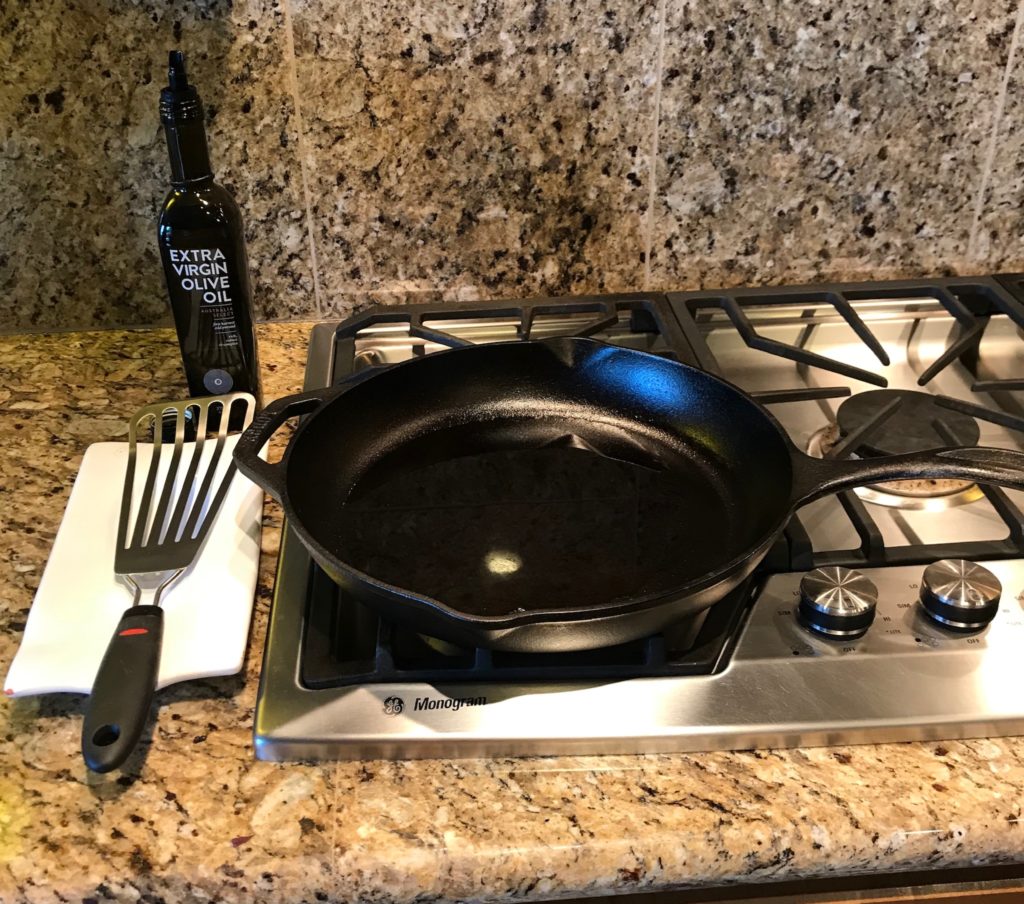
  • Heat 1 tablespoon of vegetable oil in a large skillet over medium-high heat. Add cabbage and cook, tossing often, until edges are browned, about 4 minutes. Reduce heat to low and continue to cook, tossing often, until thickest parts of cabbage leaves are tender, about 4 minutes longer. Remove from pan and place on a separate plate. Set aside.
  • Heat remaining tablespoon of vegetable oil in same skillet over medium-high heat. Add pork, breaking up and spreading across surface of pan with a spatula or tongs. Cook pork, undisturbed, until underside is brown, about 3 minutes. When pork is browned, break up meat into small bits. Cook, tossing, just until there’s no more pink, about 1 minute.
  • While the meat is browning (and you're not touching it), boil udon noodles according to the package. Drain in a colander. Transfer noodles to a bowl and toss with sesame oil.
  • To your meat mixture, add the pale parts of the chopped green onions, ginger, and red pepper. Continue to cook, tossing often, until green onions are softened and the bottom of skillet is starting to brown, about 1 minute.
  • Add cabbage, udon noodles, mirin, and soy sauce. Cook, tossing constantly, until noodles are coated in sauce (be sure to scrape bottom of skillet to dissolve any browned bits), about 45 seconds.
  • Remove from heat. Top with dark-green parts of scallions and serve.
Blog

Fish Tacos

Jump to Recipe

It’s been a difficult week and because of it, I’m posting only one recipe this weekend. Without going into the politics, PG&E cut power to over 700,000 households and we were one of them. Lucky us. So, yes, I could have cooked in the dark, pretended it was like camping, and roughed it. But frankly, I was not in the best mood so we went out to dinner instead. And again.

Two days later, the power was back on, but it took another two days to restore Internet and TV services. ARGH. In the meantime, I was busy throwing away half my fridge with all my food blog recipe ingredients. I have no idea how those off-the-grid people survive. Oh, wait, yes….they have a generator. We do not. Because we live in suburbs, not the country. Where the power should never go out for more than a few hours. Ok, calm down, Flora.

Enough of feeling sorry for myself. It’s time to treat myself to my favorite food: tacos.

Almost every Tuesday, we have tacos. I love tacos. No really. I’m not kidding when I say I love tacos. When I went to Houston in August, I ate tacos 4 days in a row. I still miss those tacos.

So as part of my recovery, I decided to make fish tacos. Yummy, slightly spicy, comforting tacos.

Here are the seasonings and breading. If you don’t like any crunch, use all flour instead of a panko blend. Later you’ll use an egg wash to get the breading to stick, but you can skip that too for a softer exterior. I wanted mine to have a slight crunch to mimic deep fried fish. This recipe is totally healthier than that.

I used cod, which is fairly reasonably priced compared to other fish, but you can use tilapia, which is a little cheaper, or upgrade to halibut. Any white fish will do.

To get the breading to stick, I like to use an egg wash, which is really just an egg whisked so the whites and yolks are mixed together. I also like to use tongs or a fork to dip the fish and then into the breading. It makes a lot less mess on your fingers. And if you have long nails, trust me when I say you do not want to use your hands.

The fish doesn’t need to be perfectly coated because they come out tasty no matter what, and you might want to break the fish apart in your taco anyway. Just make sure to shake off any excess breading. It’ll help prevent the breading from falling off your fish when you fry it.

If you haven’t already, buy yourself a cast-iron pan. You’ll use it over and over again for lots of recipes, like Cast Iron Pizza. Although non-stick pans and stainless steel serve their purpose, cast iron pans are durable, non-stick, and last forever. Just don’t drop it on your foot. They are incredibly heavy. Ouch.

Also invest in a fish spatula. It’s like your typical spatula but longer and curved, which makes it so much easier to flip stuff like fish, but it works on any meat, including chicken and beef. There’s nothing more frustrating than doing everything right, but not having the right equipment. It’s like using a bicycle when you really need a car. Or something like that.

When you heat up the olive oil, I like to put a timer on it. What seems like 3 minutes ends up being only 1 minute, and you really need to heat up the oil to the correct temperature so you don’t end up with soggy fish. I usually heat the oil on medium heat for about 3 minutes. Some say to look for a slight shimmering of the oil, but my eyes just don’t see that very well (no, I’m not old…just blind, apparently). Instead, I throw a bit of breading into the pan and if it sizzles, it’s ready.

Turn the temperature down slightly. I find that the pan continues to heat up, and I don’t want that or I’ll end up with burnt fish. Place one piece of fish in the pan. If it sizzles, the temperature is perfect. If it doesn’t wait another 30 seconds or so before adding the next piece.

When you add all your fish, make sure they aren’t touching. Overcrowding causes more moisture than you want so your fish ends up sauteing instead of frying. Resist the temptation to squeeze all your fish pieces into one pan. Just fry it in two batches instead.

Cook for about 3-5 minutes on each side. If it’s a steak or thicker cut, go for 4 or 5 minutes. If it’s a filet or thinner cut, go for 3 minutes. Whatever you do, do not poke and prod the fish. Let it cook. Flipping it over and over messes everything up. Trust me on this.

If you’ve followed these guidelines, your fish should not stick to the pan when you flip it. Carefully nudge your fish a little to check. If it’s stuck or doesn’t give freely, it’s not ready yet. Give it another 30 seconds to a minute. Those bread crumbs haven’t cooked enough to release from the pan. If you flip it too soon, you’ll end up with your breading stuck to the pan, not to your fish. When you flip it, the fish should look golden brown.

Place fish on tortillas and add your favorite toppings. Yum…happiness.

Fish Tacos

Fish Tacos

Servings 4

Ingredients
  

  • corn or flour tortillas your favorite size
  • 1 egg beaten
  • 1/4 cup all-purpose flour
  • 1/4 cup panko breadcrumbs
  • 2 teaspoons chili powder
  • 1 teaspoon kosher salt plus more for seasoning
  • 2 teaspoons ground black pepper plus more for seasoning
  • 1 pound skinless white fish such as cod, halibut, tilapia, etc.
  • 2 tablespoons olive oil
  • your favorite toppings: crema, sour cream, lime juice, red onions, shredded cabbage, cilantro, avocado, pico de gallo, salsa, hot sauce, etc.

Instructions
 

  • Whisk an egg in a small bowl. Set aside.
  • Stir together flour, panko, chili powder, salt, and pepper in a shallow bowl. Set aside.
  • Using tongs, a fork, or your fingers, dip fish into the egg wash and then coat with the flour mixture.
  • Heat the oil in a cast iron (or non-stick) pan over medium heat until the oil is shimmering. Add the fish to the pan without crowding the fish. Cook the fish for about 3 to 5 minutes until it's cooked halfway through the sides. The bottom should be golden brown and not stick to the pan. Wait another 30 seconds and check again before flipping.
  • Using a fish spatula, flip the fish over. Add more oil if the pan looks dry. Cook for another 3 to 5 minutes until it flakes.
  • Warm up the tortillas in a pan or microwave. Add fish to tortillas, breaking pieces apart if needed. Add toppings and serve.
Blog

Instant Pot Spaghetti and Meatballs

Jump to Recipe

I love my Instant Pot. Seriously. Yes, I also love my KitchenAid mixer, my grill pan, my Crock-Pot, my apple peeler/slicer/corer, etc. but I REALLY love my Instant Pot. I would have never attempted pressure cooking without it. I wouldn’t say using it cuts cooking time in half, but between the way it tenderizes tough cuts of meat and that it’s such a cool gadget, what’s not to love? It’s sort of magical. In goes something and out comes something else. It just makes life easier in so many ways.

Like spaghetti and meatballs. I’ve seen Instant Pot pasta recipes and many swear by them, but I wasn’t all that impressed. Boiling over the stove is still faster. But throw in meatballs and that’s a game changer.

Meatballs are time consuming. Working with raw meat that is best mixed up with your hands, but not too much or your meatballs will end up hard like golf balls. Forming a few dozen of them into perfect shaped balls. I’d rather be making cookies, frankly. Frying them in batches in a pan…ok, I did find this awesome Roasted Italian Meatball recipe by The Barefoot Contessa that is out of this world and cuts out the frying part. But it’s still a lot of work and sometimes I wonder if it’s worth it. Making a beef sauce is so much easier.

But there’s something about spaghetti and meatballs that reminds me of a simpler time.

On top of spaghetti,
All covered with cheese,
I lost my poor meatball
When somebody sneezed.

It rolled off the table
And onto the floor,
And then my poor meatball
Rolled right out the door

But I digress. Back to the Instant Pot. I’ve made Instant Pot pasta. I’ve made Instant Pot meatballs. Now I make them together.

I couldn’t find a recipe so I made up my own.

First, peel and mince your garlic. Let’s talk about peeling garlic. I know there are a million and one garlic peelers on the market, but you only need one. Your knife. I swear it’s true. I like using a cleaver, but any wide knife will do. Just vent your frustrations of the day by pressing down hard on each clove of garlic to smash it to smithereens. They’ll look like this and you’ll be able to easily peel the papery thin skins off the garlic with no trouble at all.

Add your minced garlic, shallots, egg, cheese, breadcrumbs, milk, and seasonings to a large bowl.

Let’s take a moment to talk about the shallot. I like shallots. In my opinion, they are underused. When you don’t want the sharpness of onions, use shallots, which are milder, sweeter, and are reminiscent of garlic. And one can never have too much garlic so shallots are a perfect compliment to garlic.

Add your ground meats (you’ll be using both ground beef and sausage). Mix it all up with your hands. No, you can’t get around that. All power to you if you use a cooking spoon or fork, but I never get the right results. Next, form into balls until you have about about a dozen. They might seem a little sticky, but that’s ok.

Pour the water and sauce in. If you like a thicker sauce, use more than a jar of sauce. Gently place your meatballs in your Instant Pot, without stacking them, but they can touch a little. The point is to make sure the meatballs are covered with liquid. Next, disregard the cardinal rule of making spaghetti: break the strands in half. I don’t know who made up this rule, but professional chefs on those cooking shows seem to frown on that. Whatever. Just listen to me. This won’t work unless the pasta is flat in the pot.

Add more water. And whatever you do, resist the temptation to stir! Seal the lid and cook. When it’s done, open it up and now you can stir.

What I like best about this recipe is that the mess is contained to one pot and you don’t need to babysit sauce, meatballs, and pasta. Dinner is served!

Instant Pot Spaghetti and Meatballs

Instant Pot Spaghetti and Meatballs

Servings 4

Ingredients
  

  • 1/2 shallot finely diced
  • 1 large egg beaten
  • 2 cloves garlic minced
  • 1/2 pound lean ground beef
  • 4 ounces uncooked ground Italian sausage
  • 1/4 cup Parmesan cheese finely grated
  • 1/2 cup dry breadcrumbs
  • 1/4 cup milk
  • 1 teaspoon kosher salt
  • 1 teaspoon Italian seasonings
  • 2 cups water divided
  • 24 ounces marinara pasta sauce
  • 8 ounces dry spaghetti
  • grated Parmesan cheese for serving

Instructions
 

  • Lightly beat an egg in a large bowl. Mince garlic cloves and grate Parmesan cheese. Add both to the bowl. Add breadcrumbs, milk, kosher salt, and Italian seasoning. Add the ground beef and sausage to the bowl. 
  • Gently mix with your hands until well combined. Form and shape into 12 meatballs (about 2 tablespoons each). Set aside. 
  • Add 1/2 cup of water and sauce to the pot. Stir to combine. Add meatballs to the bottom without stacking them and with minimal touching.
  • Break the spaghetti in half and spread them in two layers over the meatballs. Do not stir.
  • Pour the remaining 1 1/2 cups of water over the pasta. Remember not to stir.
  • Seal the Instant Pot. Set to cook on HIGH pressure for 8 minutes.
  • Open the pressure release valve (quick release) as soon as the 8 minutes are up. Open the pressure cooker and stir the spaghetti into the sauce. Serve with grated Parmesan cheese.
Blog

Grilled Pork Chops with Spiced Pears

Jump to Recipe

I love pork chops so when a good friend of mine passed on this recipe, I jumped at it. The recipe was super easy. You’ll find it on Favorite Family Recipes. I also found the recipe to be missing some key information so I’ll fill in the blanks for you.

This recipe calls for a lot of seasonings, which make the chops very flavorful. Don’t skip out on any of them. After you mix them up, be sure to taste to make sure they are to your liking. Add more salt if you don’t think it’s salty enough. Add more chili powder for more spice.

Then rub them over 1/2-inch thick chops. I wasn’t in the mood to get my fingers tinged with red chili powder. Instead, I spooned a heaping teaspoon over each side and rubbed it in with the back of my spoon. My trick seemed to work pretty well.

The original recipe called for grilling these outside, but once again, I was feeling lazy this particular evening so instead of running back and forth, or camping out over the hot BBQ, I used my nifty grill pan, which I love in every way possible. This was a present to myself and I don’t regret it for one single second. Except when I have to clean the damn thing. But that’s a story for another day.

While the chops are grilling, dice up some pears. I chose ones that were slightly under ripe because I didn’t want mushy pear sauce.

Add the pears to a saucepan, and add vinegar and spices. I found that this recipe makes an excessive amount of very tangy pear sauce. Just my opinion. Next time I’d use less vinegar and more brown sugar. Maybe a little less cinnamon too.

While all this pear saucing is going on, don’t forget about your chops. You need to flip them after 3 minutes and then 2 minutes on the other side. No one wants a tough, leathery pork chop. These turned out nicely with those grill marks I love to see. Yet another reason why the grill pan is a beautiful thing.

Spoon the pears sauce over your pork chop. The younger boy thought this was just wrong so feel to skip it if you aren’t into it.

Pretty easy for a weeknight dinner. The recipe below adds some crucial information about cook times and stuff.

Grilled Pork Chops with Spiced Pears

Grilled Pork Chops with Spiced Pear Sauce

Servings 8

Ingredients
  

Pork Rub

  • 1 1/2 pounds pork chops 1/2 inch thick, about 8-10 chops
  • 1/4 cup brown sugar packed
  • 1 tablespoon chili powder
  • 1 teaspoon cinnamon
  • 1 teaspoon garlic powder
  • kosher salt and freshly ground pepper to taste

Pear Sauce

  • 3 pears peeled and diced
  • 1/3 cup apple cider vinegar
  • 1 tablespoon water
  • 1/2 cup brown sugar packed
  • 1/2 teaspoon ground ginger
  • 1/2 teaspoon chili powder
  • 1/2 teaspoon cinnamon
  • kosher salt to taste

Instructions
 

Pork Chops

  • Mix together pork rub ingredients and taste. Coat each pork chop with the rub on each side.
  • Let the pork chops sit at room temperature for about 20 minutes before grilling.
  • Heat up grill pan to medium heat.
  • Grill on 3 minutes on one side. Flip. Grill for 2 minutes on the other side.
  • Remove from heat and let them rest for 5 minutes before serving.

Pear Sauce

  • Combine all ingredients for pear sauce in a small saucepan over medium heat.
  • Cook for about 12 minutes until pears are soft and the sauce has thickened slightly to coat pears.
  • Serve the pork chops with sauce spooned on top.
Blog

Strawberry Scones

Jump to Recipe

I have a minor cold. A tiny one. One that is so tiny that I’m trying to convince myself it’s really allergies. So what does one do on a Sunday morning when one is in denial? She makes scones, of course!

I haven’t made scones in years. I generally avoid sugar and carbs so scones are a big no, but when I mentioned these scones to my son, he asked me very nicely if I’d make them. I couldn’t say no.

I chose strawberries. They seem to be harder to find those firm, juicy strawberries from a month ago. Fall is here, but in California, it’s still sunny so strawberry season isn’t quite over. Let’s celebrate its last hurrah.

This recipe came from Belly Full. I am impressed with her video, which helped give me the confidence to try this recipe.

Some tips for you:

  • Purchase the best baking sheet you can afford, even if it means you can only afford one. Cheap sheets warp in a hot oven. I’ve even had one fling the food off. If you can’t afford a high quality one, consider getting one that’s a step down, but purchase two smaller ones. The bigger the pan, the more warp. There’s some science behind this that I’ll skip explaining.
  • Be sure to line a baking sheet with parchment paper NOT wax paper. They are two entirely different products.
  • Your hands are your friends. In other words, you don’t need a pastry blender to make these scones.
  • Make sure your butter is VERY cold. I would pull it out of the fridge right before you use it.

Sift your dry ingredients together and then add diced chilled butter. Squish it up with your hands until it looks like sand. Next, mix in diced strawberries until they are lightly coated.

Add half and half and mix until it’s just combined together. Don’t over mix or you’ll end up with tough scones. I usually stop right before I think it’s ready. You’ll end up mixing it a bit when you transfer it to the board and form a flat circle. Just press the loose bits together. Also, don’t forget to lightly flour your board so the dough doesn’t stick.

Place them on a sheet with parchment paper that has been sprayed with cooking oil.

They really do look pretty.

Bake them and let them cool, if you can stand it.

This scone reminds me more of a tender biscuit than those coffee house scones that are denser and often dry. I’m tempted to use more strawberries, but I think that would make a soggy scone. Also, the original recipe included a glaze that I decided to skip. These will be sweet enough already.

They taste even better than they look.

Strawberry Scones

Strawberry Scones

Servings 12

Ingredients
  

  • 2 cups all-purpose flour
  • 1 tablespoon baking powder
  • 3 tablespoons granulated sugar
  • 1/2 teaspoon salt
  • 6 tablespoons chilled butter cut into 1/4-inch cubes
  • 12 small strawberries hulled and diced
  • 3/4 cup half and half

Instructions
 

  • Preheat oven to 425 degrees F. Line a baking sheet with parchment paper.
  • In a large mixing bowl, combine flour, baking powder, sugar, and salt. Add butter and cut in with a pastry blender (or your hands) until mixture resembles crumbs. Toss in strawberries and coat lightly with the flour mixture.
  • Add half and half and fold together gently until the mixture just begins to come together and forms a soft dough. (Do not knead or over mix the dough.)
  • Turn dough out onto a floured surface and pat into a 1-inch thick rectangle or circle. (If dough is very sticky, sprinkle with just a hint of flour.)
  • Shaped the dough into a circle. Using a sharp knife, cut into 8 triangles.
  • Place scones on prepared baking sheet and bake 16-18 minutes or until cooked through and golden.
  • Place a sheet of parchment on a work surface, and then place a cooling rack over top of
    parchment. Remove scones from pan to cooling rack. Cool about 10 minutes.
Blog

Sheet Pan Chicken Fajitas

Jump to Recipe

It seems like sheet pan recipes are all the rage, which really shouldn’t come as a surprise. Throw everything on a single baking pan and pop it in the oven. Only one pan to clean. So easy. What’s not to love? Except I’ve been very skeptical that everything comes out perfectly cooked at the same time. To test my suspicions, I decided to try this Food Network recipe to see if sheet pan cooking is really all that it’s cracked up to be. I substituted a few ingredients and changed the directions a bit.

Spoiler: These fajitas are amazing.

Mix up your seasonings. Slice up your veggies. The original recipe said to use baby bell peppers and yellow onions, but you can really go with any color bell pepper or onion. I chose red for both because they are sweet. Don’t forget to line your cookie sheet with aluminum foil to cut down on the mess.

Throw your veggies onto the pan. It’s ok if the veggies touch.

Hmmm…there seems to be a lot of “throwing” going on. Please do not literally throw your food. Mom would not approve.

Next, drizzle olive oil over the veggies to add some “healthy” fat. The olive oil helps the veggies cook better and not end up dry. Don’t skip this step to save calories. Sprinkle with seasonings. All of this goes into the oven.

While the veggies are roasting, slice up your chicken into strips and toss with rest of the seasonings plus olive oil to help the seasonings stick. Pull out your veggies and place the chicken strips on top. Wait, I knew it. You can’t cook all of this at the same time, but I was surprised to see that the veggies took longer than the chicken.

Back in the oven. Go do something useful like empty the dishwasher. Before you know it, everything ready.

The veggies are perfectly cooked, not too crunchy, not wilted. The chicken is super tender and not dried out. From this point, you can squeeze a lime over the fajitas and start plating. The boys ate them with tortillas.

I made myself a fajita salad. Sorry. I ate mine before I had the chance to take a picture of it. It was delicious.

Sheet Pan Chicken Fajitas

Sheet Pan Chicken Fajitas

Servings 6

Ingredients
  

  • 1 tablespoon chili powder
  • 2 teaspoons kosher salt
  • 1 teaspoon ground black pepper
  • 1 pound red bell peppers stemmed, seeded, and sliced
  • 1 large red onion halved and sliced
  • 2 tablespoons olive oil divided
  • 1 1/2 pounds boneless, skinless chicken breasts
  • juice of 1 lime
  • tortillas
  • fixings: cheese, guacamole, sour cream, salsa, cilantro, etc.

Instructions
 

  • Preheat broiler to high.
  • Combine chili powder, salt, and pepper in a small bowl. Put sliced peppers and onions on a foil-lined rimmed baking sheet. Drizzle veggies with 1 tablespoon of olive oil and season with half of the seasoning mixture.
  • Broil for 10 minutes on the top rack until softened and starting to char.
  • Meanwhile, slice chicken into 1/4-inch-thick strips. In a large bowl, toss chicken with remaining seasoning mixture and 1 tablespoon of olive oil.
  • When the veggies are ready, place chicken strips over veggies. Return the sheet to the top rack of the broiler and cook for another 5 minutes. Chicken should be cooked through and starting to brown. Do not overcook.
  • Squeeze a lime over the chicken. Serve with tortillas and favorite fixings.
Blog

Homemade Sloppy Joes

Jump to Recipe

I am child of the 80s, but I was deprived of Sloppy Joes. Sad, but true. Apparently my parents didn’t think much of it. I wished for that magical messy sandwich with the red sauce that came from a can because everything artificial was cool and I desperately wanted to be normal like the rest of the kids at the expense of taste. Put Capri Sun pouches and cheese handi-snacks in my lunch like the popular girls.

Wake up and move on to 2019. Everything is flipping healthy and homemade including Sloppy Joes. No cans. Tomatoes are locally grown. Beef is grass-feed and organic.

But I realized that my son had no idea what Sloppy Joes are (or Jello pudding pops, which I really need to address). To bring back a bit of my youth, I decided to make homemade Sloppy Joes, much to my husband’s chagrin. Apparently he’s blase about it too.

I found this recipe on The Kitchn and changed it up a bit like I usually do.

First, brown the ground beef.

I read somewhere that using a potato masher is awesome for crumbling meat. I tried it. Not so much. Could it be me? Not so much.

While browning the meat, FINELY chop up red bell pepper and onion (any type…I like red). I emphasize finely because I did not and my 12-year old son, the surgeon, dissected his meat to remove every damn single piece of vegetable. Argh.

By the way, I love this onion chopping trick. Cut the onion in half, but be sure to retain the root at one end. It holds on to the onion layers.

Slice lengthwise. Slice in 2-3 layers width wise. Chop. Voila! Diced onion. It’s a beautiful thing.

After admiring your onion handiwork, smash a garlic and minced it to smithereens. Throw the red bell pepper, onions, and garlic in a bowl and stage it for the next step.

Assuming your ground beef is cooked and crumbled, dump it in a bowl. In the same pan, add a tiny bit of olive if the pan is dry and throw in your pepper/onion/garlic mixture.

Let it do its thing and then add your seasonings. The kitchen should be smelling pretty good right now. Too bad there’s no fragrant candle to burn that would do it justice.

Add the tomato sauce, paste, sugar, and mustard. Add the meat back in.

Let it simmer for 15 minutes while the sauce thickens up.

Meanwhile, toast the buns. I love soft buns, but apparently using soft buns is the reason why my burgers end up soggy so just toast them. You won’t regret it.

When everything heated through and toasted, you’re ready to assemble.

Mmmmm…

It looks awful, but tastes amazing.

It also makes a lot. The boys had “sloppy tacos” the next night. LOL.

Homemade Sloppy Joes

Sloppy Joes

Servings 8

Ingredients
  

  • 2 teaspoons olive oil
  • 1 1/2 pounds lean ground beef
  • 1/2 medium onion finely chopped
  • 1/2 medium red bell pepper finely chopped
  • 2 cloves garlic minced
  • 1 teaspoon chili powder
  • 1 teaspoon smoked paprika
  • 1/2 teaspoon kosher salt
  • 15 ounces tomato sauce
  • 2 tablespoons tomato paste
  • 2 tablespoons brown sugar packed
  • 1 tablespoon Dijon mustard
  • hamburger buns toasted

Instructions
 

  • Heat the oil in a large skillet over medium-high heat. Add ground beef. Crumble with a cooking spoon and cook until browned and cooked through, about 7 to 8 minutes. Transfer the browned beef to a plate; set aside.
  • Return the pan to medium-high heat. Add the onion, pepper, and garlic. Cook until
    softened, about 6 to 8 minutes. Add the chili powder, paprika, and salt. Cook until fragrant, about 1 minute.
  • Add the tomato sauce, tomato paste, brown sugar, and mustard. Stir to combine. Return the ground beef to the pan. Stir to incorporate.
  • Simmer the sauce, stirring often, until thickened, about 15 minutes.
  • Taste and add salt and pepper as needed. Spoon onto the toasted buns.
Keyword beef
Blog

Chicken Cordon Bleu

Jump to Recipe

This is one of my husband’s favorites. I’m not sure why. I mean, it’s good, but it’s nothing like REAL chicken cordon bleu with the fancy sauce. But it’s simple to make and delicious so let’s get going.

A couple of tips. Buy thinly sliced chicken breasts or pound them flat. Trust me on this one. They need to be the same thickness throughout. Next season without fear.

Layer with Swiss cheese and ham. I like to use a lacy Swiss cheese (did I mention earlier that I love cheese?) that you can get from the deli. It has a mild, nutty flavor that melts well. Your standard Swiss cheese works well too.

If there is a tricky part, here it is. Roll them up and secure with two toothpicks. Don’t worry if they flop open. Just try again. Don’t get frustrated. They are slippery little suckers. Tell them who’s boss. When you are done, they should end up resembling something like this.

Spray some cooking oil over the chicken to help the bread crumbs stick. Use whatever bread crumbs you prefer. I like Italian seasoned panko for that extra crunch, but it’s really just personal preference.

Pop them into the oven.

Now, I want you to meet your new best friend, the instant-read thermometer. Everyone must own one of these. Choose whatever brand sounds good to you, but unless you have infrared vision to gauge internal temperatures, you need this gadget. Trust me on this one.

When it’s done, your chicken should look lightly golden brown with an internal temperature of 165F. Or less. Now this is a topic of debate. I try to pull it out a little sooner and let them rest to avoid dry chicken. But I don’t want to get you sick so you do what suits you.

What I love about this dish is that it’s easy, fancy looking, and tasty. Your friends will be impressed.

Chicken Cordon Bleu

Chicken Cordon Bleu

Servings 4

Ingredients
  

  • 4 chicken breasts sliced thinly or pounded evenly
  • 12 slices thinly sliced deli ham
  • 6 slices thinly sliced Swiss cheese
  • 1/2 tablespoon dried parsley
  • 1/2 teaspoon garlic powder
  • 1/2 teaspoon white pepper
  • 1/2 cup bread crumbs
  • cooking spray

Instructions
 

  • Lay chicken breasts flat. Sprinkle parsley, garlic powder, and white pepper over chicken. Use suggested amounts or season to taste.
  • Stack ham and cheese slices on them.
  • Season over ham and cheese again (optional, if you love strong flavors).
  • Roll chicken and secure with toothpicks.
  • Spray with cooking oil and roll in bread crumbs.
  • Place on nonstick baking sheet. Cook at 350F for 35 minutes, or until interal temperature reaches 165F.

Blog

Cast Iron Pizza

Jump to Recipe

I used to hate making pizza. I have round vented pans with holes. I have pizza stones. Nope. Didn’t work. Then I discovered I could make pizza in my cast iron pan. Mind blowing.

The key is to have a hot cast iron pan. Do not use a cold cast iron pan. It won’t work. You need a screaming hot pan that’s been in a 500F oven for several minutes.

You want the pan hot enough so the dough sizzles when it touches the pan. I admit it’s a little scary, but just be careful not to burn yourself. Drizzle some olive oil in the pan. Smack that canned pizza dough open. Carefully, stretch the dough out until it’s the width of a 12-inch pan and plop it over the pan. Yes, your first few attempts will be fugly. Don’t worry. It’ll taste delicious.

Add some bottled pizza sauce. Hey, I was tired. Make homemade another day.

Add bacon. Because everything is better with bacon.

I chose a non-smoked provolone from the deli. I’m a cheese snob. Sorry, but true. Then drizzle a bit of olive oil on the crust because it’s just yummy that way.

Stick it in the oven and watch it. It might take anywhere from 10 minutes to more. You want to see that gently toasted cheese.

Yum! Have some patience and wait for 15 minutes unless you don’t mind destroying the roof of your mouth.

Cast Iron Pizza

Cast Iron Pizza

5 from 1 vote
Servings 2

Ingredients
  

  • 1 can pizza dough
  • 1/4 cup olive oil plus a little more
  • 1/2 cup pizza sauce
  • Toppings (such as bacon or pepperoni)
  • Cheese (such as provolone or mozzarella)

Instructions
 

  • Preheat a 12-inch cast-iron skillet in a 500F oven.
  • Stretch the dough into a 12-inch circle. Carefully remove the skillet from the oven. Drizzle the olive oil into the skillet. Carefully transfer the dough to the skillet. Listen for sizzle to let you know the pan is hot. Fold the edges over to create a crust. Spread the sauce over the dough. Add your toppings and top it with cheese. Drizzle the crust with olive oil. Bake on the middle rack until golden brown, at least 10 minutes or more.
Blog

I have no idea what I’m doing

Have you ever used Word Press? It’s supposedly sooooo easy! So why is this techie girl struggling with it? Beats me. But welcome to my first blog post. I hope you enjoy my blog as much as I do, but at this point, I’m not sure what that means. What will the future hold for us? Stay tuned.